As of late, it seems like there is just a proliferation of babies and baby mommas. That’s okay….gives me an opportunity to express myself creatively.
My previous quilt “Christine” proved to be a challenge to me for various reasons, but I endured and was very pleased with the outcome. The recipient of this quilt was also thrilled to tears (literally) and that was a gift to me. I bathed in the glow of that moment for about a day…..but it was time to move on!
About a month ago, Missouri Star Quilt Co. came out with a wonderful new video tutorial for a half square triangle quilt. I loved how intricate the final design appeared while seeming to be fairly easy to construct. They suggested using 3 solid charm packs and 3 patterned charm packs to make this, but I only had one of each and thought this would be fun to do just for me. I used a Bella Solid by Moda and Lost and Found 2 by Riley Blake for my fabric choices. Super cute!
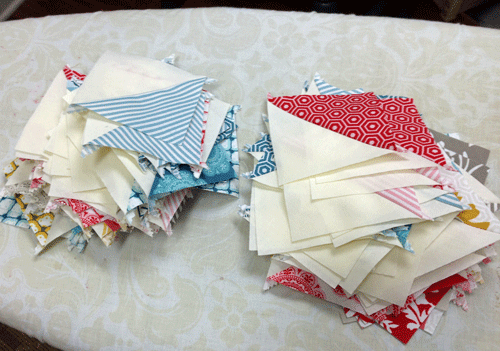
It was pretty boring making up all of those HST’s, so I spread it over a few nights just to break up the monotony. I was thankful I only did one charm pack each! What I didn’t do was follow Jenny’s advice. This is an easy quilt. But it is also easy to get mixed up and sew the HST’s together the wrong direction. She suggests making an example block so that you know how and what you need to do. Meh, I thought I was smarter than the average bear. Fear not fellow sewists! My seam ripper was anything but lonely as I ripped, snipped and tore out my misplaced stitches. Lots of them. I thought those HST’s were boring….
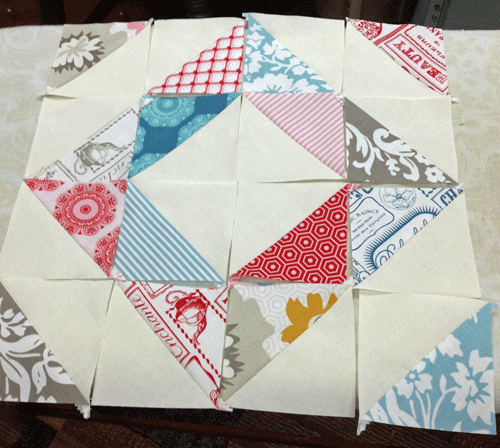
This is what I was aiming for and I should have sewn up that sample! I said (to myself) that I was making this just because and I didn’t need to stress over it. So I didn’t. I set everything aside for a few weeks and worked on Christine. Once I finished that, I came back to this project with renewed interest and far less irritation. As I got the parts of the block assembled, I placed them into stacks so that I could be sure that I was orienting the stitching and pieces in the correct direction.
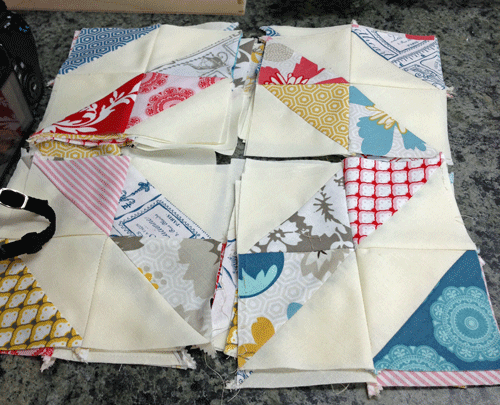
I loved this Riley Blake charm pack for its diversity of colors and patterns and as these blocks came together, I adore it even more. Truthfully, I was concerned that with these small pieces and the seam ripping that I had to do that there was no way the seams were ever going to match up. I guess I didn’t manhandle them as much as I thought and things came together fairly easily.
Meanwhile, back at the sewing table I had another project that I was working on. Chloe’s 1st birthday is in a few weeks and I wanted to make something fun for momma and a keepsake for baby. I found a fun owl themed growth chart that I embellished, quilted and bound. It will be headed to Hawai’i in the next few days.
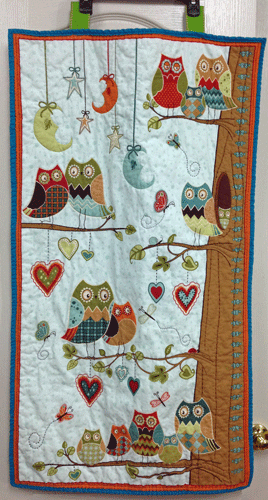
Before Chloe was born I had also made her an owl themed banner and stuffed owls for her mobile. Sorry, these photos were never intended to end up on my blog but somehow they seem worth sharing now.
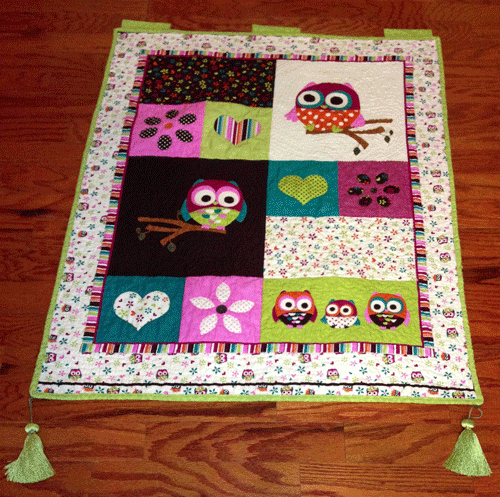
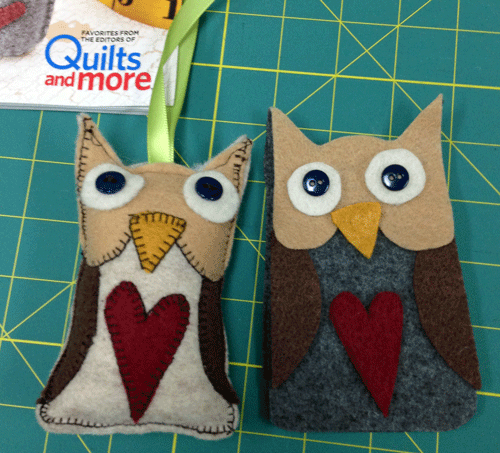
All these cute little owls should nest happily together, don’t you think?
After a bit of respite from the HST hell that I previously endured (and created for myself) I decided it was time to finish this quilt up.
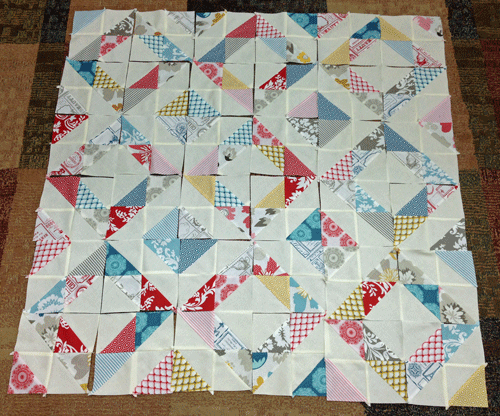
Here I have the HST’s sewn into four patches and then laid out. I am lazy and haven’t created a design wall so my rug IS my design wall. While I had an idea of what this was going to look like, it seems nearly magical when you put those blocks together and they form these lovely secondary patterns. Once all of the rows were stitched together I knew that even as a baby quilt it was just a smidge too small. The mister stopped by my “crap” room and professed his love for this quilt and suggested bringing out the red and teal with borders and backing. I wasn’t crazy about the idea of adding a border but I felt a bit differently once I had stitched on a flange. His guidance in the color department was more than welcome and it was spot on. I had some remnants to make the flange and binding with. I perused my stash of yardage and a nice tan jumped out for a border and plain red for the backing. I normally wouldn’t pick something plain but red can be harsh or complimentary and in this case it was just what this little creation needed.
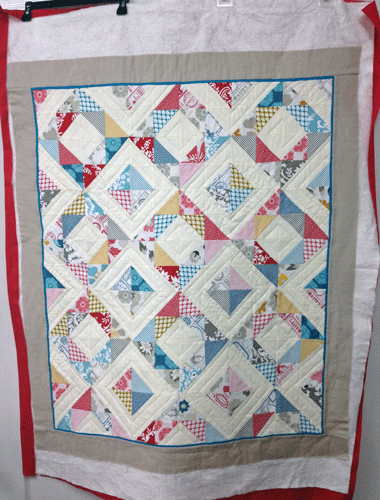
This is after quilting the body of the quilt but before the borders, trimming and binding. I had to cogitate on how I wanted to quilt the borders. Ultimately, I used a triangle ruler and a Frixxon pen to create a design that I felt complimented the diamonds in the body of the quilt. I was also pleased at how the quilting embellishes that beautiful red backing.
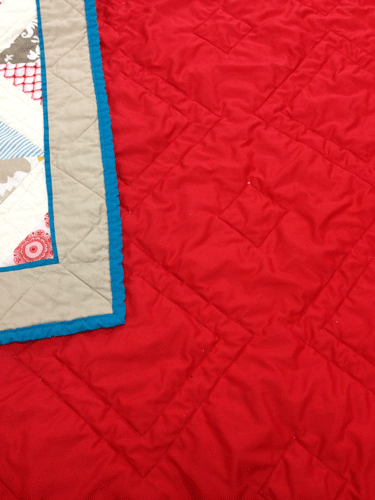
Tis a lovely thing methinks! Either I am getting better at this quilting thing or more sentimental about the process. I really would like for this one to stay at my house but I have another granddaughter on the way and I suspect that this will be a welcome gift.
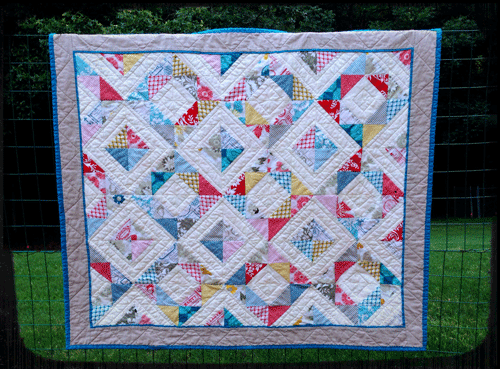
Lillian in Louisiana…..this one is for you!
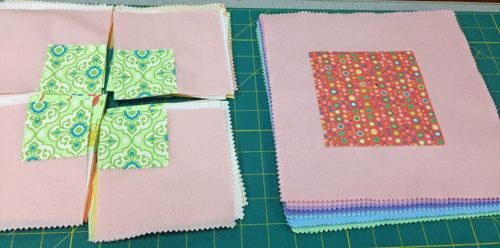
Sidenote: If you watched Jenny’s video tutorial on making this quilt, you will note that she used a sweet charm pack from Sandi Gervais called Chance of Flowers. I originally wanted that fabric line to make this quilt but they were out of stock. When I did get this uber cute charm pack in my hands I decided I wanted to use it and a Kona pastel layer cake to make the Five and Dime quilt from Kansas Troubles. Stay tuned, but for now here is a teaser……
