I have been really busy this week doing all kinds of things other than writing a blog post! Normally you might think that would suck and you wouldn’t get the benefit of my wit and wisdom, but never fear my friend. I have stuff to share with you!
No tutorials but there are lots of pretty pictures and even some links, so read on……
When I visited my mom a couple of weeks ago, I took her some really awesome silverware and napkin holders that I had sewn up for a past post which you can read about here. I took her the Frenchy themed black and white ones and she loved them. What she didn’t love was that she had no napkins to match. With some black Kona cotton and a bit of French themed embroidery from Urban Threads, I was off to the races. I think they are damn cute, at least as far a napkins go.
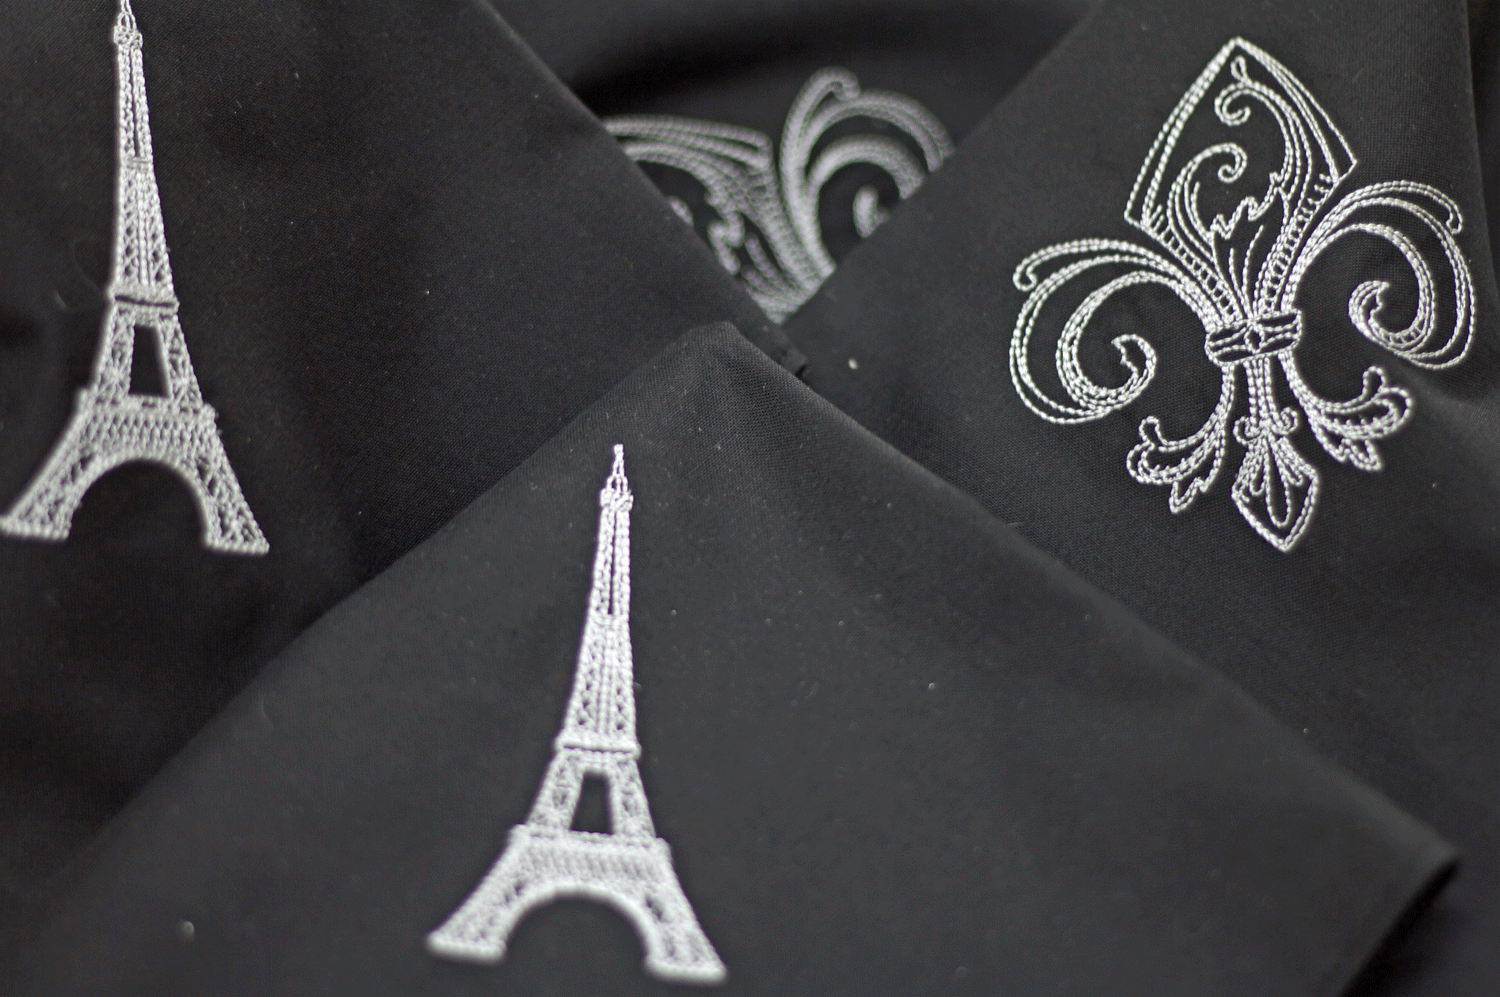
Who can resist an Eiffel Tower and a Fleur de Lis?
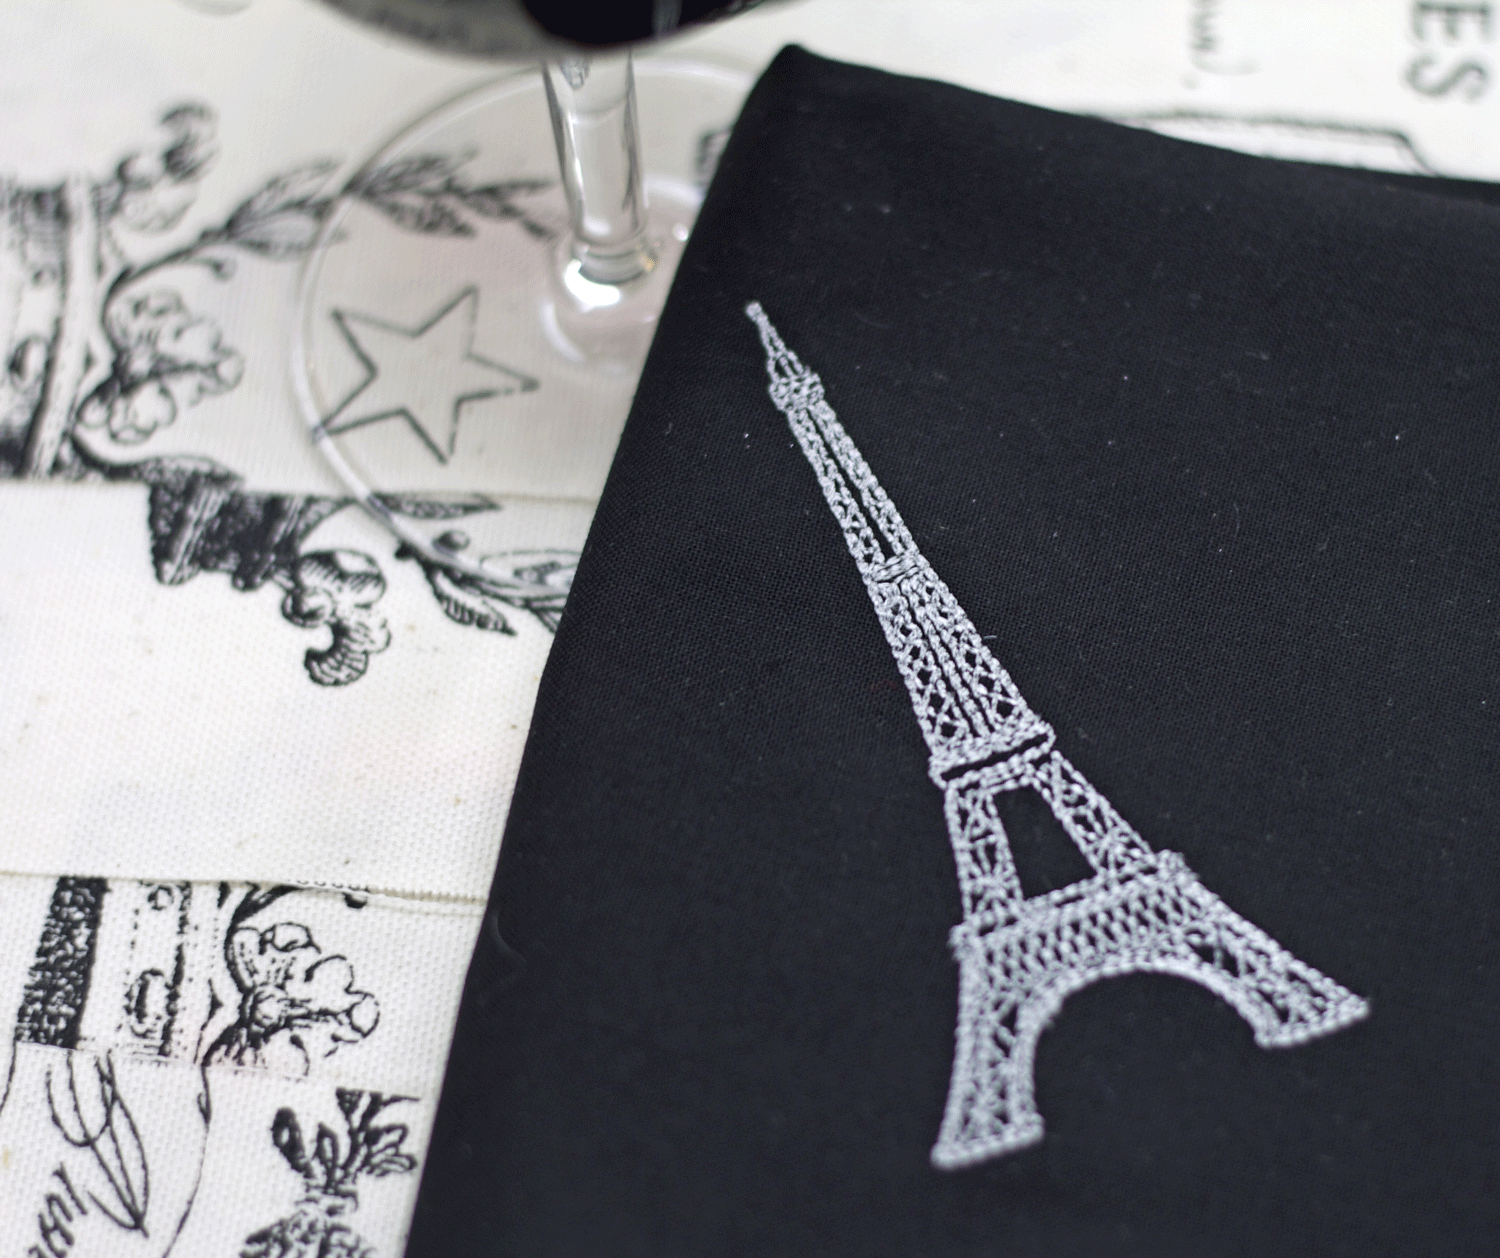
Excellent! I will pop them in the mail to her this week and she will be ready, set, GO! with a cute new table scape.
Next up were some doo-rags or neckerchiefs for the Wire Fox Terrier Rescue Midwest. This is the rescue that we obtained Charlie from and I felt like it was time to give a little something back. The mister (in his infinite wisdom) suggested that I make some doo-rags for a few pups and so that is what I did! Again, with a bit of embroidery from Urban Threads I made 6 of these. I made one for my sweet friend Boo, who is a rescued Boston Terrier mix and her momma Cheryl loved it. The other 5 I made for the fur kids in Iowa.
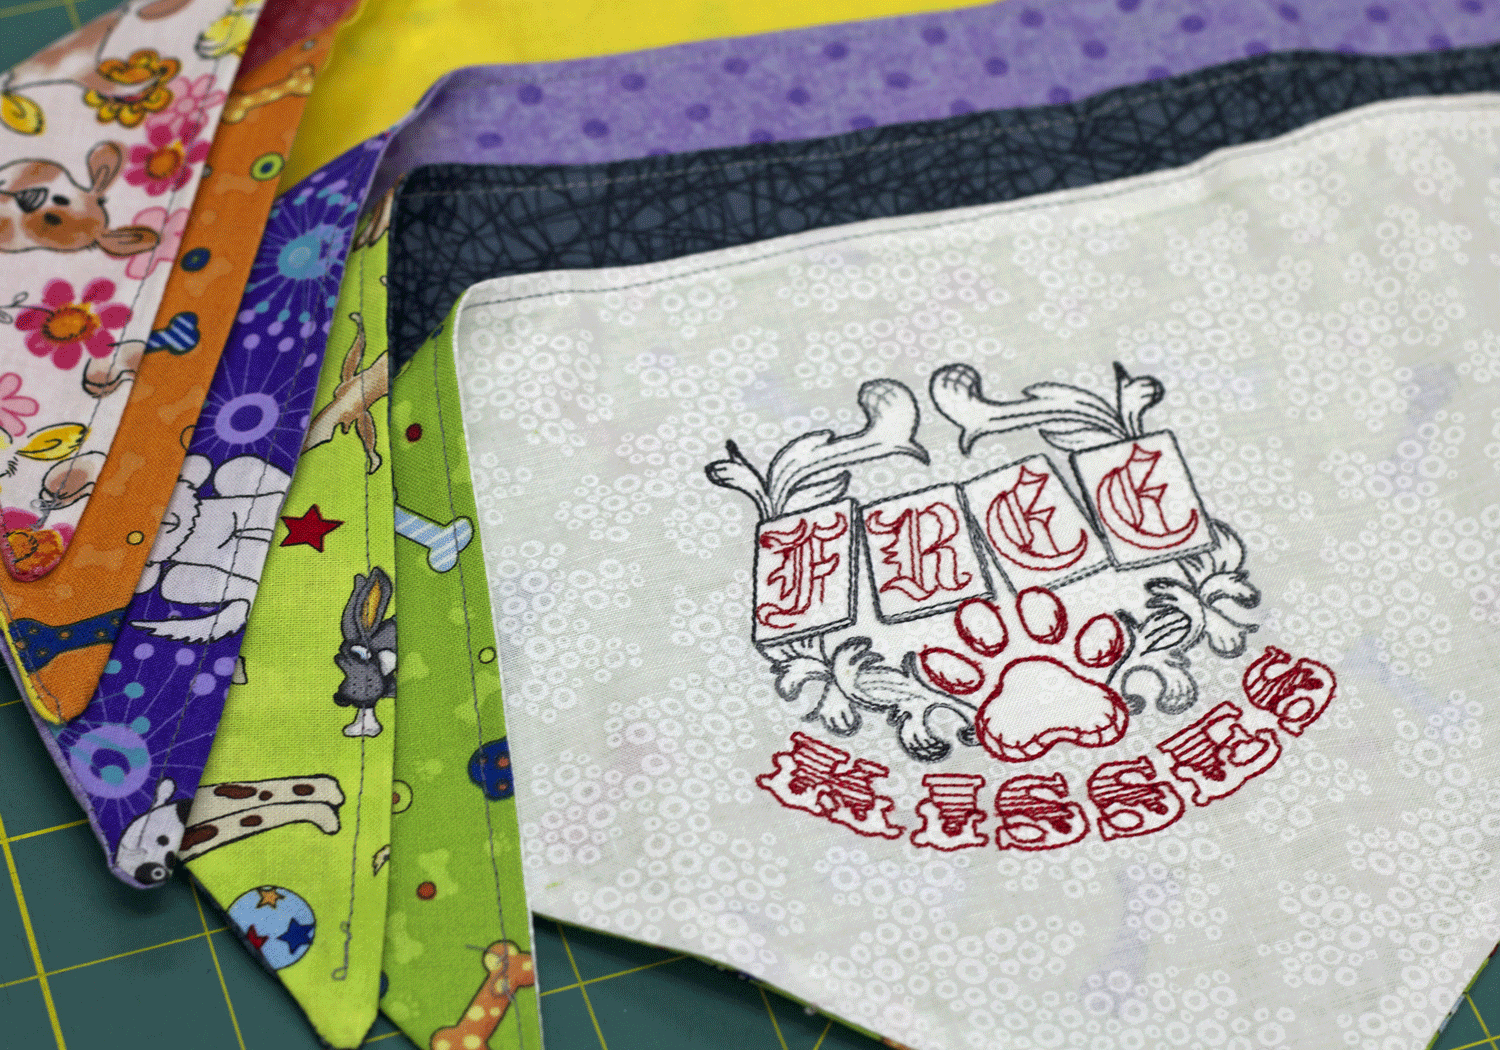
I found some fun puppy themed fabrics for the back of these neckerchiefs…super cute!
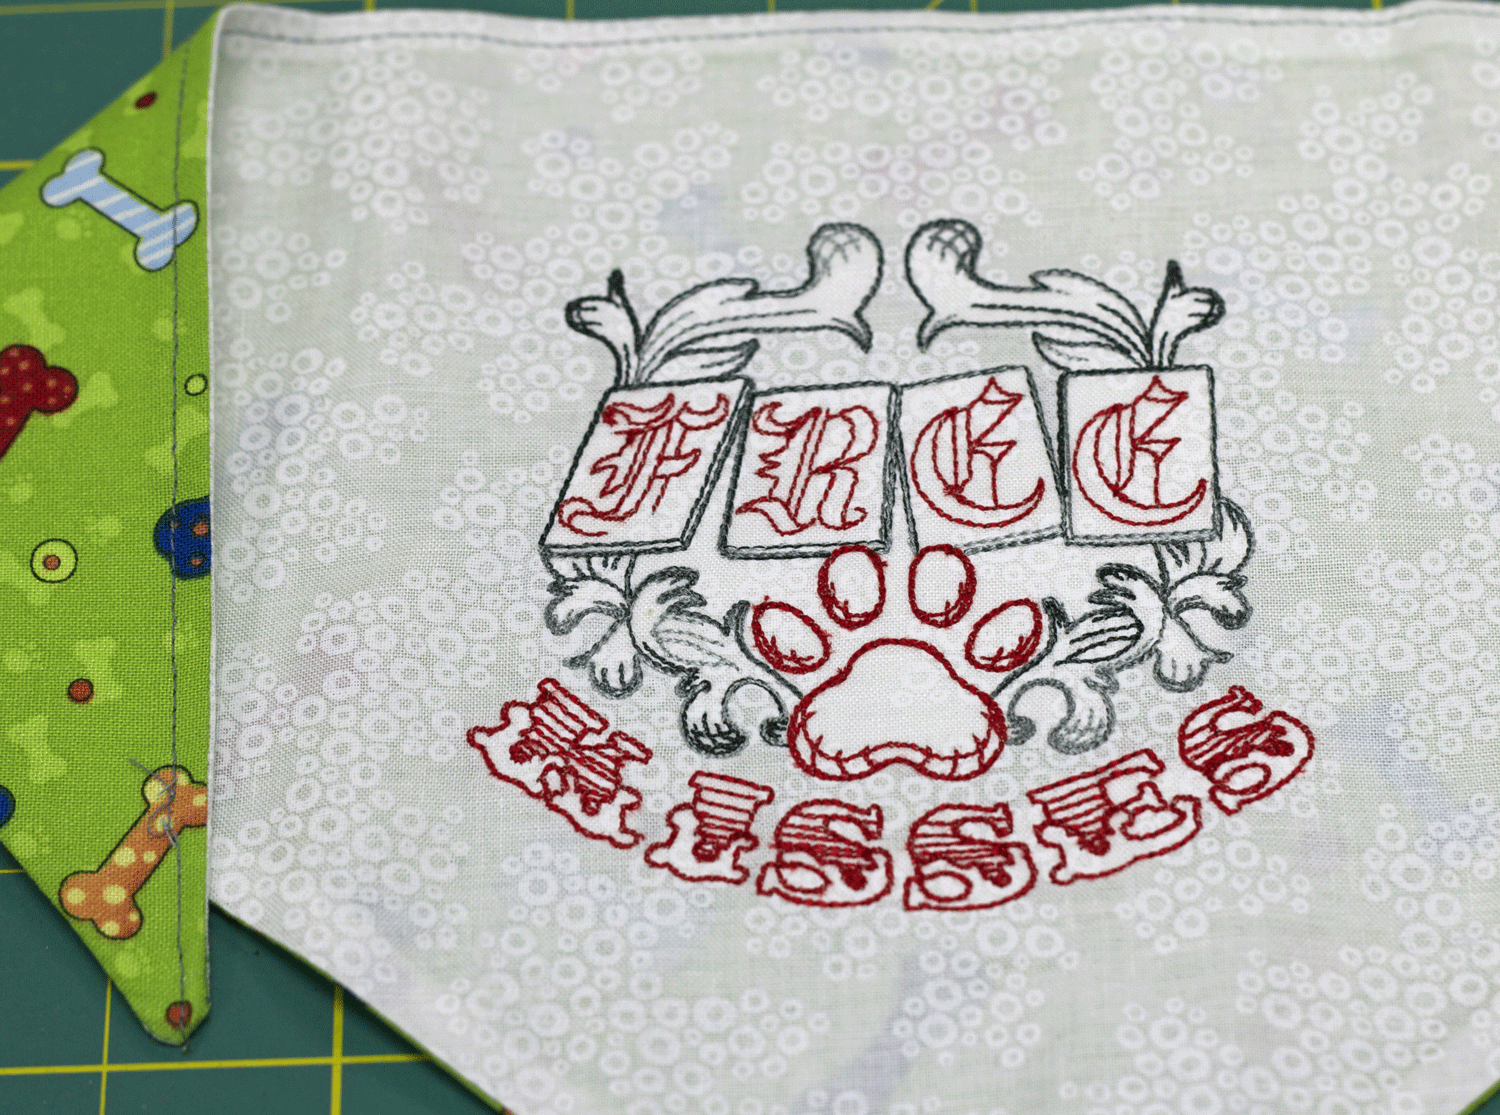
Free Kisses
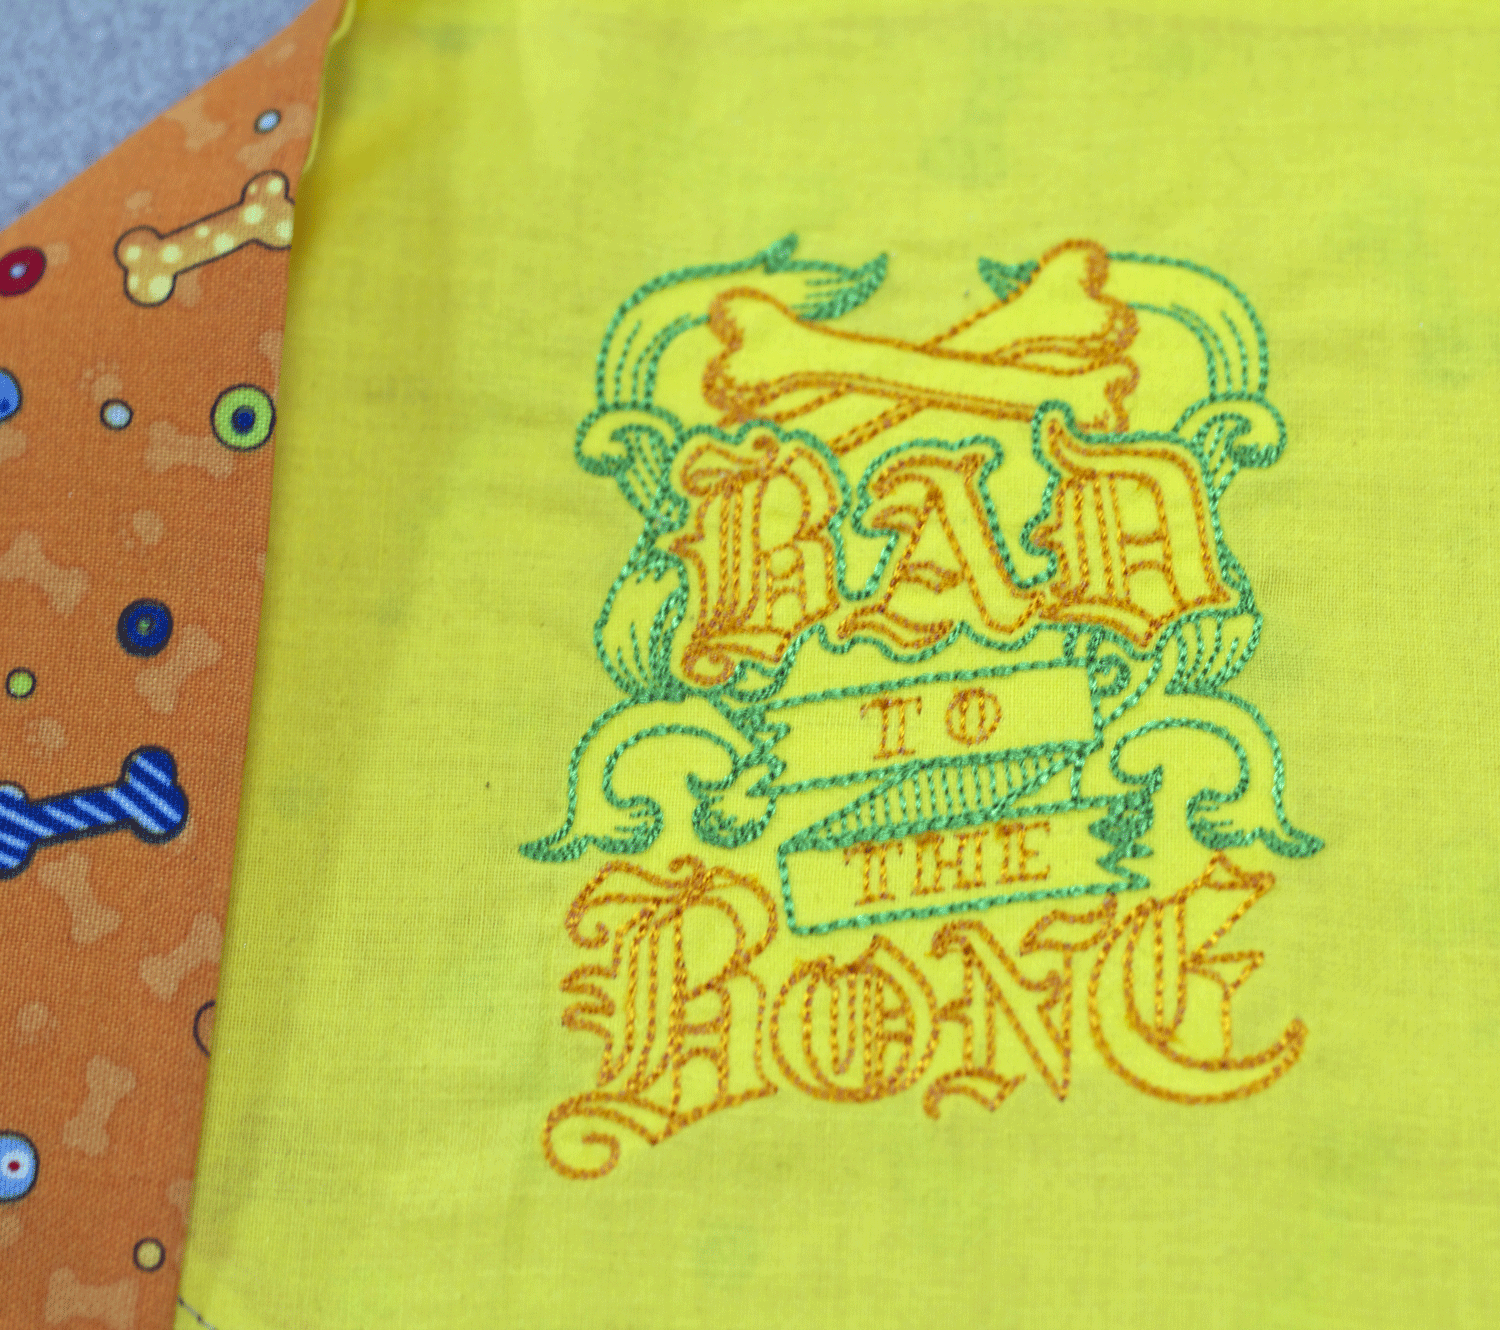
Bad to the Bone
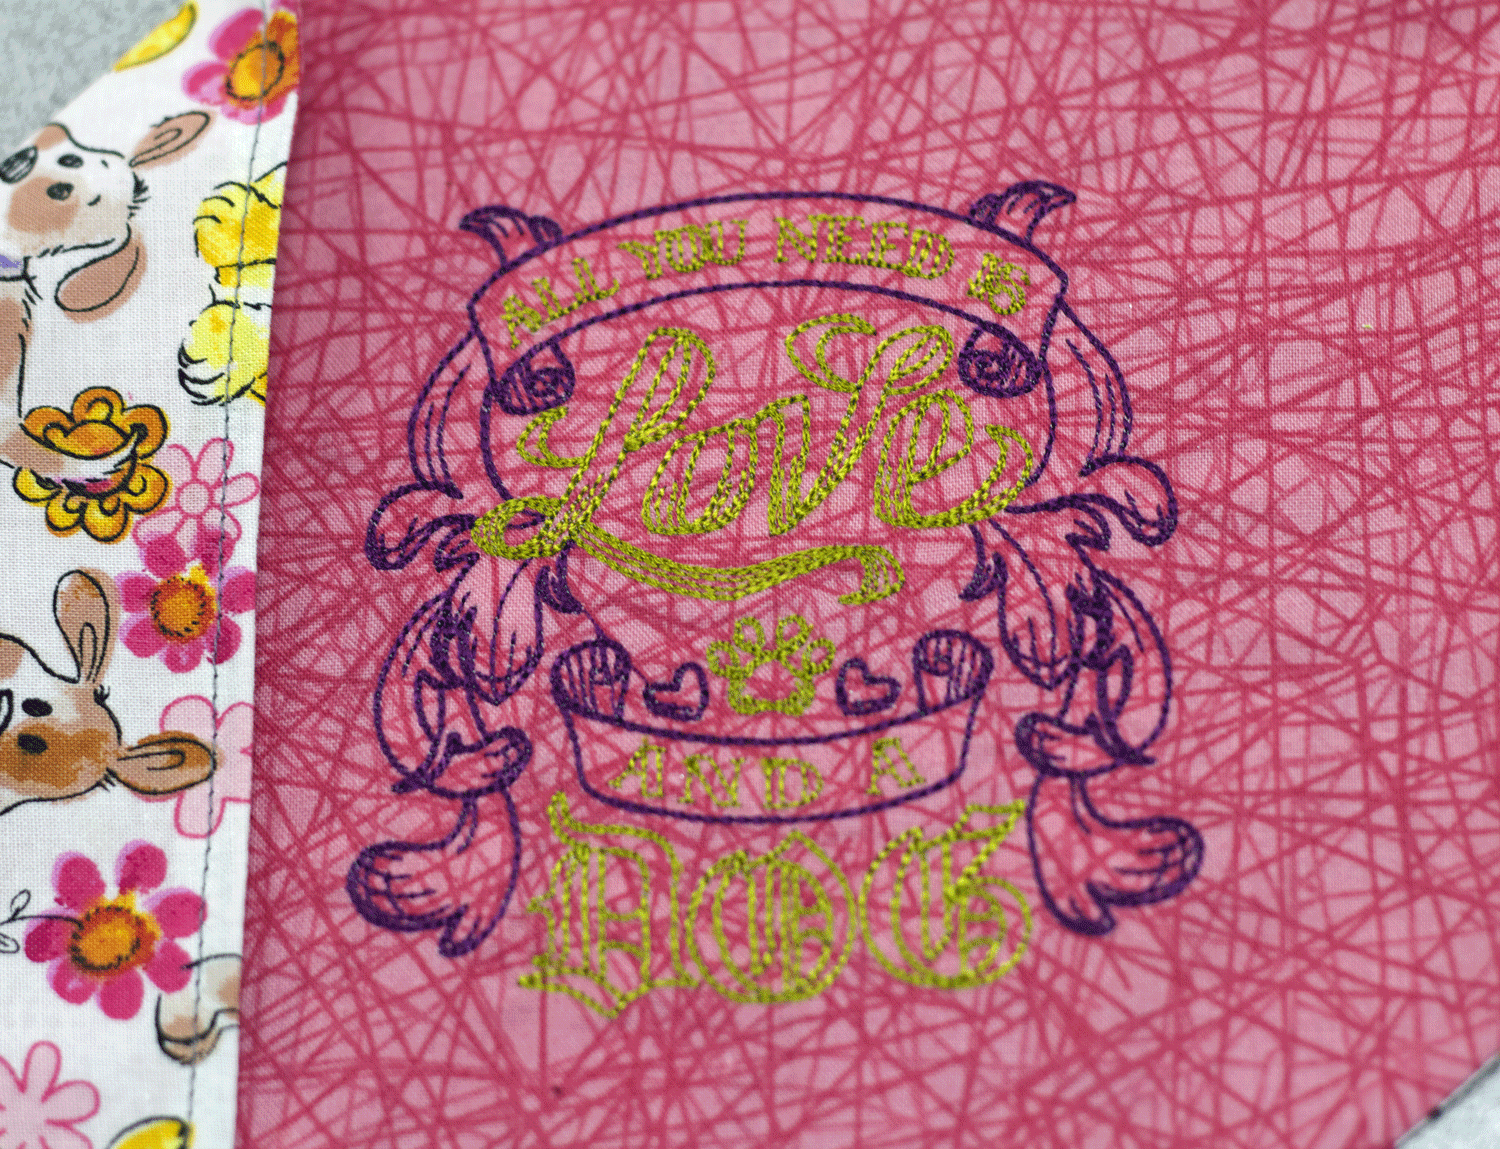
All you need is Love and a Dog
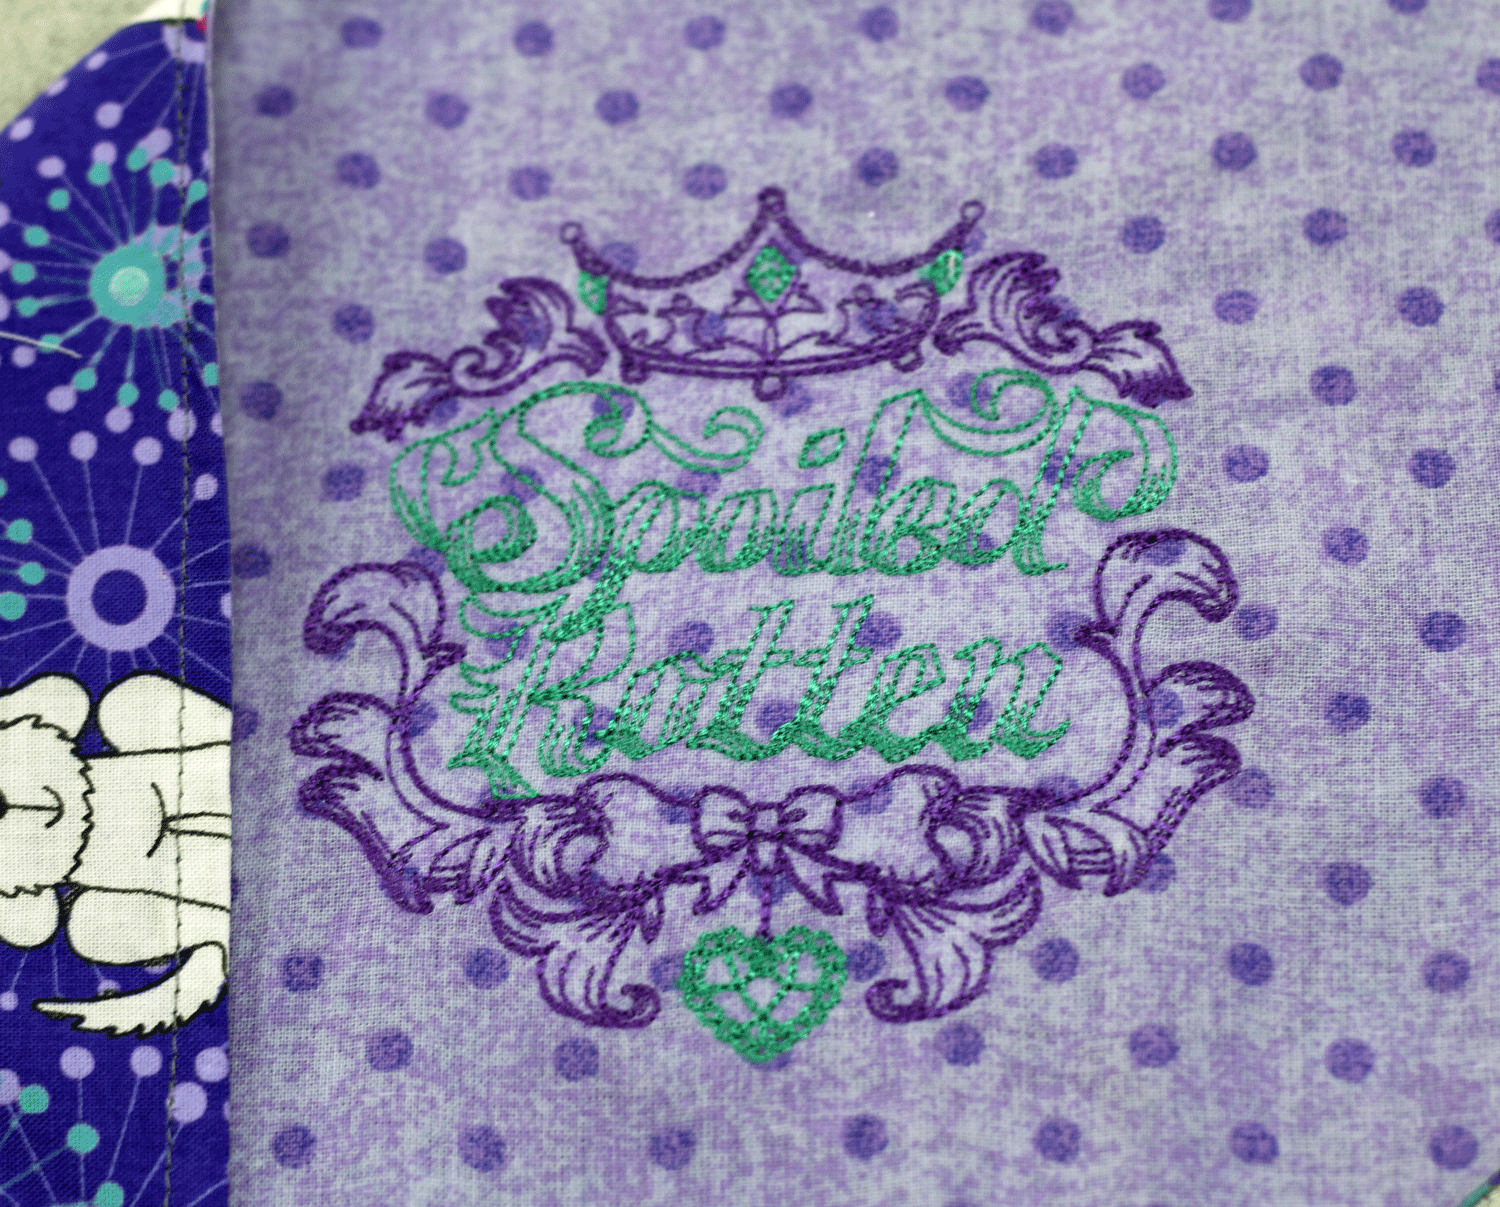
Spoiled Rotten
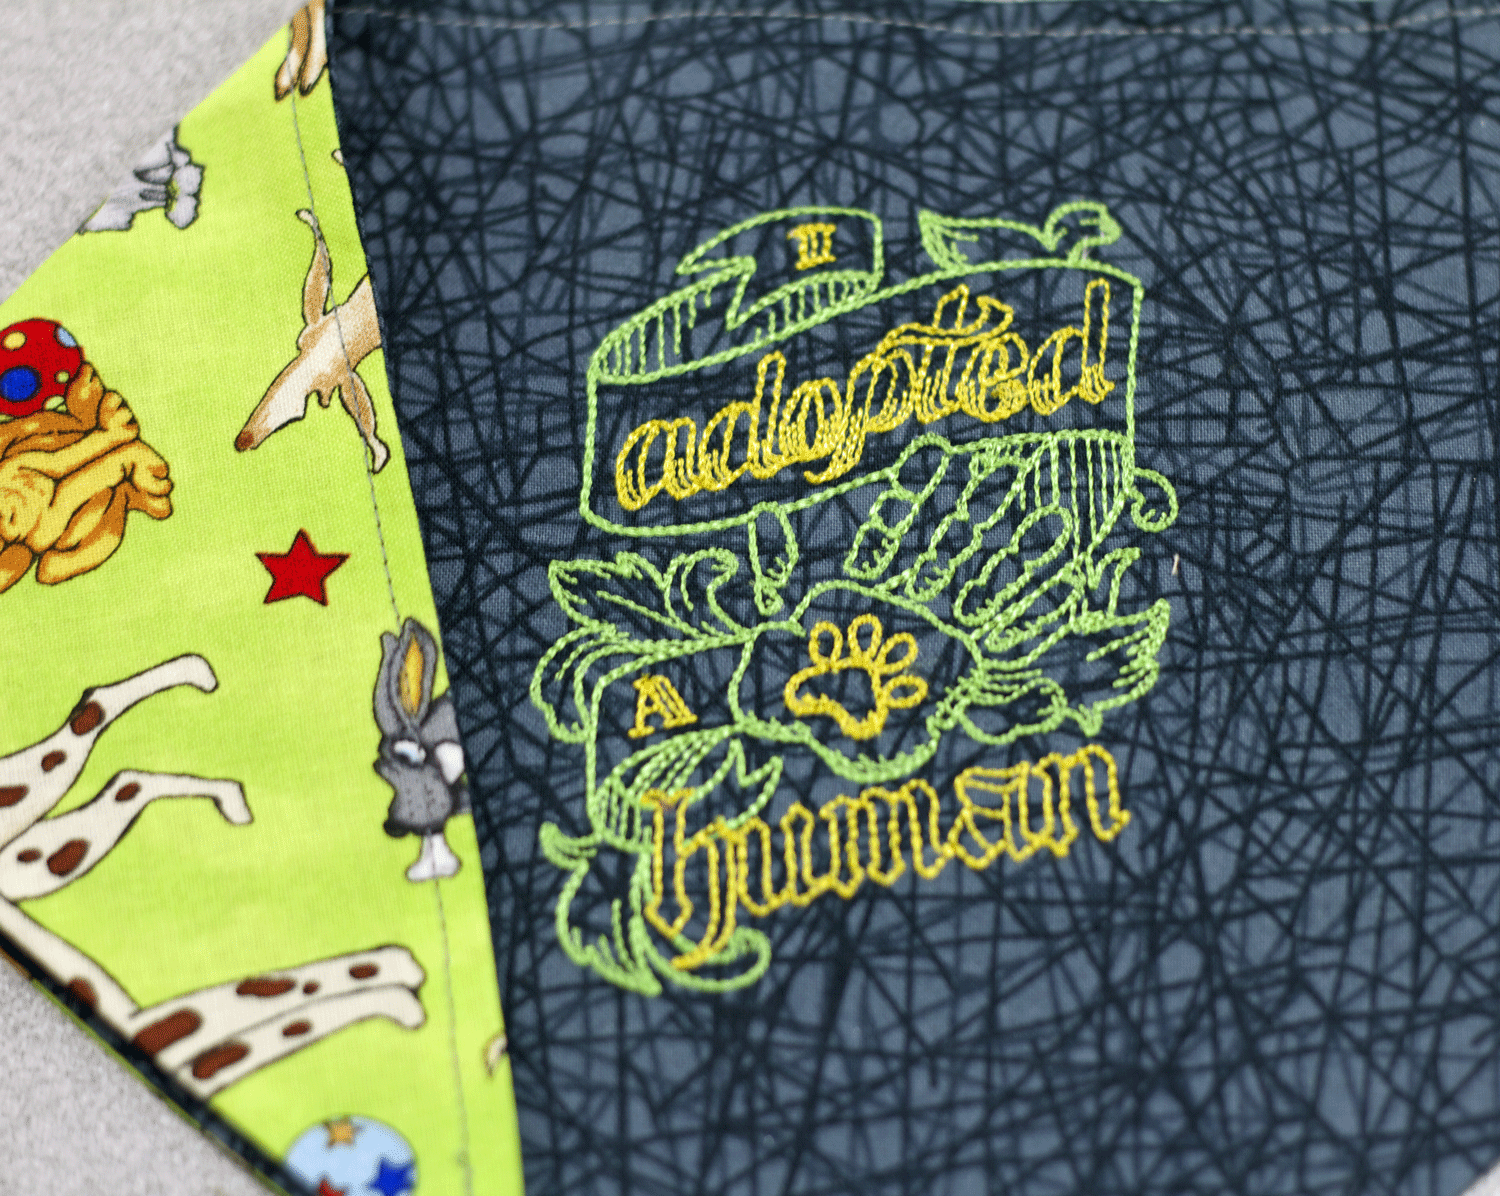
I Adopted a Human. Charlie has one one that says “Rescue”. However, he declined permission to have his photograph appear here. Hmmmm…..
Next up was a table topper quilt pattern that I found at Joann.com. The pattern for the Star Crossed Mini Quilt is free to download here. This sweet thing finishes at 21.5″ x 22.5″, so while it does take a bit of cutting and sewing, it doesn’t take a lot of time or fabric. Since I was already in a doggie mode, I just rolled with it and came up with this fun project.
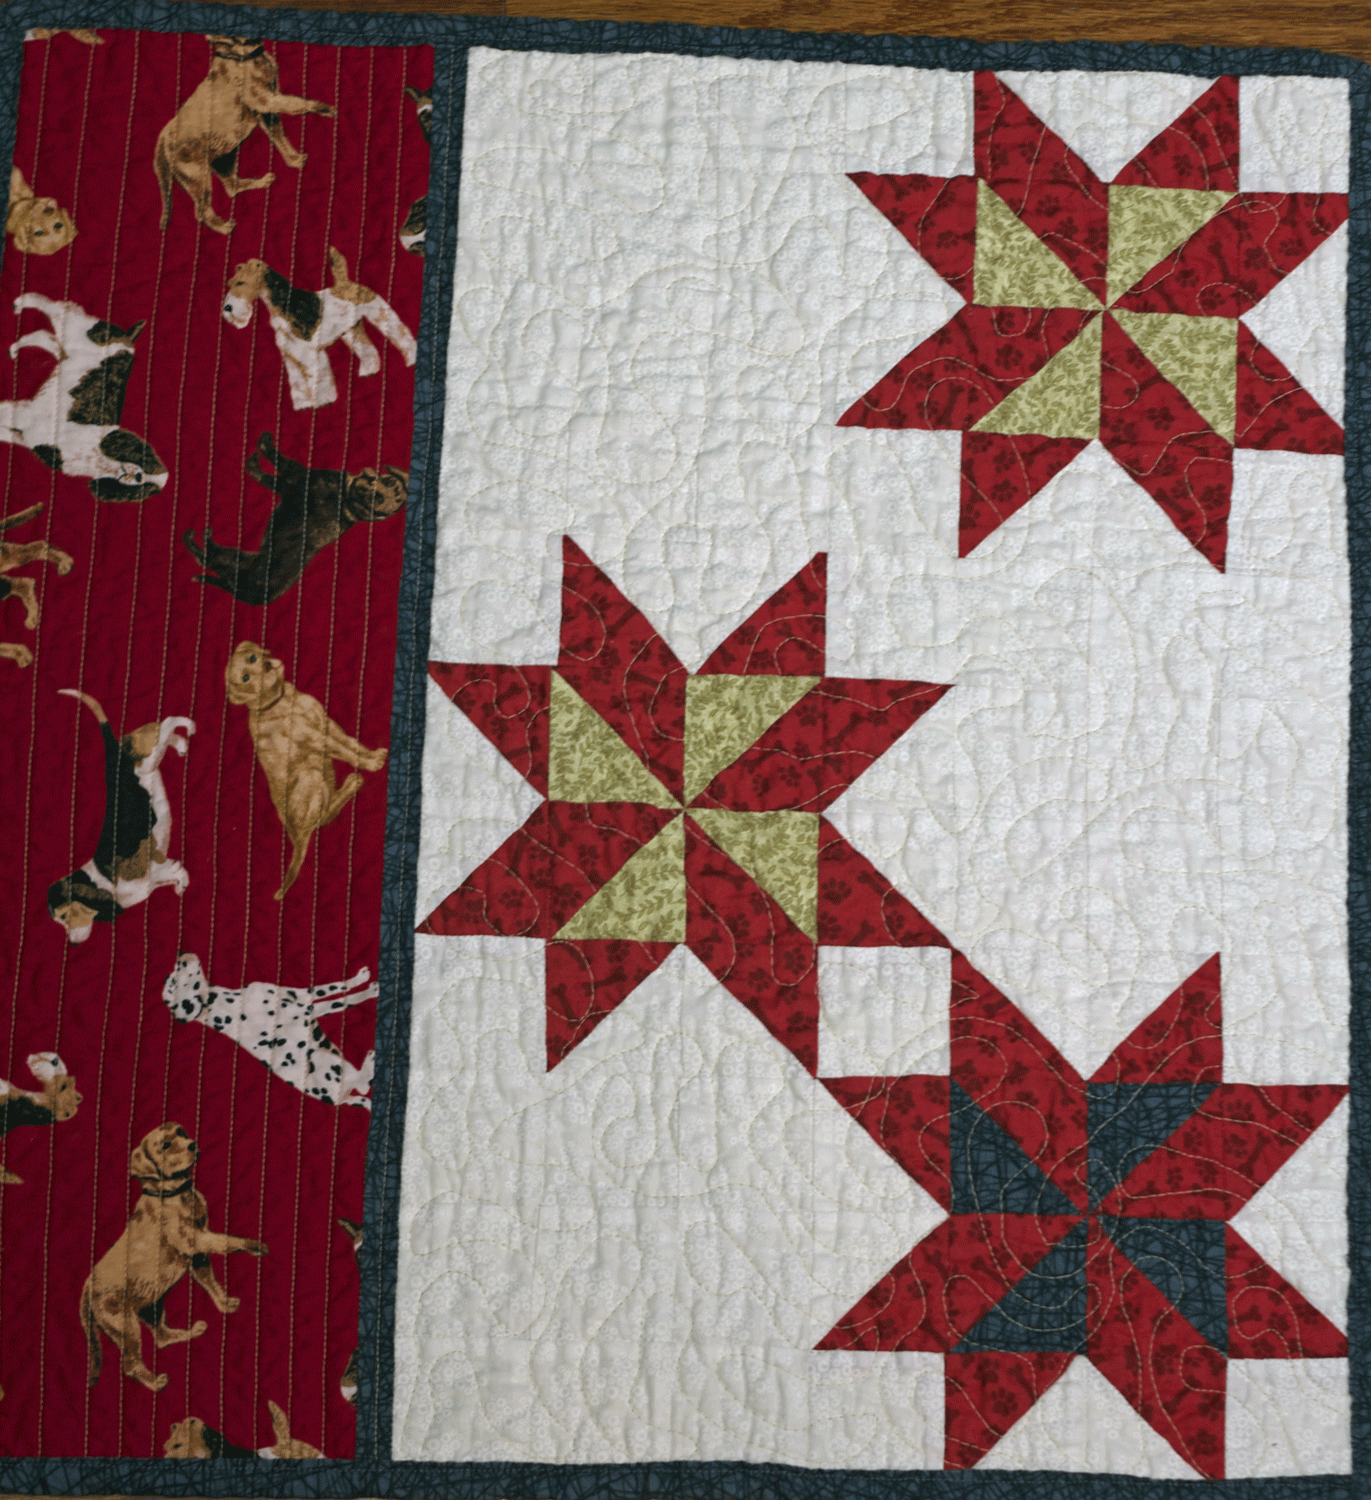
Instead of making this with 2.5″ squares, I could see this made up with a layer cake for a fun variation…..I will have to put that on my To-Do list! I finished this with a simple free motion swirl quilting and some straight line stitching on the panel on the left. Wait! I see a Fox Terrier!
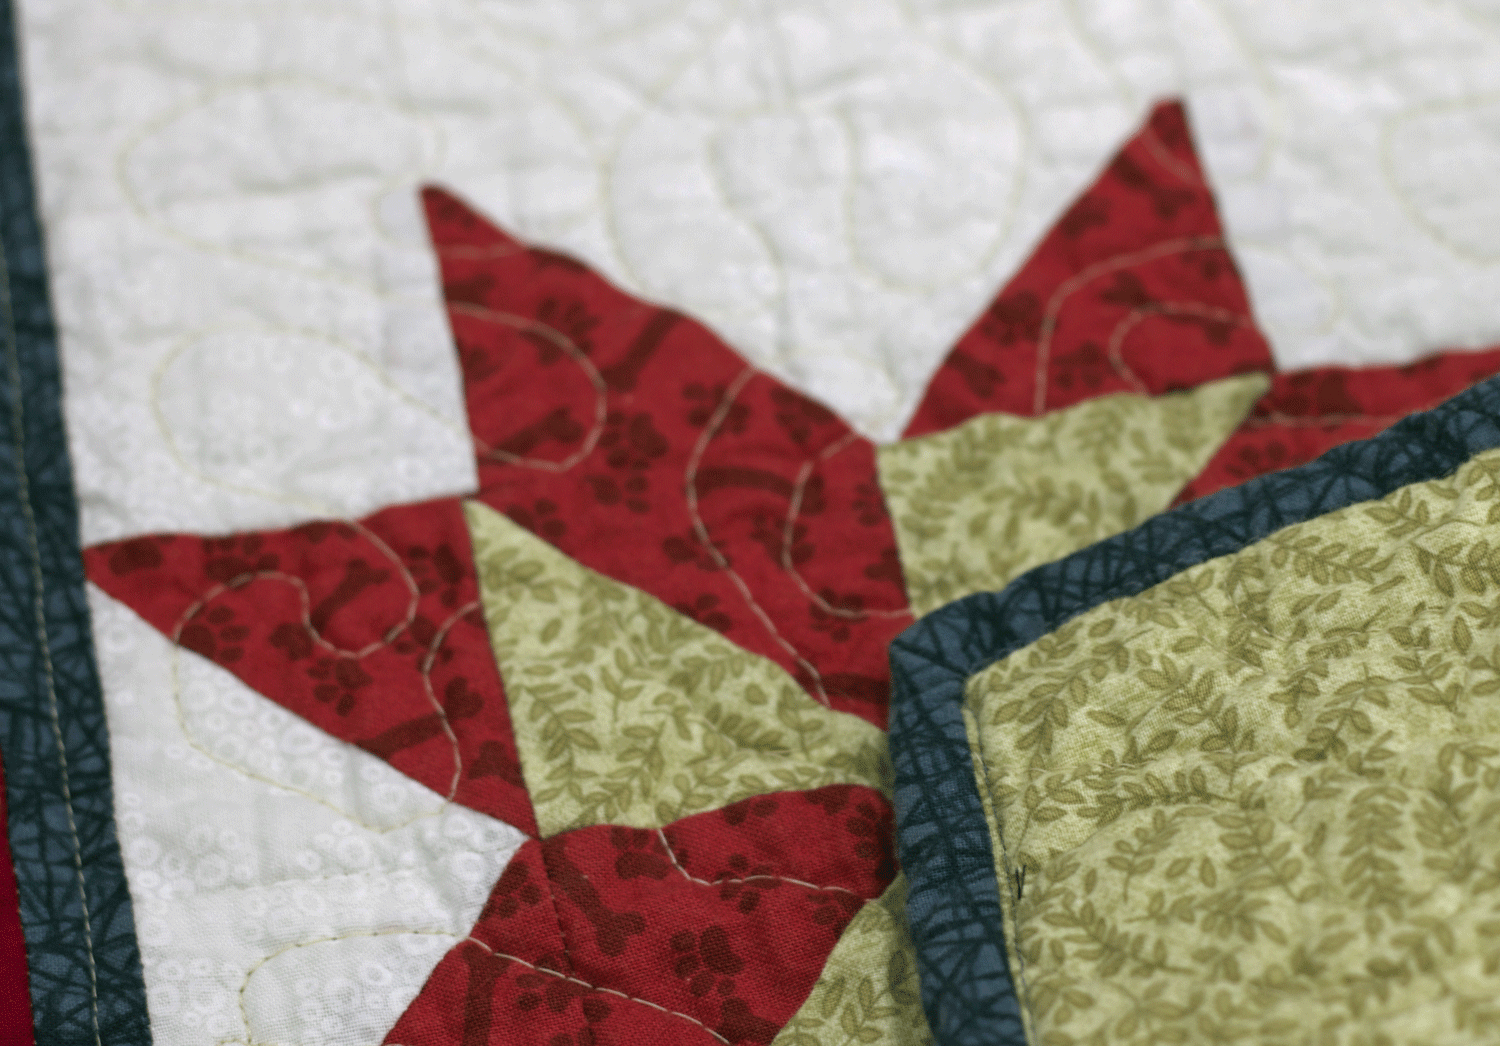
Here is the back and binding detail. I think this turned out quite cute. Minus that stray black string that showed up for the photo shoot, that is.
My next project was something that I had never attempted before. Don’t laugh! I had never made a Log Cabin block before but today was the day. I am in a block swap and I thought that this would be a good thing to challenge myself with for the swap. I made one for my swap partner and 8 for me. Don’t ask me why, it just worked out that way. But two things I learned today about making these blocks. One: You really need to plan the layout and Two: It takes WAY more fabric than you might anticipate to make some of those logs! Let’s just say I had to improvise a bit. For one thing, I made my logs 2.5″ each and for my block swap I needed a 12.5″ block. With three rounds of logs and a centerpiece, you do the math. Too big for my swap. Nevertheless, I worked out a solution for her block and I won’t show it here because I want her to be surprised when she receives it. I love you KJ!
Here are my 14.5ish blocks that I think I will make a table runner out of. Just a bit too much orange for my taste.
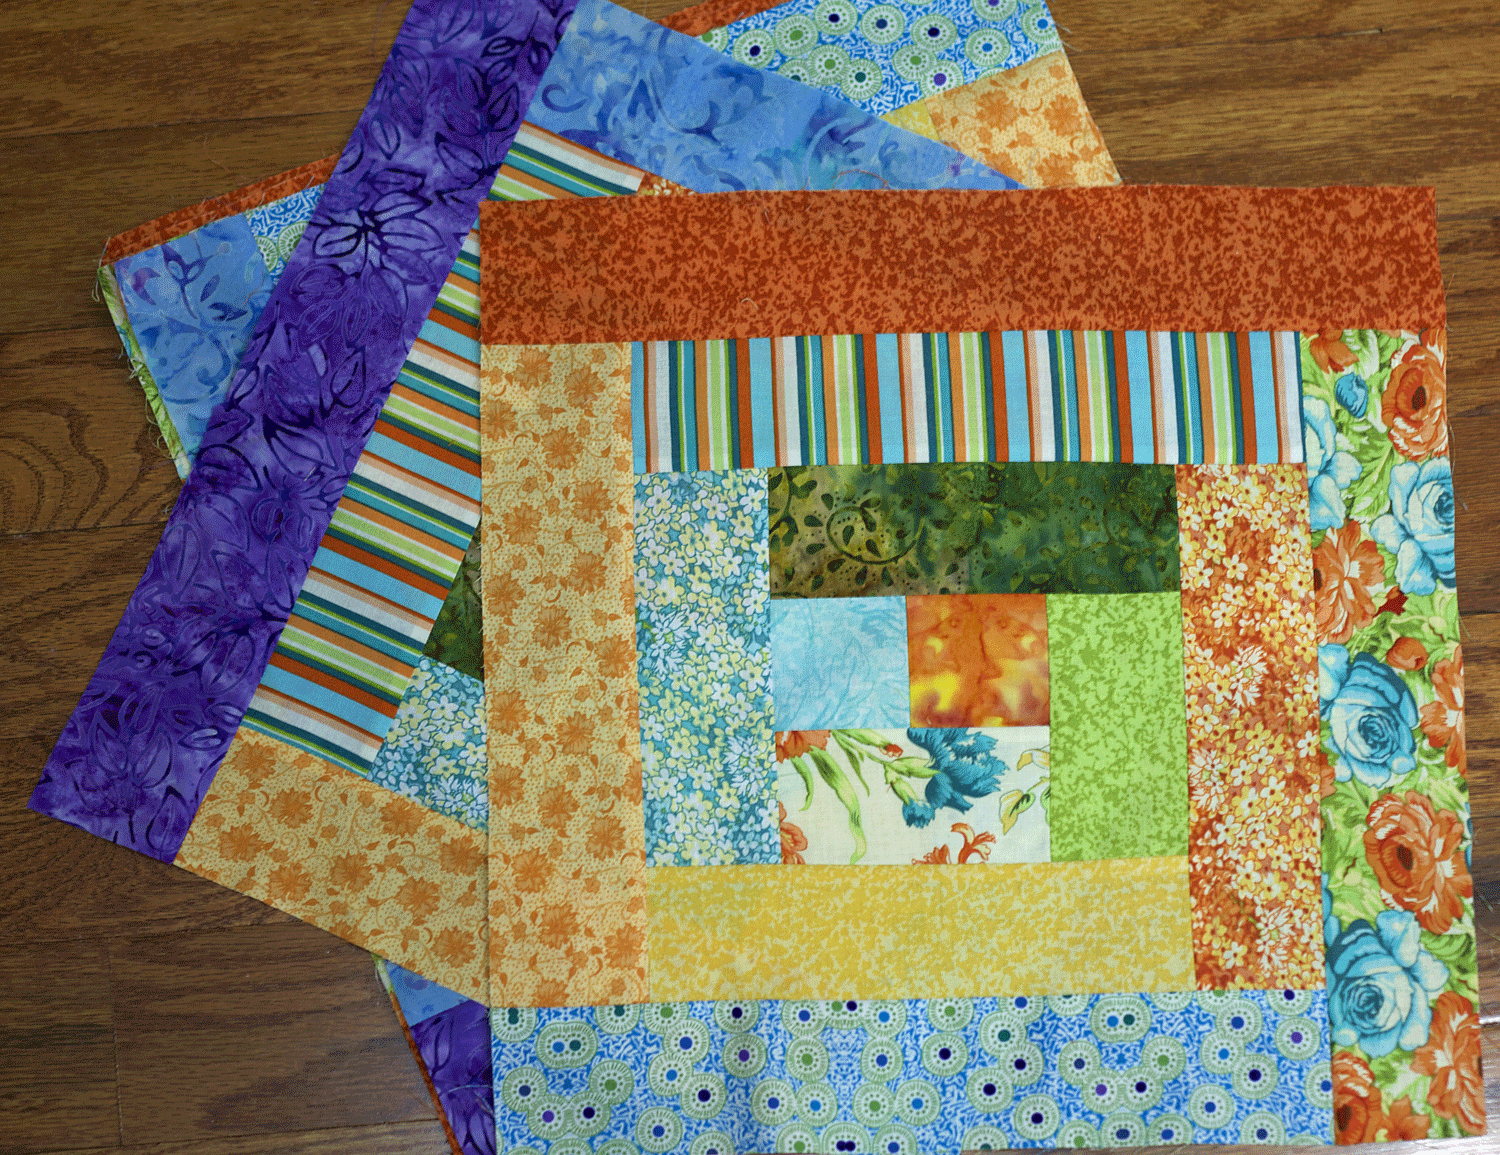
They aren’t ugly but I am just not in love. I can also see the reason for being totally scrappy with these block OR doing the light/dark contrast on the rounds of logs.
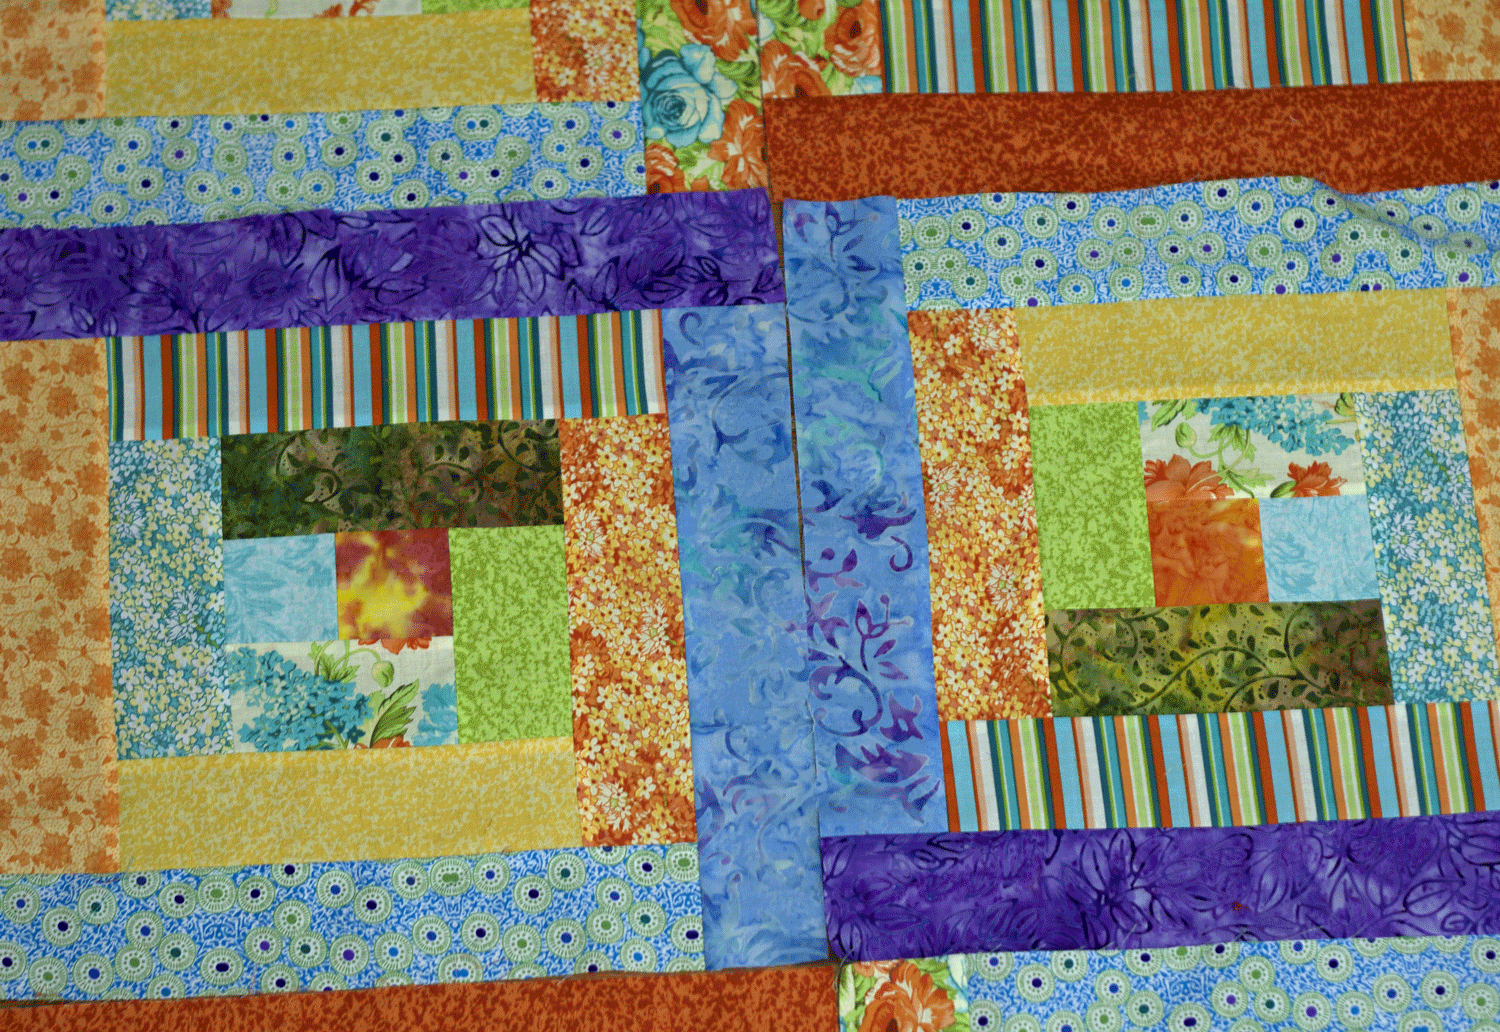
But live and learn, eh? Glad I made these and got that stupid jelly roll off of my shelf and some scraps outta my scrap box.
Finally, here is the project of which I am most proud. After doing all of that embroidery work this weekend, I decided that my sweet little Brother embroidery machine needed a little love. The superbly ugly plastic dust cover just wasn’t cutting it. Not in my sewing room! So, I cut that dude apart and used it as a template for a new machine cover. With some scrap charm squares, a bit of embroidery from…you guessed it…Urban Threads, I have the most awesome dust cover now!
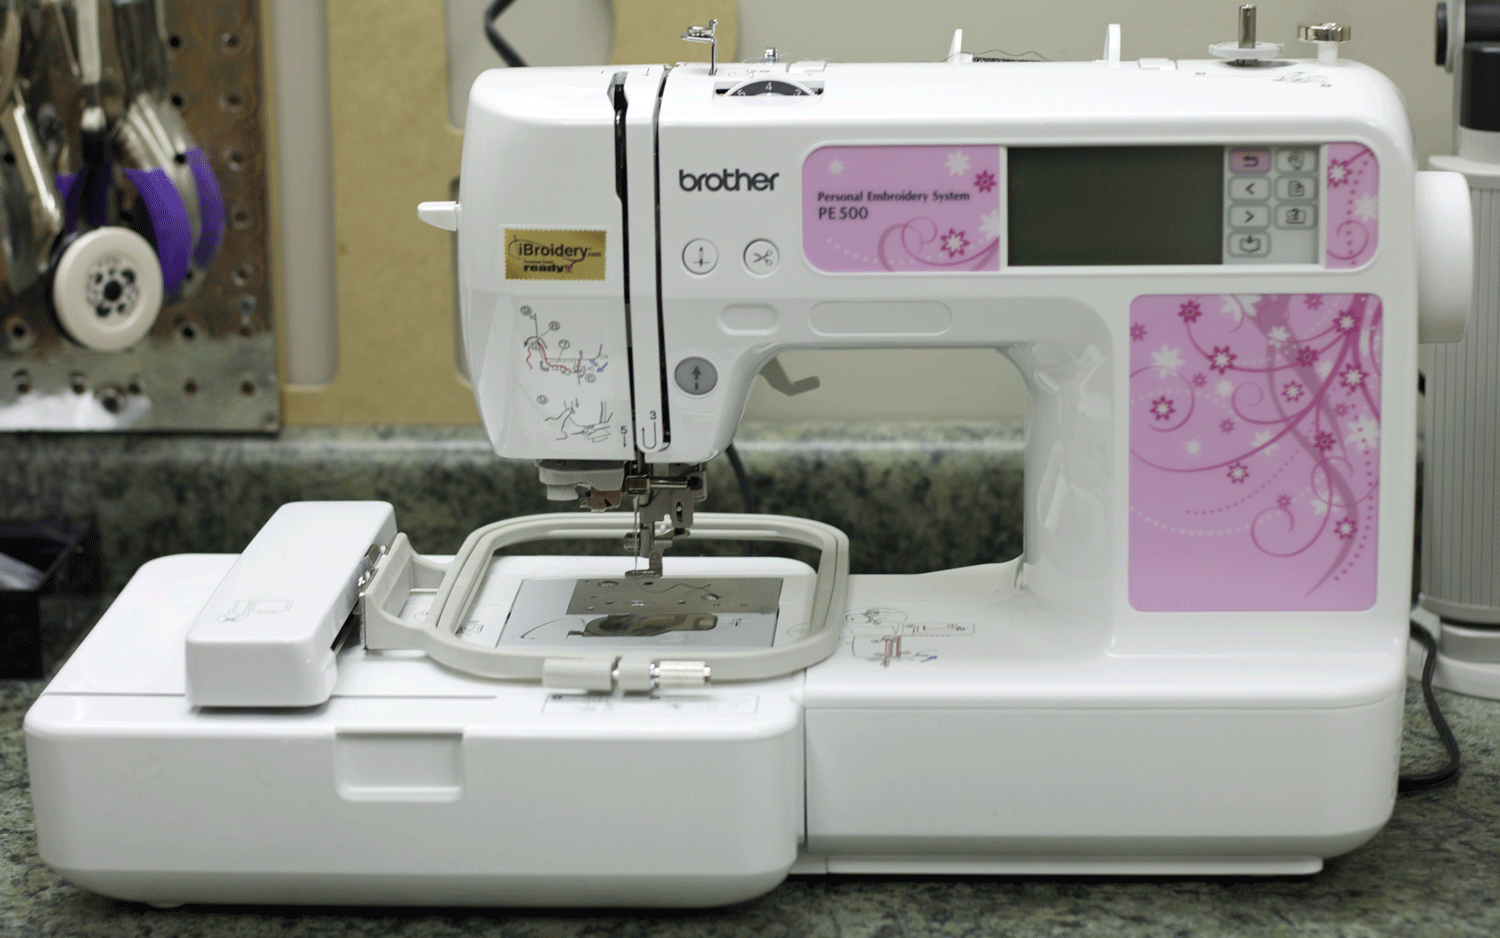
My Brother embroidery machine. I cannot say enough good things about it. A workhorse and a bargain that deserved to be dolled up.
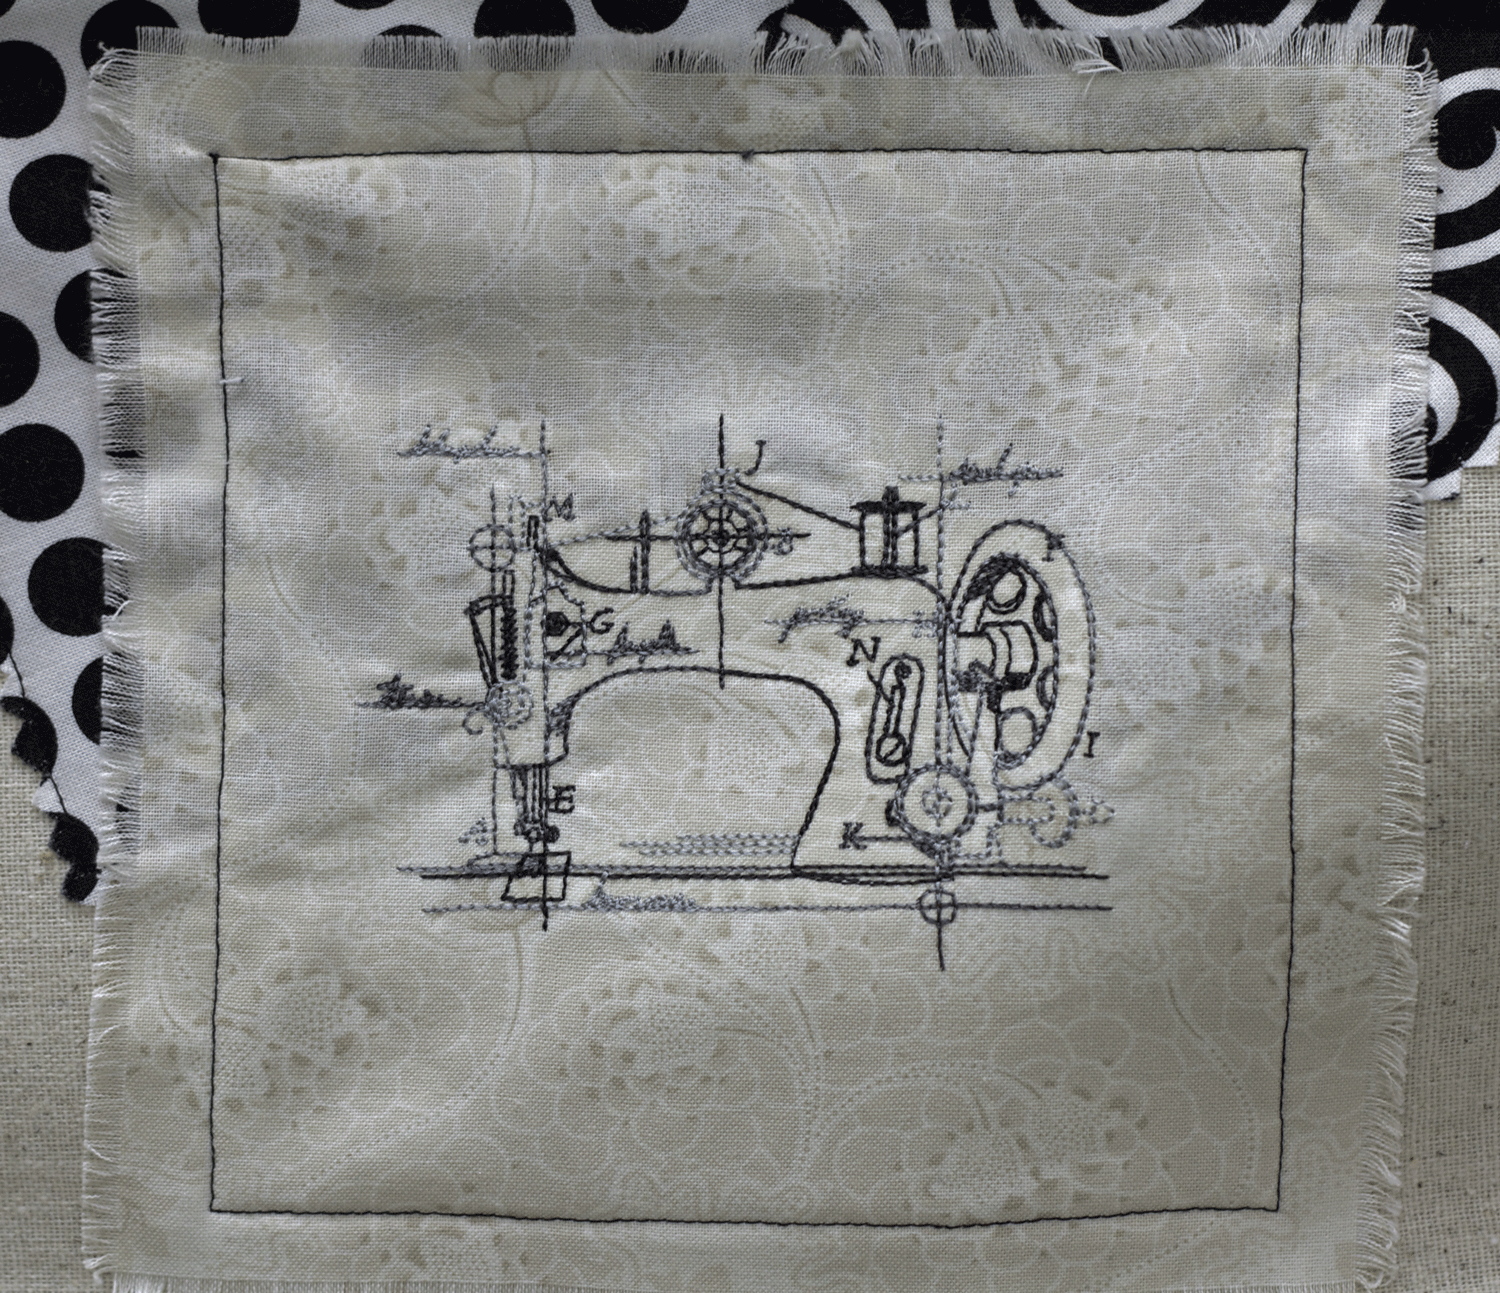
Fun embroidery patch sewn on the front and “fringed”. I used fusible fleece to give the cover a bit of shape and body and Osnaburg to provide that rustic linen look at a fraction of the price.
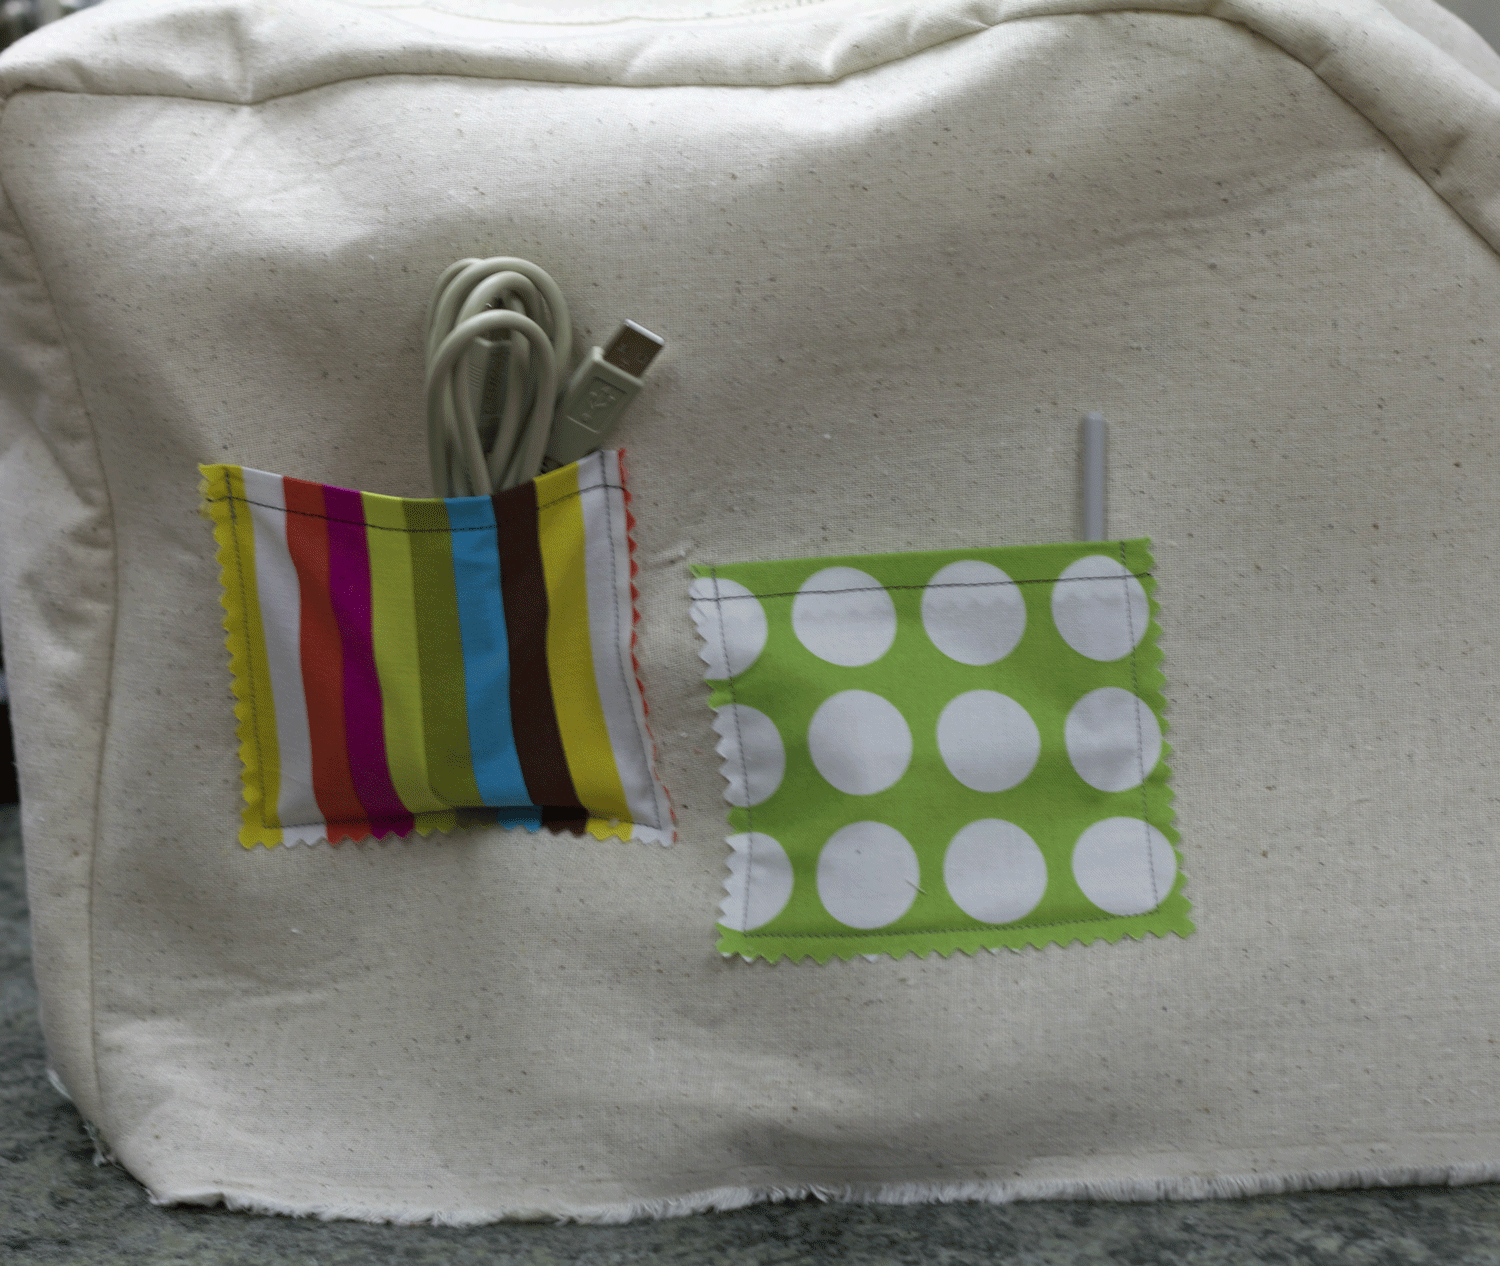
A couple of cute charm squares positioned on the back of the cover. The top edge is turned down and sewn to create a finished look and then the pinked edges on the other three sides strut their stuff. These pockets hold the USB cord and my stylus.
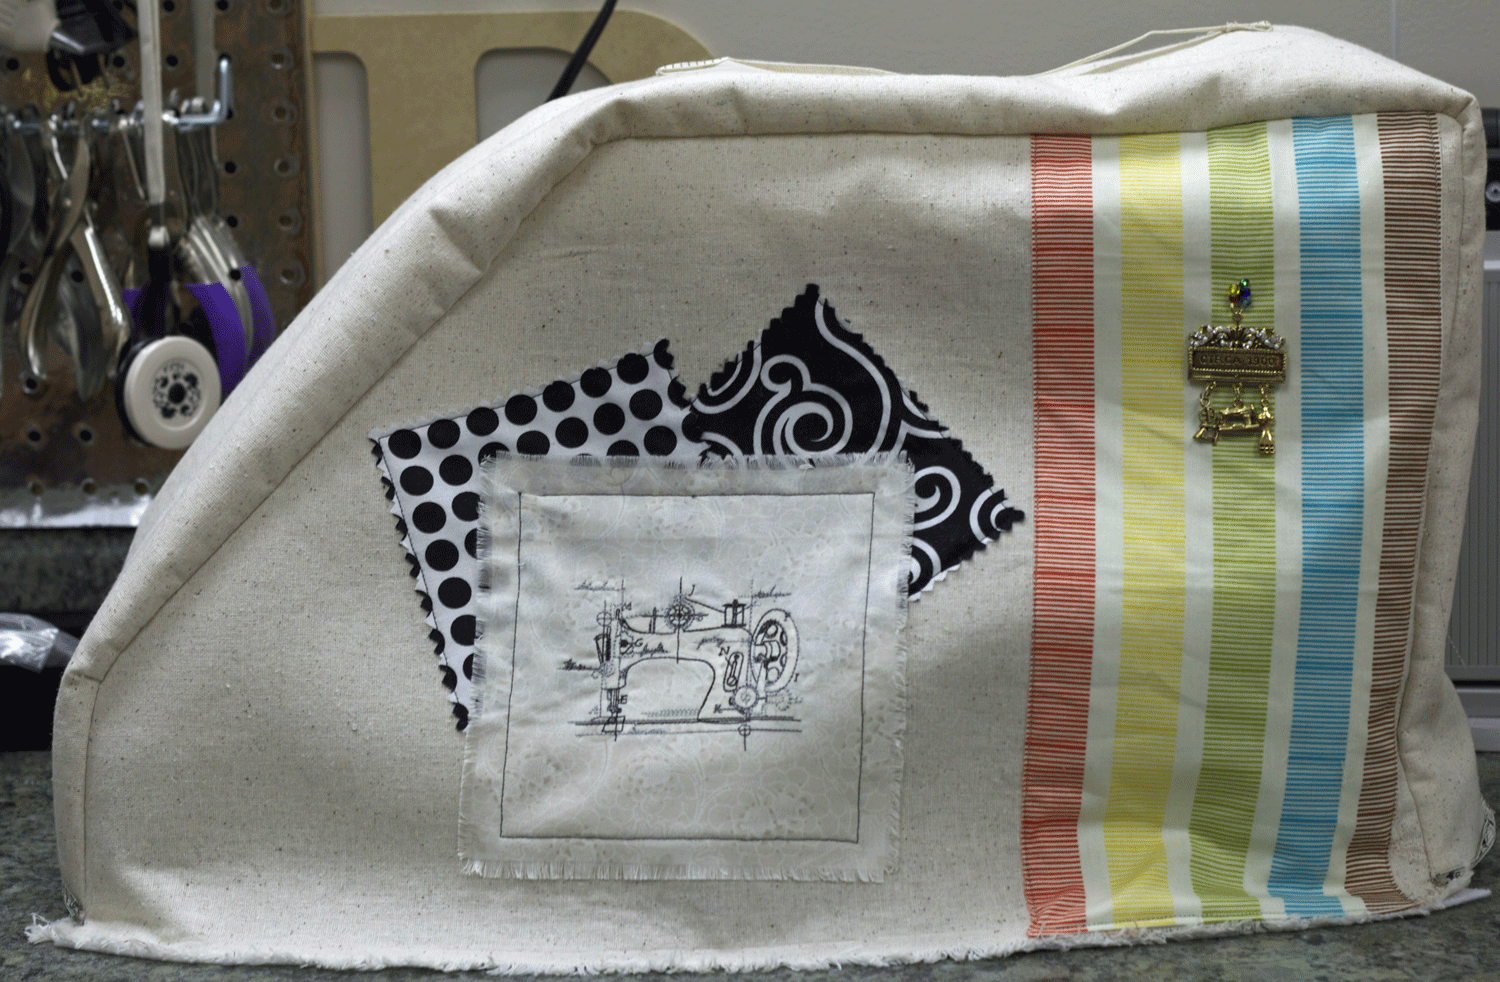
Finished project from the front. This is one of the first things you see when you enter my sewing room and I am SO happy with this. I think it turned out great.
Okay, I am finally done with my Show and Tell. What have you been working on?
Pingback: Happy Dreams and Snuggly Things - B's Treehouse
You are so wonderfully talented. Love looking but alas I am not as creative.
Oh my!! How I love reading your blog posts!!
Loving the material for the neck ties!! Don’t know where you got that!
As for me, I’ve been dabbling in several things …. To be posted real soon!!
Love ya Becky!