A little over a year ago the mister and I bought a brown ombre’ comforter for our king sized bed. Make a note, a king sized bed is the key to a happy marriage….scoot OVER already!
Anywho, if you are a regular reader you know that we brought a really cute Wire Fox Terrier into our home this past August. His nails have not been kind to our comforter. I place blame squarely on the mister as I provided a perfectly lovely crate and dog bed for Charlie to choose from (and sleep in). Guess who encouraged him to sleep in my, er um “our” bed.
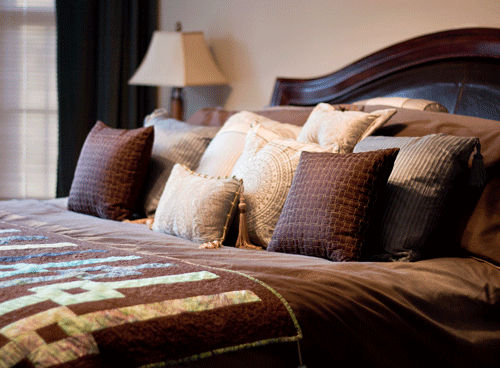
We liked the weight of our existing comforter. Not too heavy, yet enough to keep you warm on cold nights. So, I was loathe to replace it just because it was looking a bit haggard. I decided to scour the web and Pinterest for ideas and perhaps a remedy for my situation.
There is a fabulous tutorial on Design*Sponge. Please read through their posting as it is VERY good and exceedingly helpful. However, in my regular spirit of being different I had to do something…well, different!
I found some great fabric that went with my aqua and brown theme but I couldn’t decide which I liked better and the mister was ambivalent. This actually gave me some creative license to not choose. Why not use them both?
I decided to use the sheet idea, but just for the center panel on front and back. Then I would use the two fabrics I chose for the side panels on front and back so that I would have two different looks but the same colorstory.
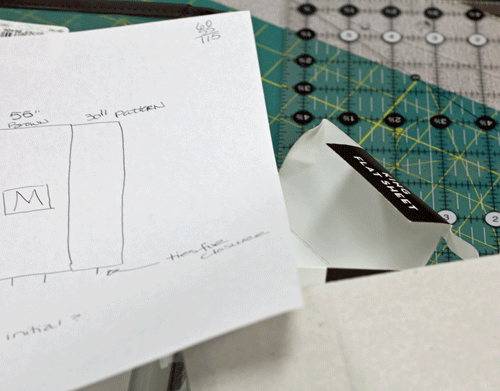
Here are the colors I chose:
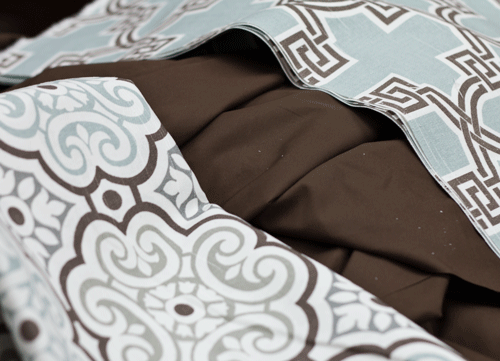
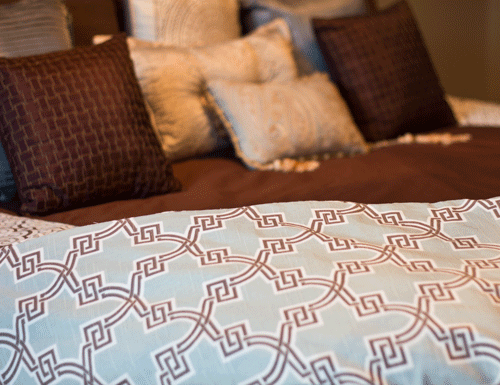
A nice chocolate brown sheet would be my center panel on both sides and then the medallion on one side and the geometric on the reverse. All in a muted aqua and brown with touches of white.
I opted to follow the lead of the posting on Design*Sponge and sew the French seams since I do not have a serger. While they look complicated, they really aren’t. This method is totally worth the extra time and effort. In my case I spent about 12.oo for the king sized sheet and 8.00 per yard for the 6 yards of home decorator fabric. Add in the cost of ribbon ties (I will get to that) and thread I have about 70ish dollars tied up in this project. But saving money isn’t the only goal here. Don’t go through all the effort of tackling a job like this unless you are willing to go the extra mile. I don’t mean that you have to be perfect because my finished project has a half a dozen issues that I could easily point out. But I do think that you should take the steps to make it look as professional and finished as possible. Other than time, that effort costs you nothing….zip, zilch, zero!
First (with help from the mister) I cut the king sheet in half lengthwise which gave me two 55″ wide (approximately) panels. Then using my home dec fabric, we split those from 3 yards x 60 inch cuts into two 3 yards x 30 inch cuts. Therefore, I would have a 30″ home dec piece attached to a 55″ sheet attached to a 30″ home dec piece. Ultimately my duvet top would be about 115″ inches wide or about 112-113″ wide finished. I would repeat the process for the back of the duvet, using the other cut half of the sheet.
Sewing the French Seams
First step is to sew wrong sides together with a 1/4″ seam. Then grade or cut this seam to 1/8″ inch.
Iron the seam to one side and then fold right sides together. Press in place and then clip or pin so that the fabric doesn’t shift.
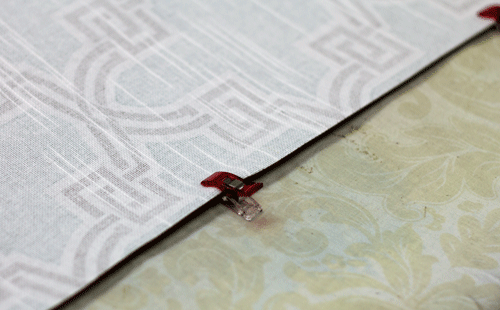
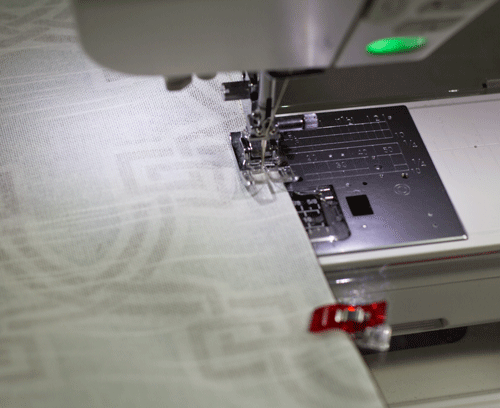
Now carefully and slowly sew a 1/4″ seam down this clipped side to encase the previously sewn seam.
Now when you open the seam after this stitching, it will look lovely, finished and flat.
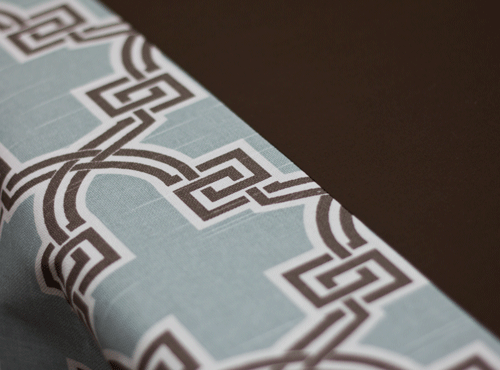
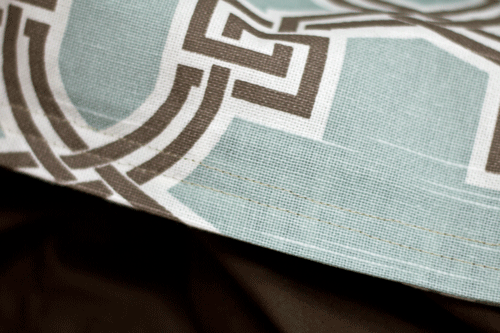
While that is nice, here is where the extra step comes into play. I topstitched down each of these seams to give it that extra “professional” finished touch.
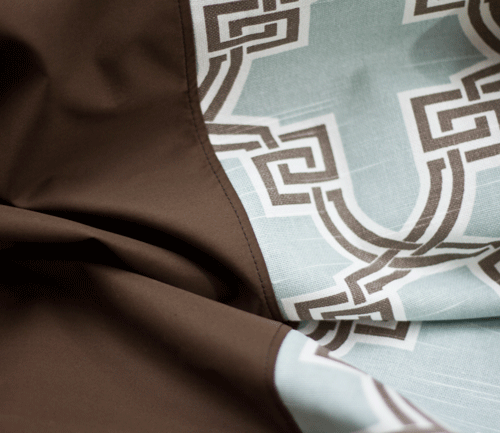
Yeah….that looks better. A lot better. It is the little things that really do matter. I know that I just sewed that same seam like three times already. But I made this look good!
Repeat this process so that you have three panels for each half of the duvet cover. If your side panel fabric design is directional, make sure everything is pointing in the same way. Before you sew it together. You’re welcome.
Using the French seam method (you are a pro now, aren’t you?) sew the front half of the cover to the back half leaving the bottom edge open. Do not topstitch the sides and top edge.
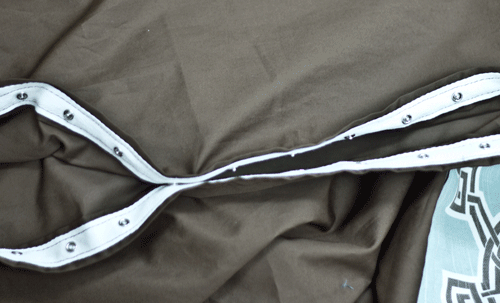
On the bottom edge I turned under and ironed 1″. I repeated this and then stitched all around the envelope. You can use all manner of closures for your duvet opening….buttons, snaps, ties….whatever you choose. I opted for snap tape and stitched on the female side first and then positioned the male side accordingly so that they would line up. Using your zipper foot here is helpful so that you can get close to the snaps without striking them with your needle. A visit to the ER negates any savings of making your own duvet cover, okay? So, please use caution and best practices when using snap tape.
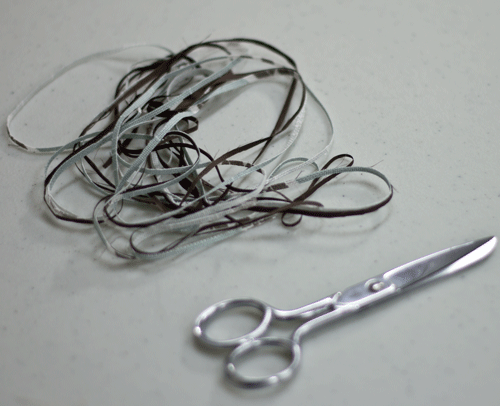
Next I flipped the duvet cover inside out. Using 18″ pieces of grosgrain ribbon folded in half, I stitched one length in each of the four corners of the duvet cover.
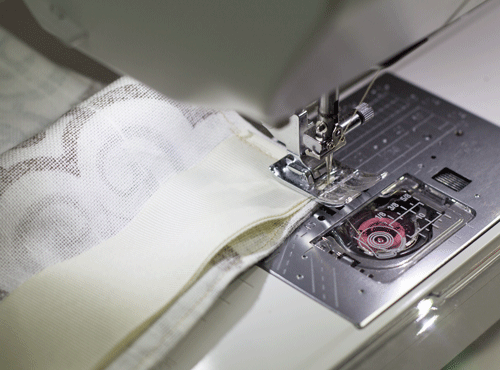
Don’t sew it exactly in the corner…..this helps to reduce the bulk.
Now with the duvet turned right side out, I decided to stitch shut the bottom edge along the home decorator fabric since I didn’t need or desire the entire bottom edge of the cover to be open.
Now it was time to put it on the bed and take it for a test run! We inserted the comforter (you can use the same or a duvet) through the opening in the bottom of the cover. We pulled the top corners of the comforter to the top of the cover. Using a bit of struggling, ingenuity and effort we tied the ribbons around the corners. Fluffing as we went, we arranged the lower half of the comforter and then secured the ties in the bottom corners. These ties prevent the comforter or duvet from shifting and bunching. Nothing like an envelope with all of the fluff at the bottom!
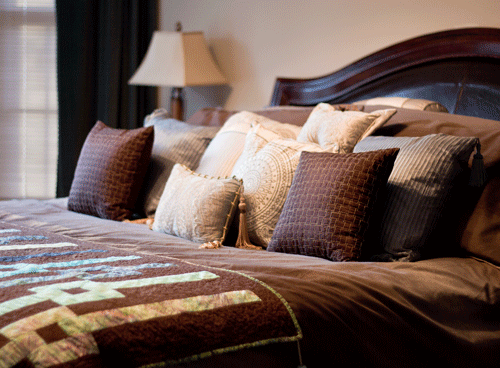
Again, this is what it looked like before the cover.
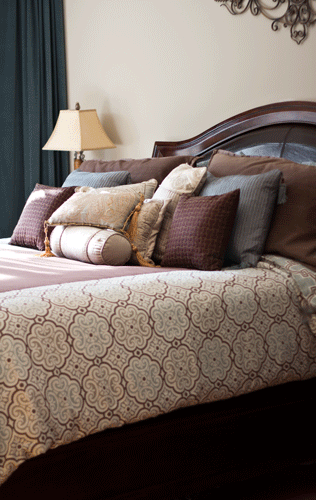
Here is after. And how about a view of the reverse side:
One more look:
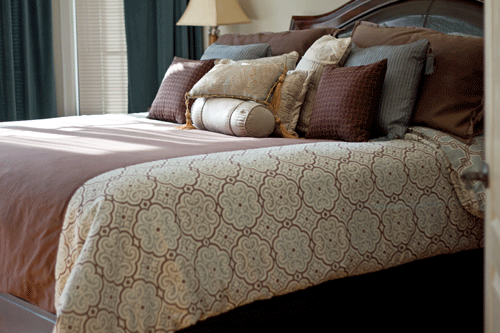
I must say I am quite happy with the new “spring” look for my bedroom. It wasn’t difficult technically, but dealing with all of that fabric for a king bed can be a challenge. Don’t give up! It is worth it in the end and I am happy that I tackled this project. Thanks again to Design*Sponge for the inspiration and great tutorial!
Love it