Back in September the mister and I went to O’ahu to visit family and we had a great time! Someone suggested that we go to the swap meet at the Aloha Bowl and we thought that sounded like fun. Fortunately the meet starts early in the morning because it doesn’t take long to get hot in Honolulu and the sun is nothing short of brutal. We found some great bread and some other goodies that oozed with island flavor. However, my find of the trip was fabric.
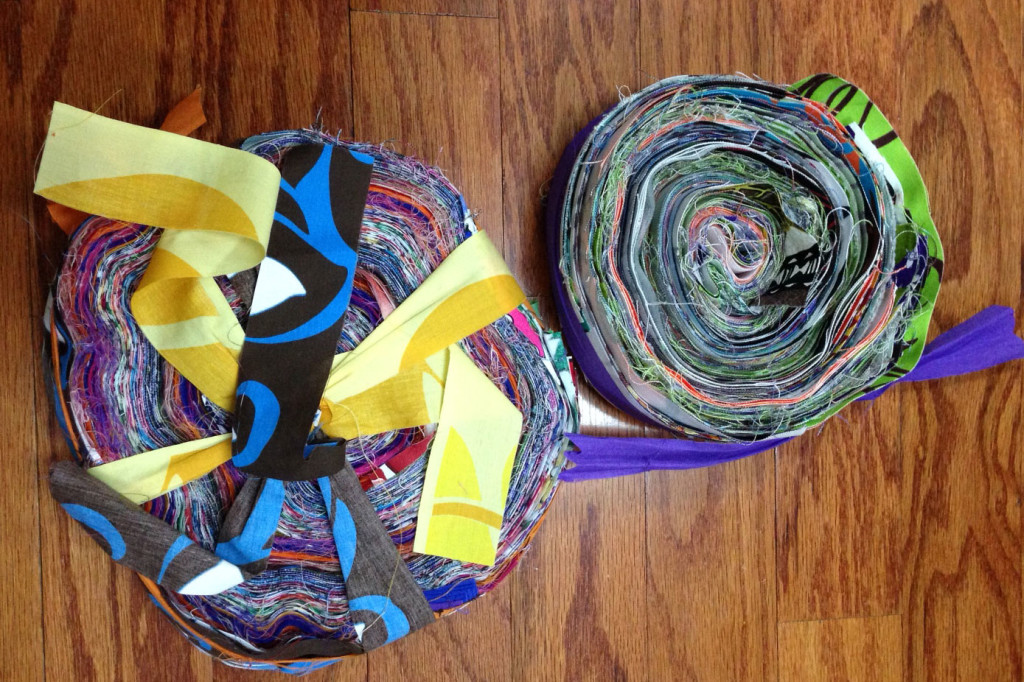
A local company makes some great bags and purses with island infused fabrics. I love the bright colors and happy prints but I would rather make my own bag. I spotted some piles of “scraps”…..strips and squares and asked if they were for sale. The young lady was happy that I was interested and I bought three rolls the size of the one on the left for 5.00. Yes, five bucks! Granted all of the strips aren’t the same length or width and each was about and inch and half wide. Nevertheless, I felt that the price was right and the perfect project would present itself.
Olfa has a facebook page and they featured just the project I was looking for! Alida Makes posted a quilted heart rice sack with a wonderful little tutorial found here: Heart Sack I was so jazzed when I saw this. Perfect for my imperfect strips, plus quick and easy.
I picked out about 40 strips and sewed them together on the long edges. Using a sheet of printer paper, I folded it in half along the long edge and drew one half of a heart. Then I cut it out and used it as my pattern. While the heart might not be perfect, this way each side is symmetrical. I took my time to cut out one heart at a time due to the seams and I was able to get 13 hearts out of the strips I sewed, with very little waste.
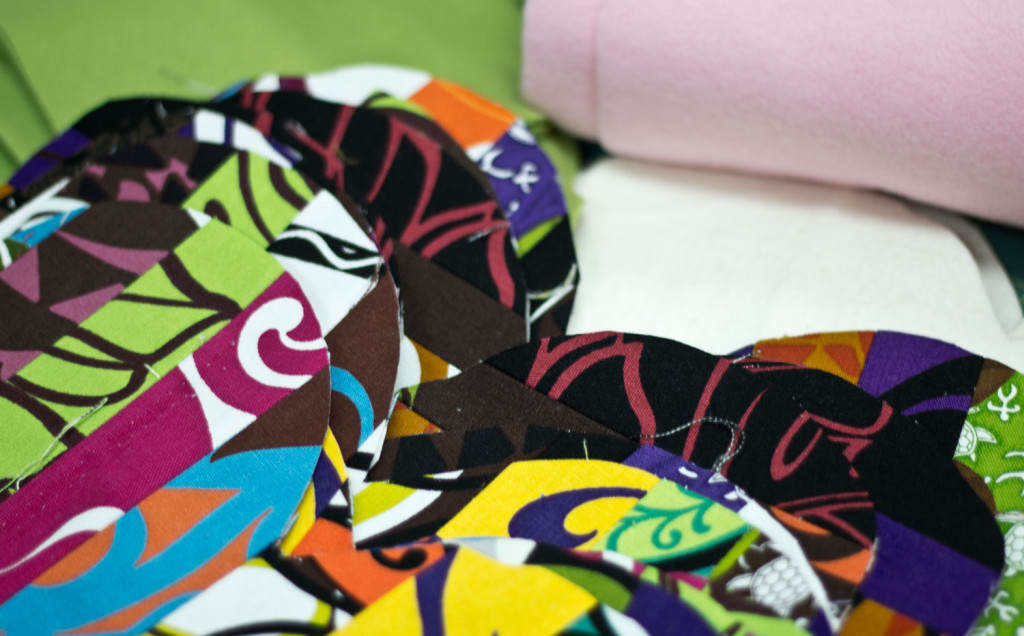
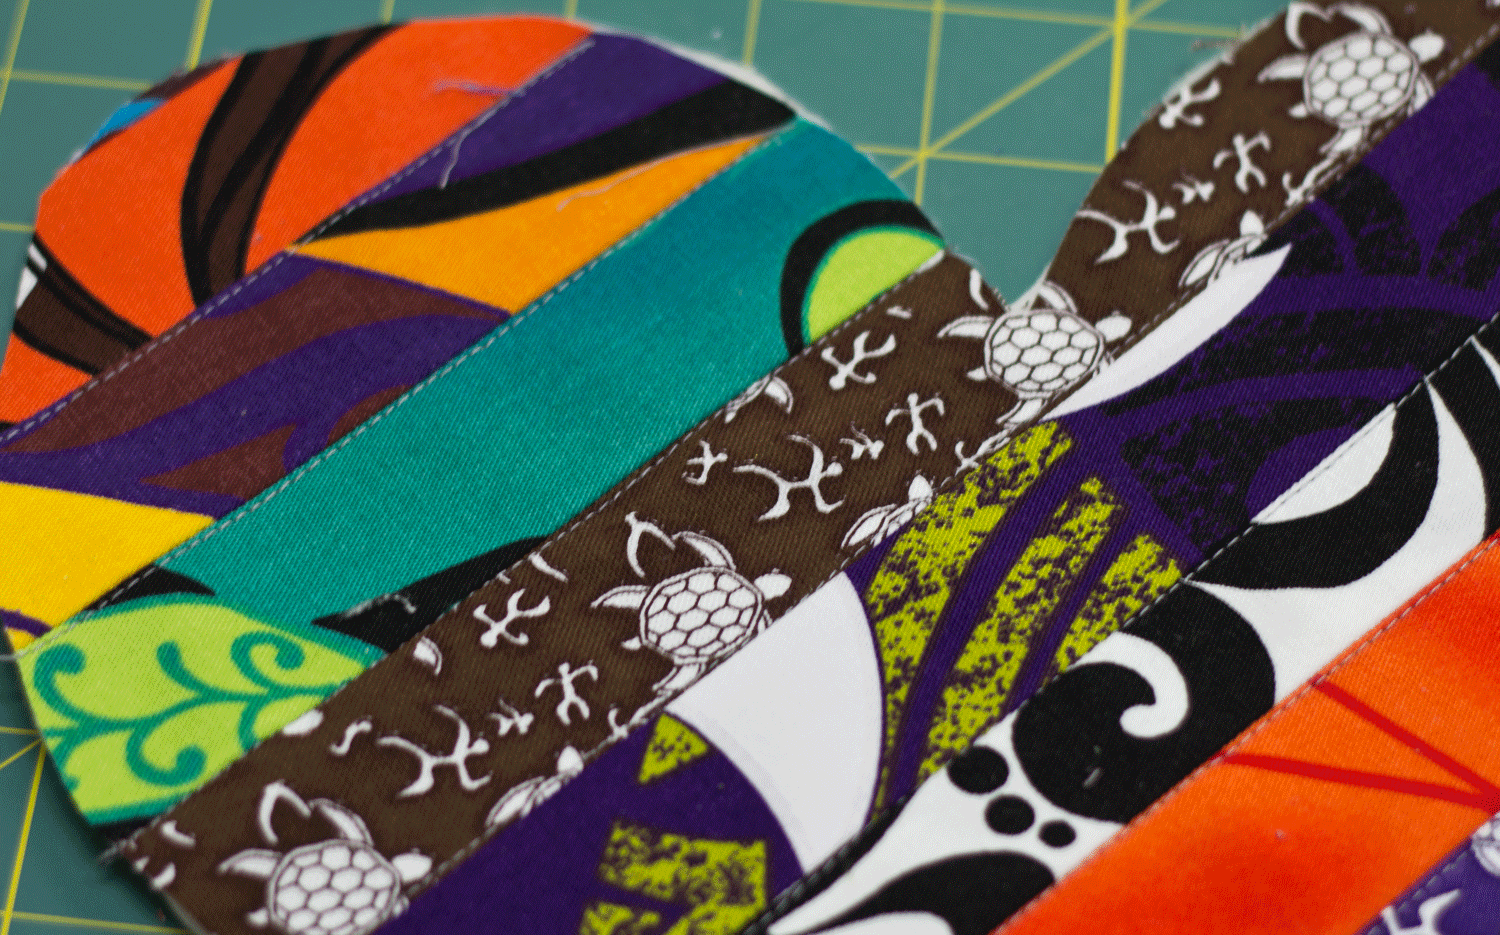
Next I dug out some flannel that I had in lavender, green and pink and cut backs for my hearts. Because I wanted to add a little something extra to my heart, I also cut out batting for each heart. Now for some assembly. I topstitched each strip of fabric to attach the batting. This also makes everything look finished.
Next, I used Clover clips (I Love them!) and put right sides together to sew each of the hearts.
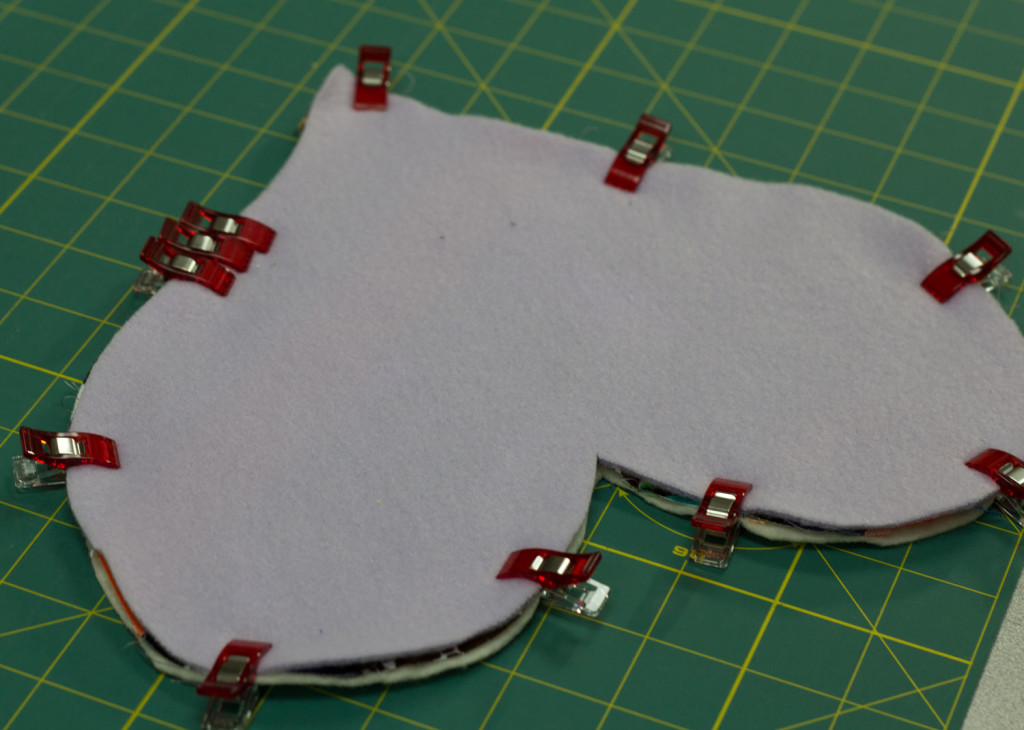
I put the three clips on the left together to leave an opening to turn the heart right side out. I often get caught up in the sewing moment and will forget to leave an opening if I don’t provide myself with a roadblock!
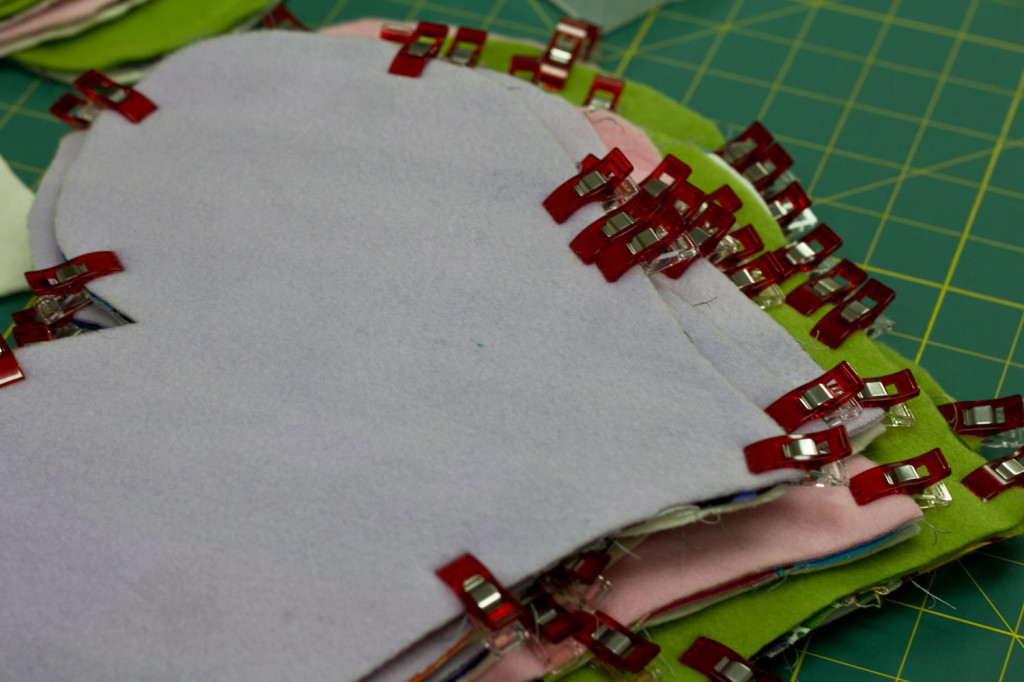
Here is the whole stack clipped together and ready to sew.
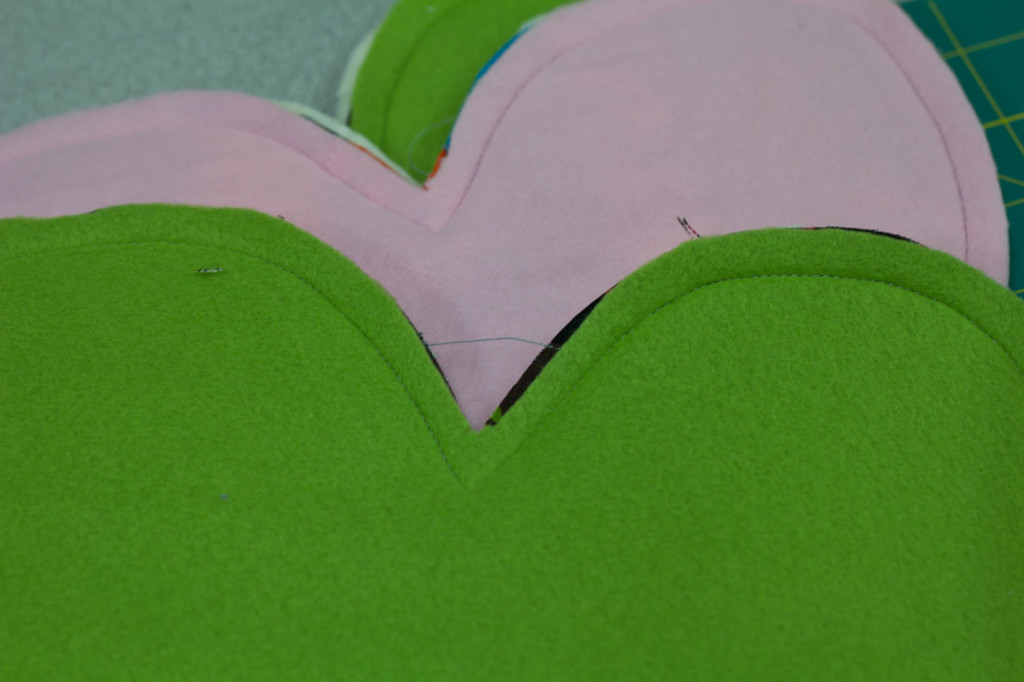
Here is the stack all sewn, ready to clip the curves and then turn. Once that is done, I then topstitched all around the perimeter of the heart up to the opening that I left. I did this first because I don’t want to deal with the rice around the edges plus it adds reinforcement around the edges to help keep the rice in where it belongs.
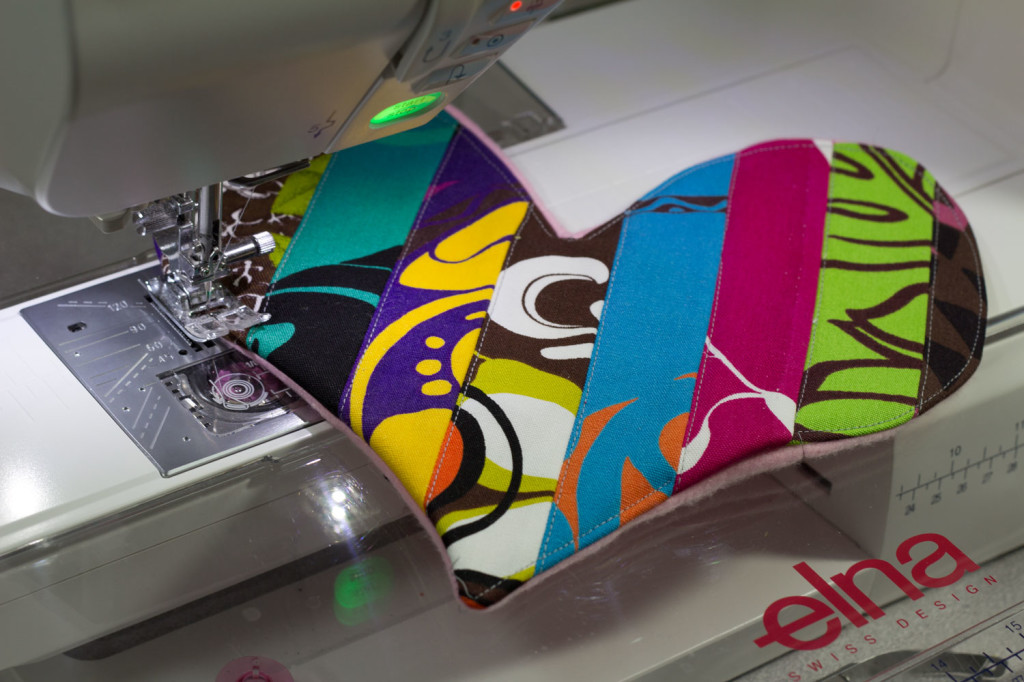
You can see the opening along the bottom of the pink strip.
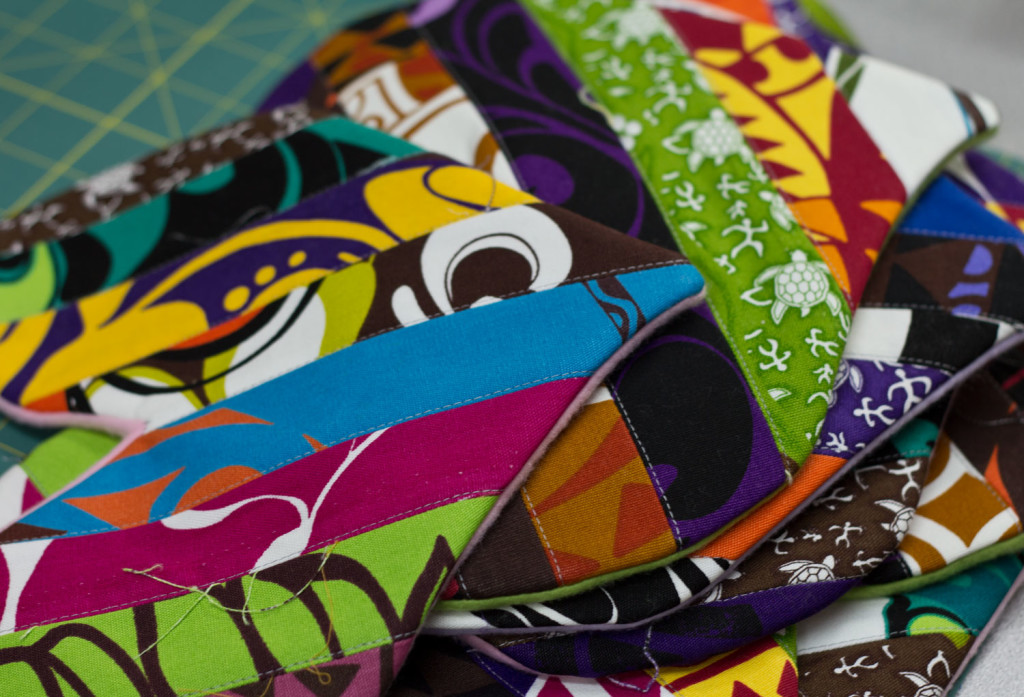
Here is my bright and beautiful stack of unfilled hearts.
Using about 15 pounds of rice (total) and a rolled up piece of paper to create a funnel, I filled each of the hearts but not to overflowing. You want the rice to be able to be able to shift a bit to allow for even heating and cooling. Once they were filled, I finished off the topstitching to close the opening. If you are struggling to do this, your heart is too full.
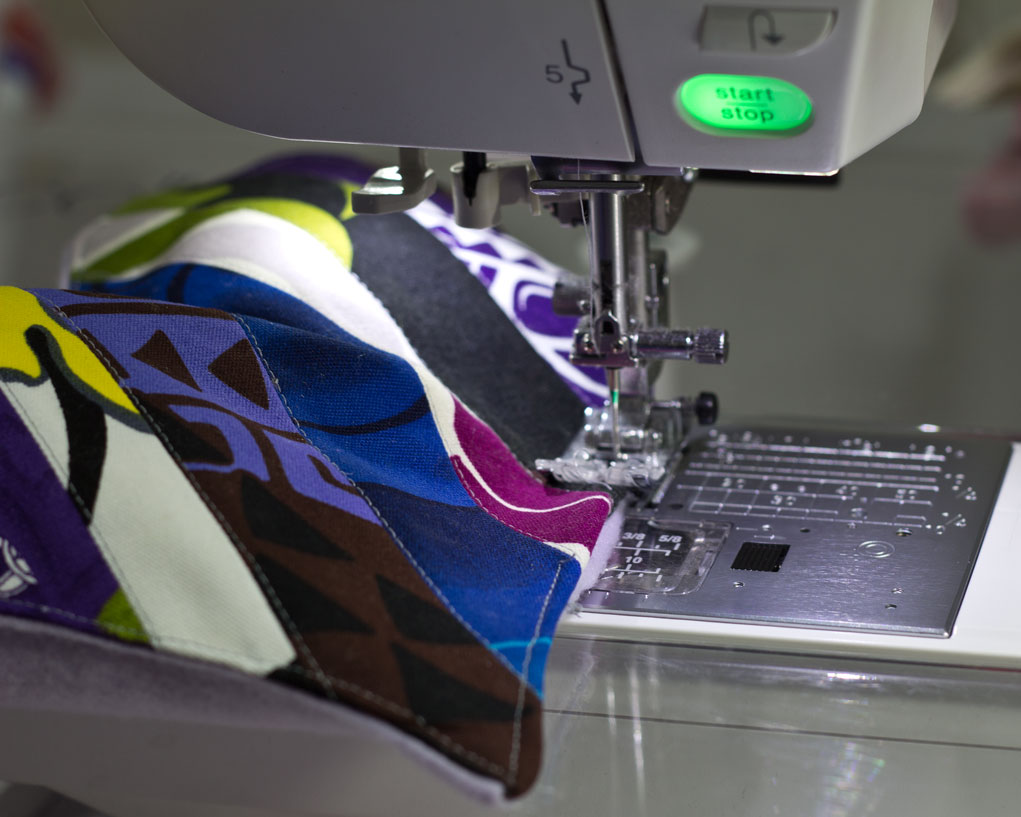
As you can see, my heart is filled but “squishy” allowing me to move the rice to the side so that I can easily sew the opening closed.
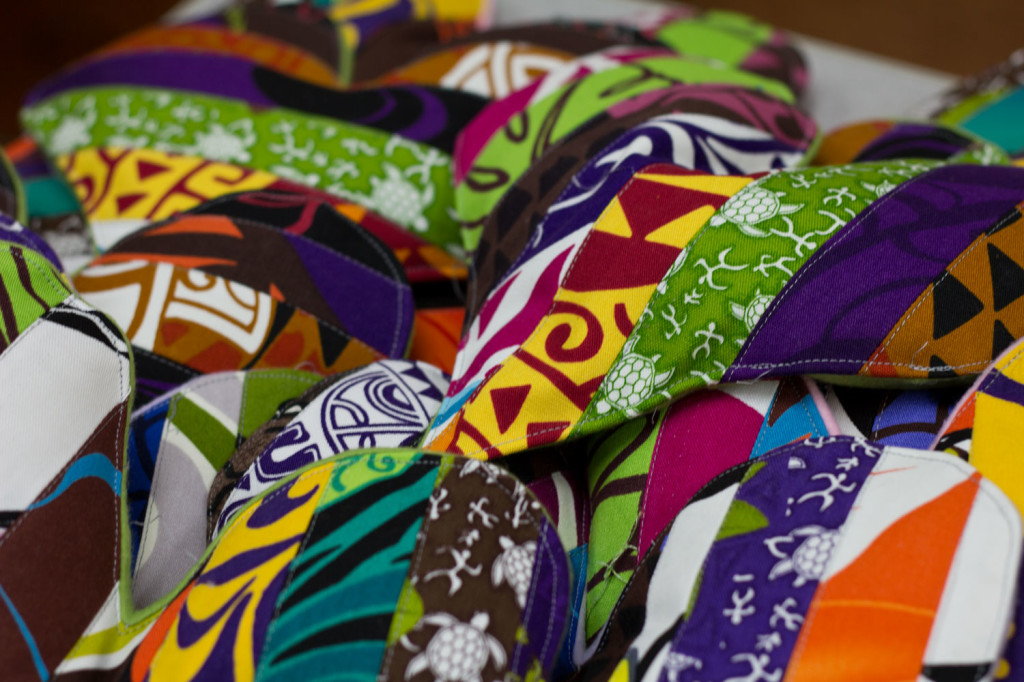
Here are all of my sweet little hearts filled, sewn and ready for gift giving. I finished these thirteen hearts in an evening and they will make some lovely little Christmas gifts.
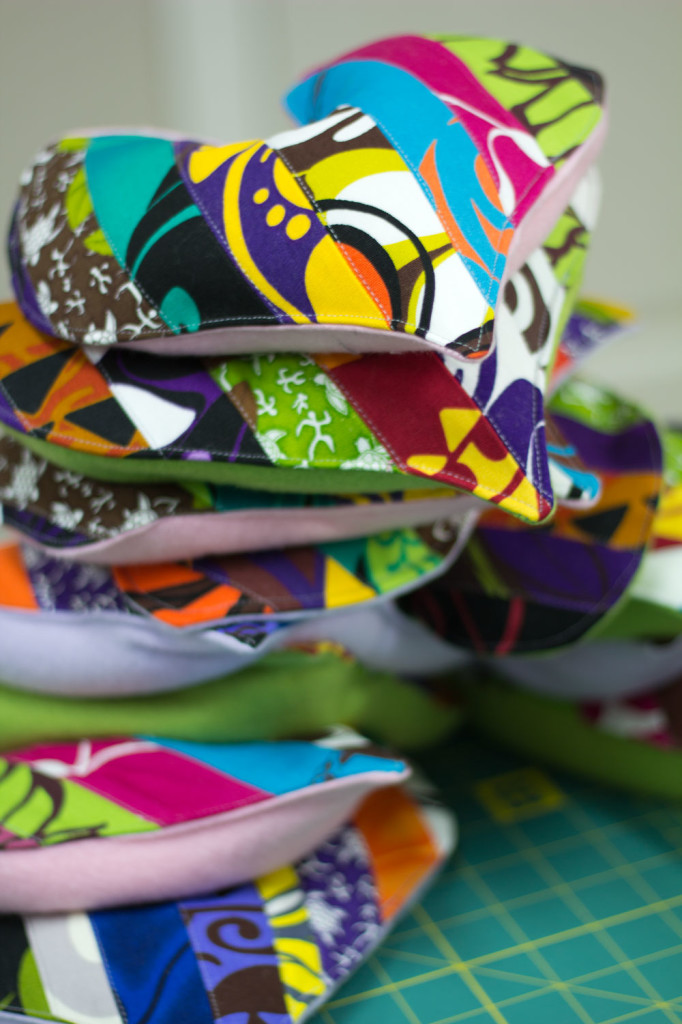
One minute in the microwave with these cute hearts and you have a natural heating pad for your neck or shoulder. Or perhaps, this will warm up the chilly foot of your bed this winter.
Too dang cute girl! These were what you were telling me about Friday. Wonderful way to use up scrap material yet be useful at the same time! A little treasure from Hawaii! Brilliant!
How sweet are these? I never would have come up with this! I wondered what you were going to do with all those pieces of fabric…They would have been languishing in my closet for years! Love it! You clever girl!
Delightful to look at and delightful to use. Thank you for sharing the “how-to”.