April is my favorite month of the year….it is my birth month! Six days after my birthday, my good friend Hazel celebrates her Taurus birthday. And that is no bull.
Cheap joke-keep moving
Since my friend is Choctaw and adores all things Native American, last year I made her a quilt from some great novelty fabrics.
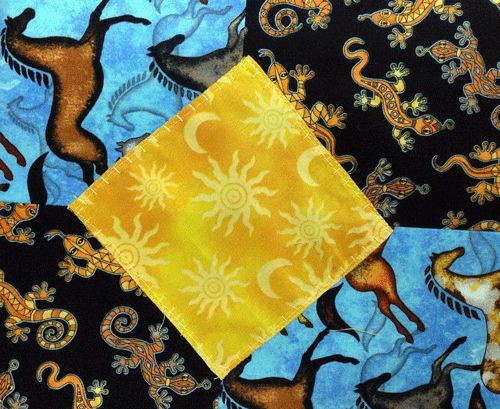
With help from the mister, I designed a whole quilt around these wonderful fabrics. I had to be creative because I could only find fat quarters of most of the line and yardage for two.
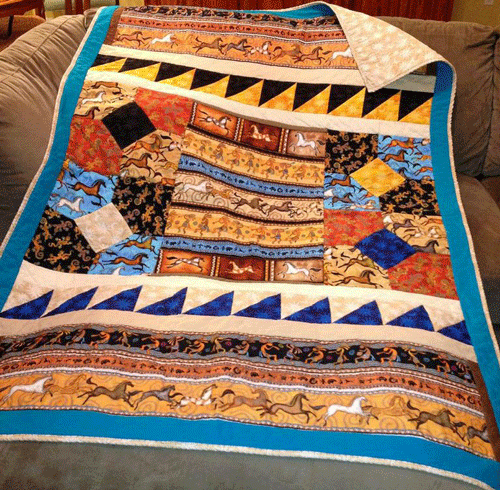
Pretty kewl, eh?
I know she loved it, but that was last year. Now what? I also know she loves kokopellis and I did have some fabric left from the quilt. I looked to see if I could find a pattern or kit for a kokopelli or something similar and there simply wasn’t anything available.
Now let me preface this by saying, I can’t draw and art is just something that I don’t excel at. But I thought I would take a stab at this. I searched the web for a line drawing of a kokopelli that would serve as a guide.

I spied a coaster on my desk and this served as my inspiration piece. I would start by tracing this for the head.
Using freezer paper (it is paper on one side and shiny on the other) I began drawing out my pattern for a kokopelli wall hanging.
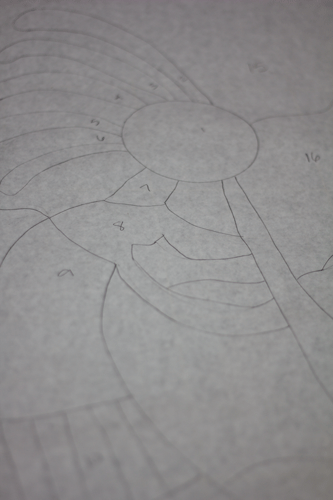
Next I chose some fabrics that I thought would work well with this theme.
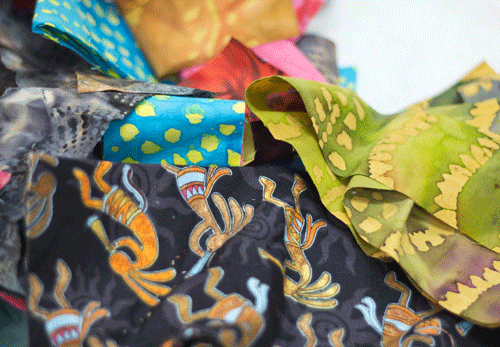
Love these colors and patterns!
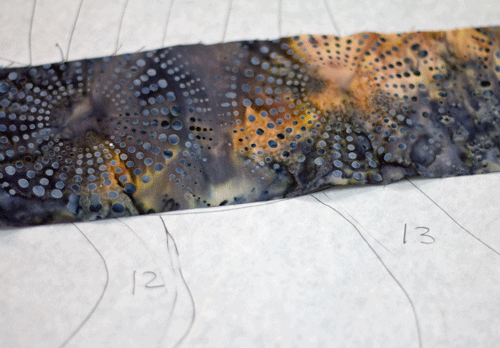
I auditioned the fabrics on the pattern to see where and how I wanted to place them.
So that I could remember what I chose for each section of my wall hanging, I numbered the pieces.
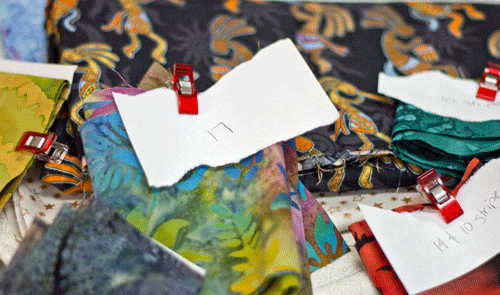
I also created a “menu” in my journal for reference.

I first used my drawing as a guide and drew a chalkline on the background pieces to emulate the curving hills.
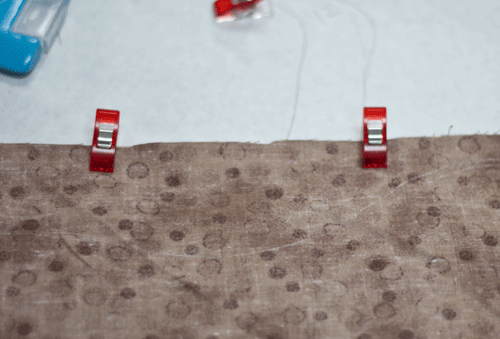
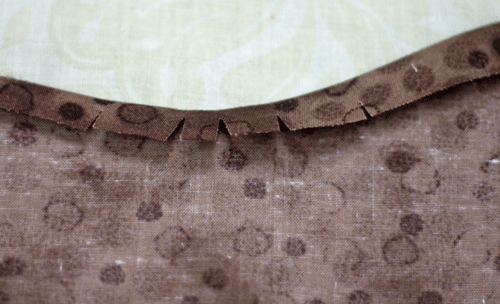
You can see my faint chalkline above. Then using about a 1/2″ seam, I cut away the fabric to create these curves. I pressed and clipped the curves as needed.
I started at the bottom and worked my way to the top and placed the pieces upon my pattern as I progressed.
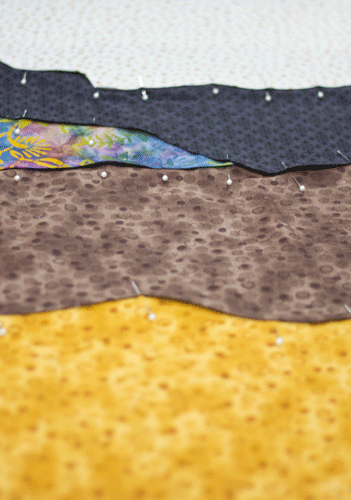
I pinned each layer together and made them oversized to give me some flexibility for placement. Because I was creating curves with each successive piece of fabric, upon stitching it created quite a bit of bulk on the reverse side.
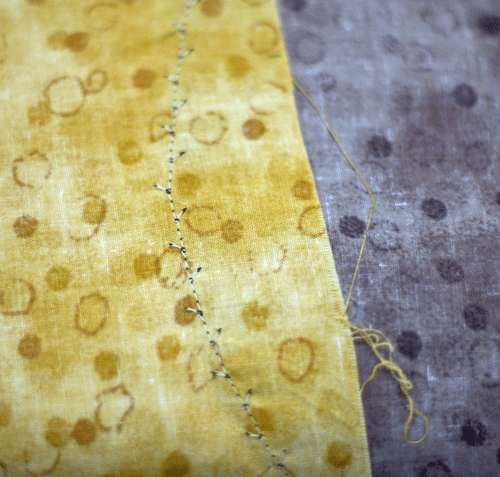
I used a variation of a blanket stitch to bring all of the background pieces together. Once sewn, I trimmed away the excess fabric on the reverse side.
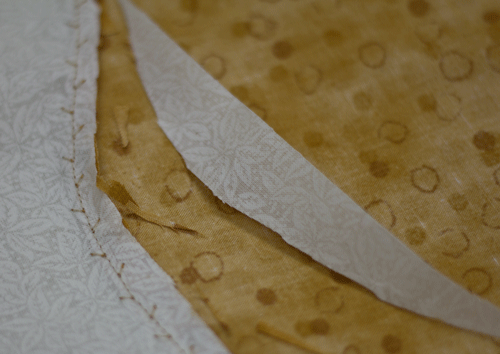
When I was ready to do the fusible applique of the kokopelli, this helped everything to lay as flat as possible.
Next I worked on a few details. The “skirt” of the kokopelli was three fabrics sewn together in strips and then cut from the pattern.
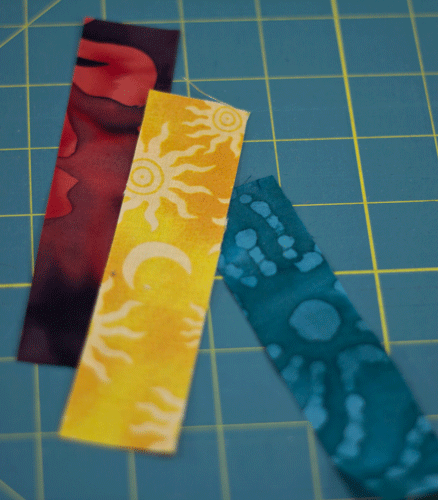
I stitched the strips together with 1/4″ seams.
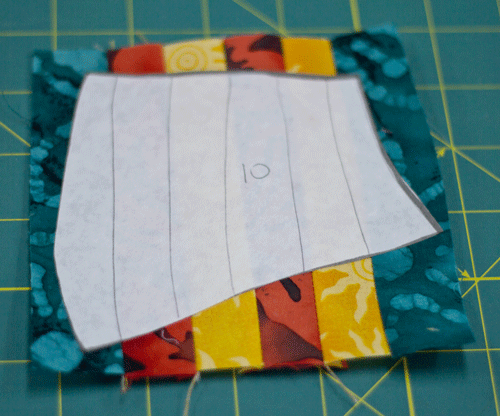
Then I cut the pattern from the oversized piece.
Admittedly, I didn’t exactly do this correctly or even the best way possible. But such is the way with something that you have never attempted before. I cut out all of my freezer paper pieces (remember I numbered them all so it would be easy to recreate) and used them to cut out my fabric pieces. THEN I attached the fusible adhesive to them. Listen to what I say and do not follow what I do! Iron the fusible to the back of the fabric piece according to the manufacturer directions and THEN cut out the pattern pieces. Otherwise you need a non-stick sheet so that the fusible doesn’t stick to your iron or your ironing board. I will know better next time but I honestly didn’t think this step through. I made it work, but the right way to do it would have been far, far easier!
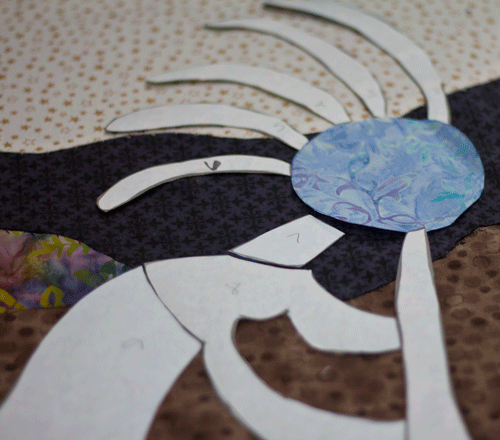
Here you can see that I have the head cut out, my freezer paper pattern pieces arranged on the finished background.
Once I had all of my pieces fused to the background, I stitched them into place with a decorative stitch and coordinating thread. But to make this a bit more stable, I added a piece of muslin to the back to eliminate any puckering or pulling. Once all of the pieces were edge stitched, I turned the wall hanging over and cut away any excess muslin.
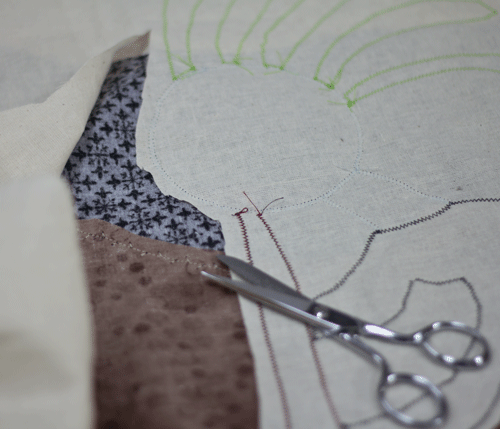
Here is a close up of the stitching around the head and headdress:
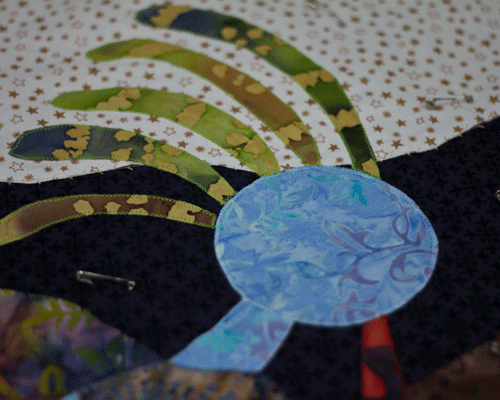
You can see that I now have it pin basted (which I NEVER do—sorry, but I am a spray baster!) and ready to quilt.
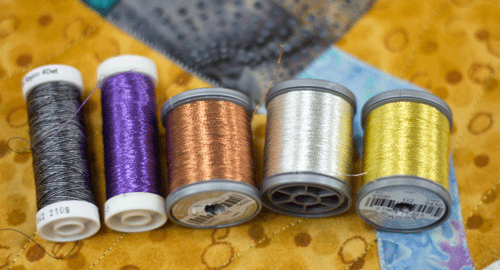
I wanted to pick some shimmery, shiny threads to do the quilting to add some dimension to the wall hanging. I thought these were great:
This was how my kokopelli looked prior to quilting. Nice but certainly not finished. He needs some depth!
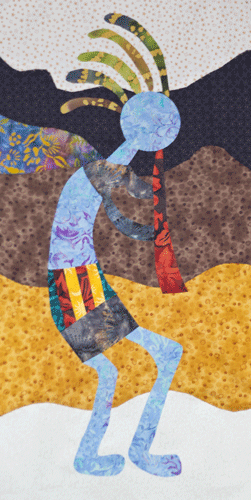
He looks so much better after showing him some quilted love!
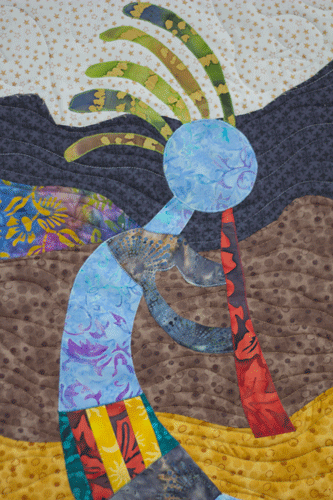
Here are a couple more views:
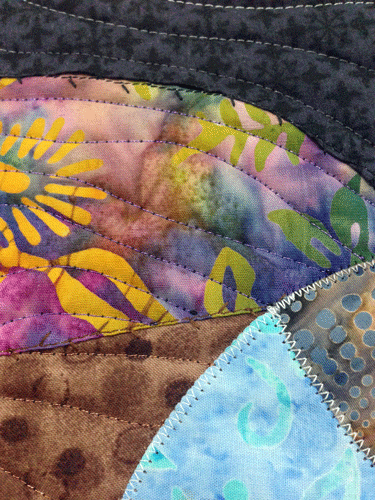
This shows the detail of the stitching
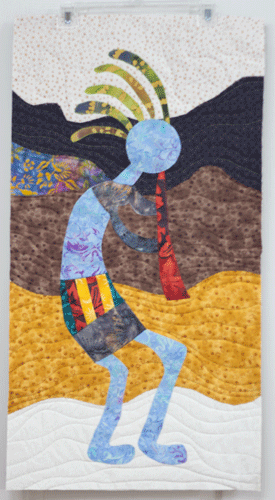
This is after quilting but before binding
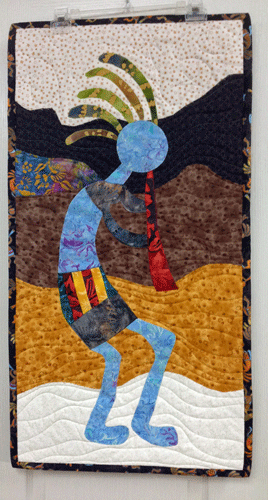
And what a difference binding makes!
Making this without a pattern (or even a plan!) wasn’t easy, but it certainly wasn’t impossible. With the exception of the backing and binding, all of the remaining fabrics were scraps and all came from my stash. In retrospect, I should have chosen a different fabric for the arms as the mottled batik tends to blend with the background. Meh. Live and learn. All in all, I am pleased with the outcome and the recipient was more than tickled. Plus it matches her quilt and was made with love. What more can you ask for?
If you are thinking about making a wall hanging image, go for it! I had a few mishaps along the way but ultimately it ended well. You can’t do it if you don’t try!
Your kokopelli quilt is absolutely gorgeous! I love to quilt and have also been looking for a pattern with no luck. Would you please share your pattern with me? I\’d like to make one for my ailing father who adores kokopelli. Thank you so much!
Priscilla,
Thank you so much for taking the time to visit my blog! I apologize for my tardy response to your query. As detailed above, I really didn’t have a pattern but did find an inspiration image on the web. I drew it out free hand and made it the size that I desired directly on the freezer paper. I hope you give it a try–I would love to see your finished project!
~b