Who doesn’t love Downton Abbey and all of her glorious (and inglorious) characters? Gone are the days of dressing for dinner and retiring to the parlor for scotch and a cigar. That isn’t all bad…some of us would likely starve before we could ever be presentable.
So while we no longer dress for dinner, that doesn’t mean that your table can’t look lovely and inviting. Lucky you…..I am here to help you with that!

Spurred on by a suggestion from a friend, I decided to find a pattern for a silverware holder. Let me tell ya sister….there are a bunch. But here are two different versions that I settled on and I think they are doable even if you are a beginner sewist.
Version One
I found this really nifty holder on a great blog: Confessions of a Plate Addict. Her inspiration came from here: Vintageweave. Okay, I really like these things but who would pay $92.00 for two of them? Not you and me ’cause we are making our own!
You will need a yard of fabric for 4 holders and another yard in coordinating fabric if you wish to make napkins. I had some great “Frenchy” light canvas fabric that was the perfect candidate for this project.
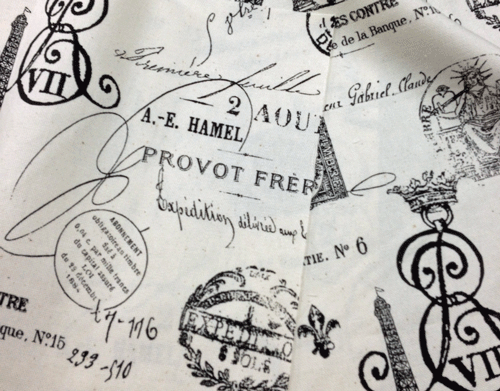
Cute, right? You will need 3-11×11″ squares for each holder or a total of 12 squares to make a set of 4 holders. I love my June Tailor Shape Cut to help me make multiple cuts all at once.
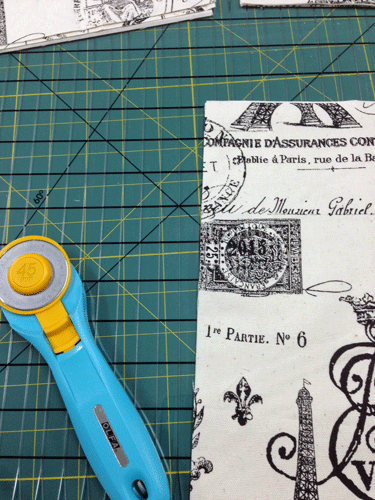
Enough yammering, let’s make something! Start by folding one of the squares in half
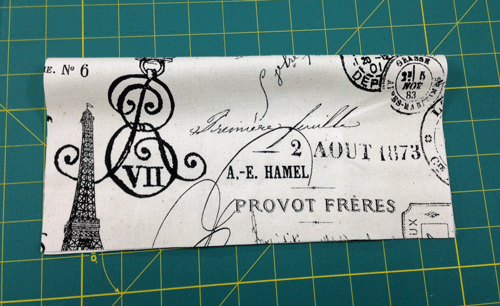
Gently press this fold into place
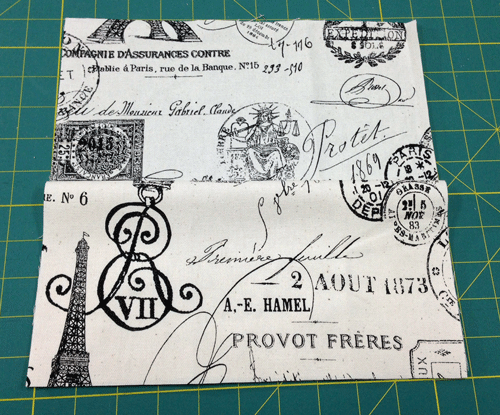
With a second square laid out full size, place the folded piece on top. This is going to make your pocket. I decided that I wanted my holder to tie shut on the side and I chose some ribbon for this. You will want to cut two 9″ pieces of ribbon for each holder or a total of 2 yards for four holders.
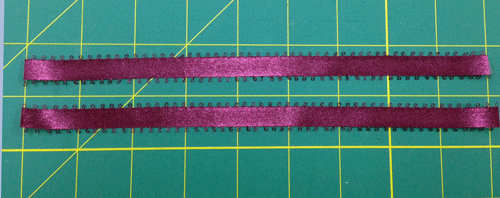
Lay these ribbons on top of your pocket piece near the top edge
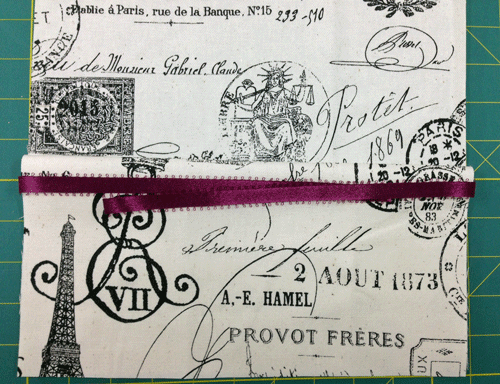
Now place your third square on top with right sides together
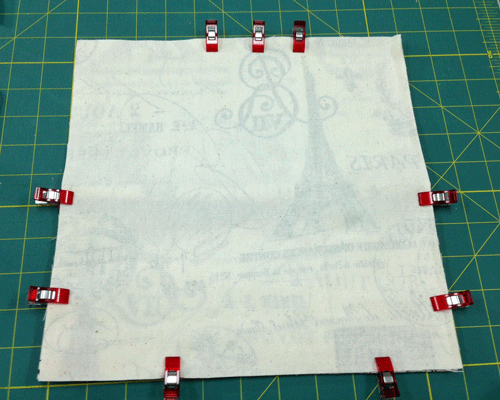
Your “sandwich” should now look like this. Clip, pin or otherwise steady your layers being certain to leave a 4-5″ opening at the TOP to turn.
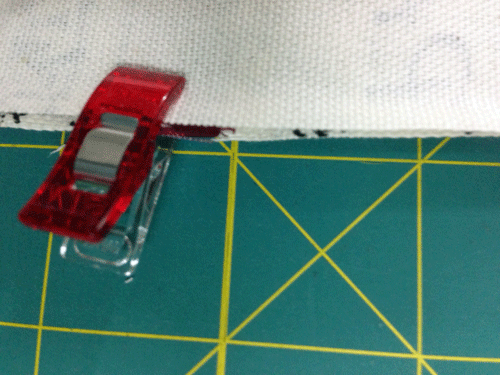
A moment of friendly advice: Clip, pin or secure where the ribbon ends are. While it wouldn’t be the end of the world if they shifted, I suspect that you would rather be sewing instead of picking stitches.
Sew all around the perimeter of the holder using a 1/2″ seam, but do be sure to leave that opening!
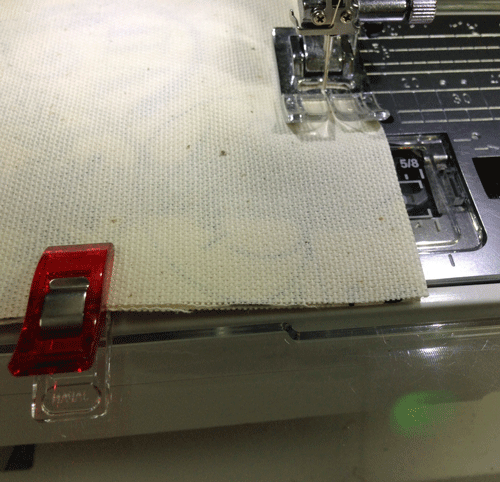
Here is my opening….Exciting, no?
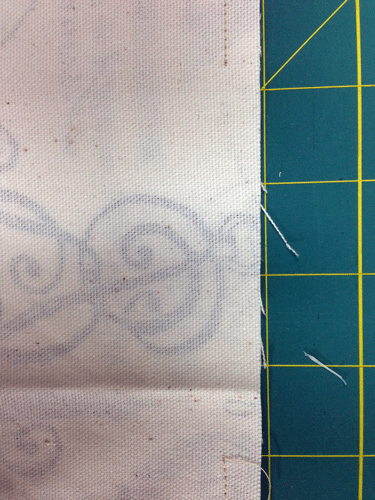
I did use a lockstitch on either end. If you don’t have a lockstitch on your machine, then feel free to backstitch so that there is no tearing or strain on the fabric when you turn it.
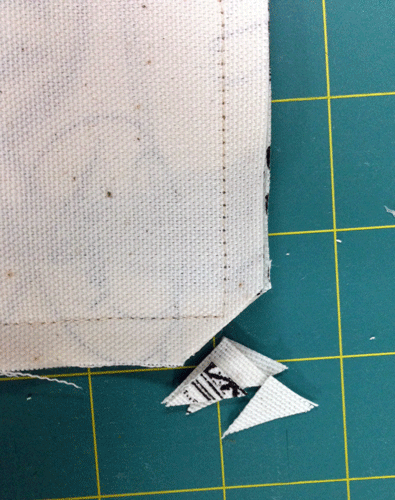
Now be sure to clip those corners, especially if you are using something heavier than quilting cotton to make these holders. Just don’t clip your stitches!
Time to turn!
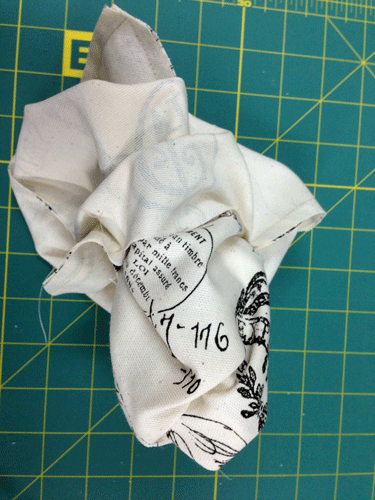
Go slow with this process and take the time to push out the corners
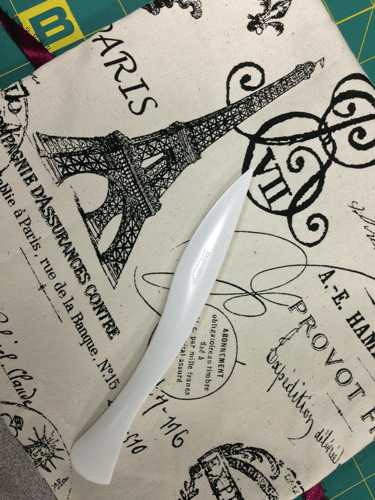
I love my Clover turning tool!
Here is what it looks like once it is all turned
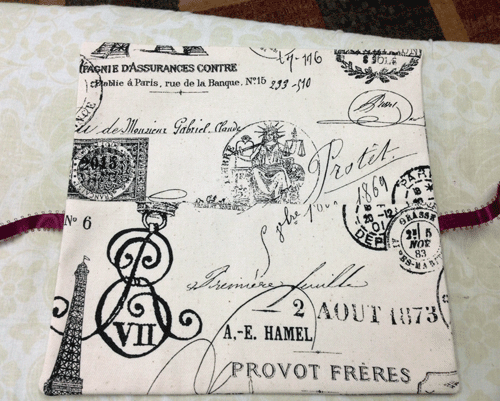
I have evened the edges of the opening and ironed the entire holder. Make sure that you have a ribbon on each side of your holder or else you did something wrong….
Your holder should now measure about 10″ square. Next we are going to mark our stitch lines for the silverware. From the RIGHT edge, I measured in approximately 1 3/4″, 3 1/2″ and 5″ and marked these with a Frixxon pen for my stitch lines.
Starting at the top of the pocket, backstitch and then sew down to make the three utensil pockets
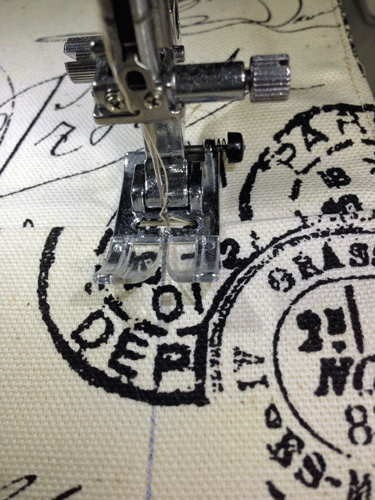
Once completed, your holder should look like this:
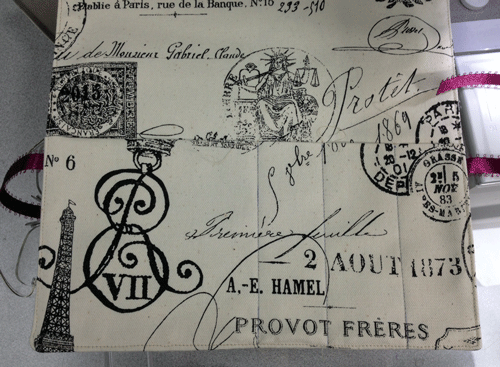
Three slots on the left for knife, fork and spoon and one large segment on the left to hold your napkin. I mean, you do use a napkin, don’t you?
Now move your needle over for topstitching/edgestitching. I have a 9mm machine so I moved mine all the way to the right
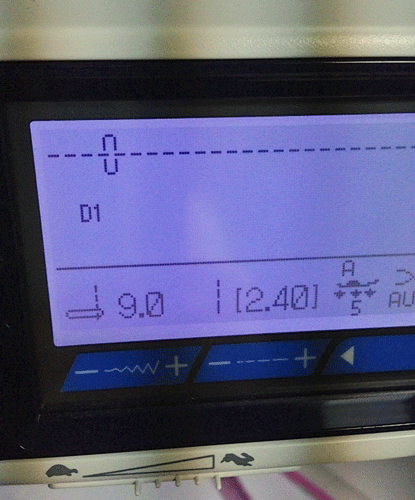
Choose what settings work best for you and your machine but we want to achieve about an 1/8-1/4″ edge around your holder. This will also close your opening with NO HANDSTITCHING. Yeah, I knew ya loved me!
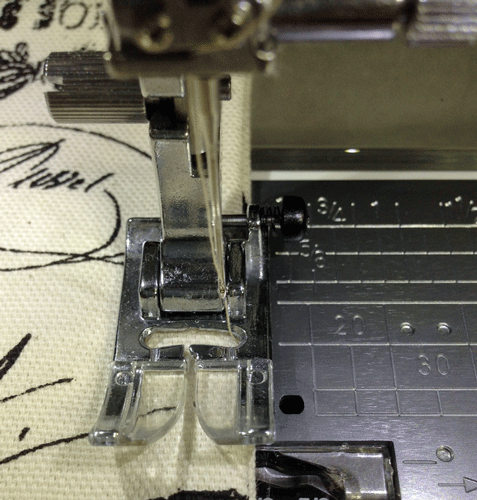
Since this is heavier fabric than just quilting cotton and we have lots of layers in those corners, you and your stiletto or sixth finger need to be friends.
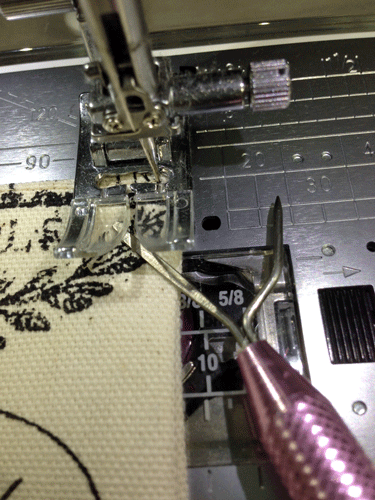
Those corners can be tough…don’t be afraid to ask for help!
Once stitched around the perimeter, give it one more press and you are ready to use your nifty, spiffy silverware holder
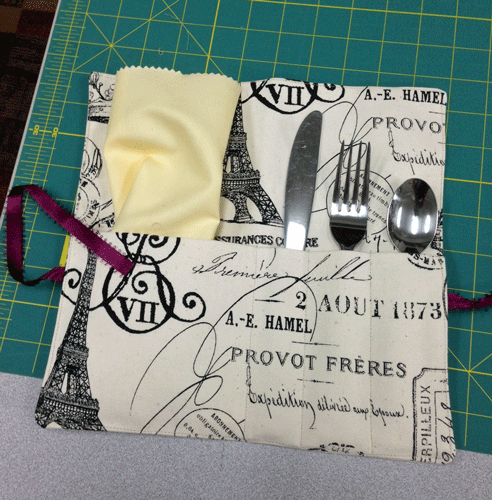
This is what it looks like open with a napkin inserted into the left side
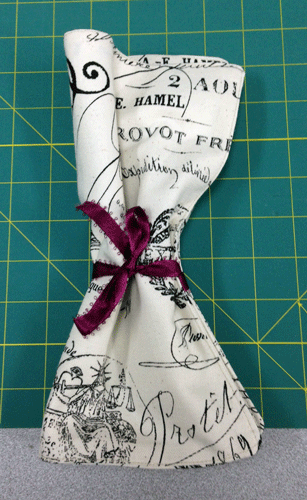
You could tie it closed like this or like this
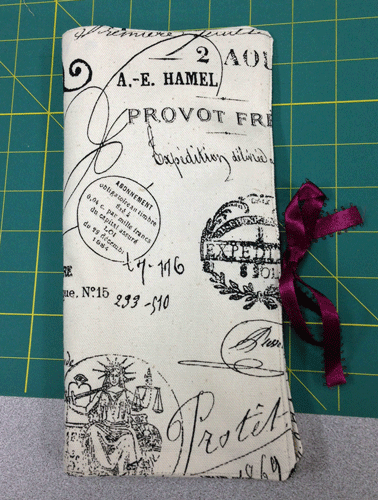
How fun is that? I loved these and thought they were great but I wanted to make this “my” project. So, now without further ado here is another version that uses even less fabric.
Version Two
You will need 2/3 yard of fabric. I used a lighter weigh home dec fabric that was kinda canvas-y but not as open weave as say a burlap. I wanted it to be able to hold its form and not be floppy, yet not too rustic looking.
You need two 8 1/2″ x 11″ pieces for each holder, so please cut 8 of these to make a set of four holders.
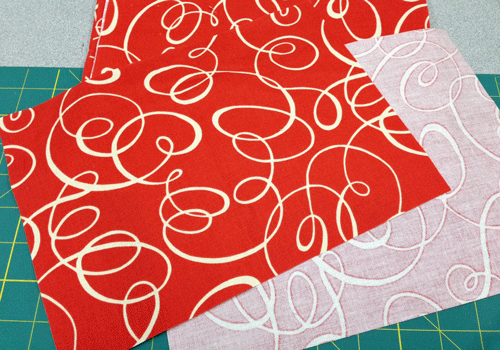
Again, I used my Shape Cut to help me cut these quickly and accurately
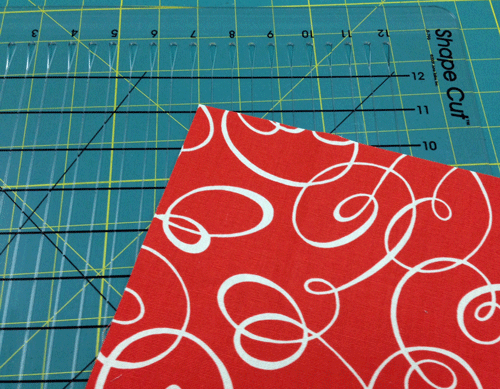
Make two stacks of four pieces. One stack will be the “body” of the holder and the second stack will be the pockets. Find the second stack and cut 1/2″ off of the 8 1/2″ side. These four pieces should now measure 8 x 11.
Just as before, fold these in half
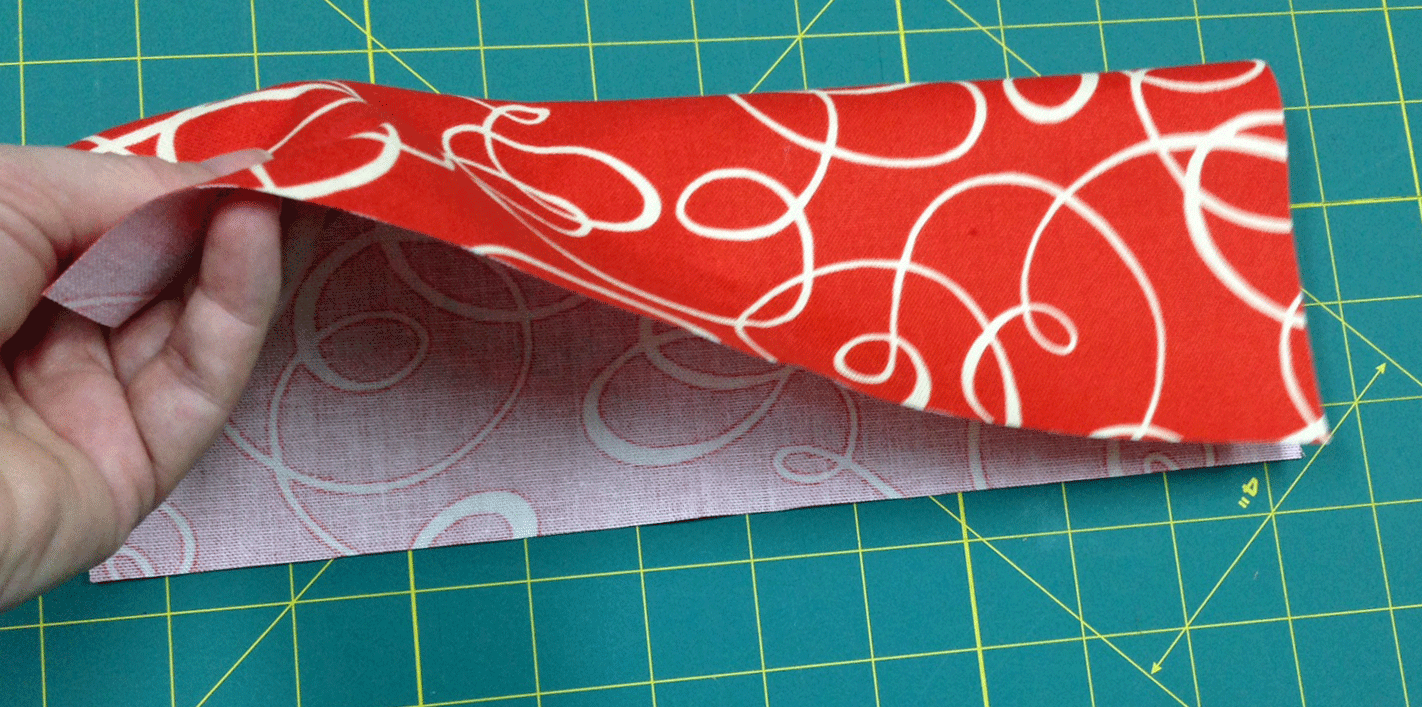
Now your dimensions should be 4 x 11. Press well.
I decided that I wanted to jazz things up a bit, so I found a bit of ric-rac to sew along the edge of the pocket. 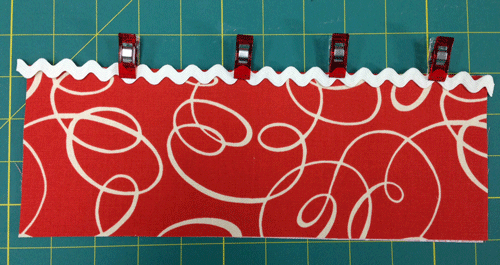
If you opt to follow my lead, you will need about 1 1/2 yards of trim to embellish all four pockets. So, pin or clip in place and then stitch down. Once that is done, trim the edges of your embellishment flush with edge of the pocket and measure in 5 1/2″ from the side. Cut these pieces in half
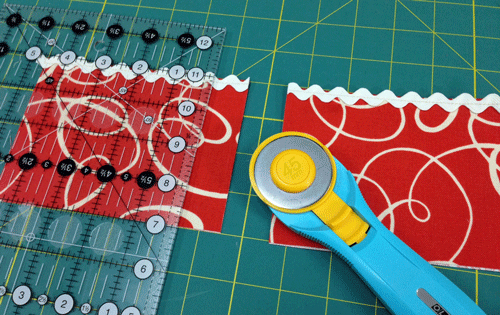
They should measure 5 1/2″ wide and 4″ high
Find your first stack of fabric and cut them in half along the 11″ side. Each piece should now be 5 1/2″ x 8 1/2″. This will be your front and back panel of your holder.
Place one of the 5 1/2″ x 8 1/2″ pieces face up on your work area. Layer a pocket piece on top aligning the edges
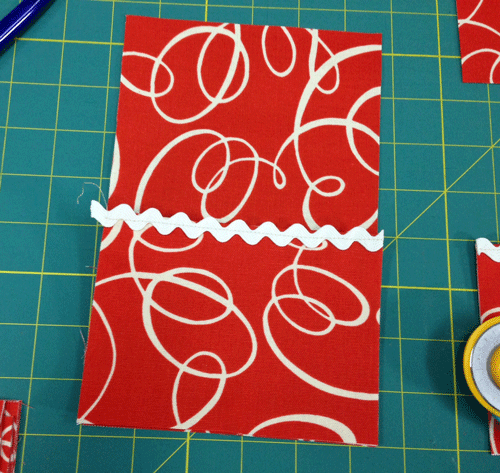
Just as before, measure in approximately 1 3/4″ and 3 1/2″ from the right side. Once we sew the front and back panels together, the third pocket will be created. Patience my child!
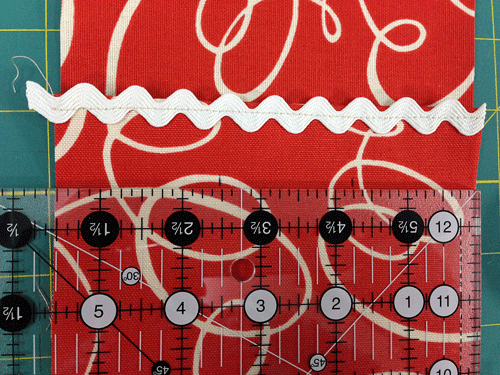
This ruler has measurements on two sides…don’t let this blow your mind. Just look at the white dots, look a little closer….closer….closer
Now clip these two pieces together and starting at the pocket edge, backstitch and sew down the dividing lines
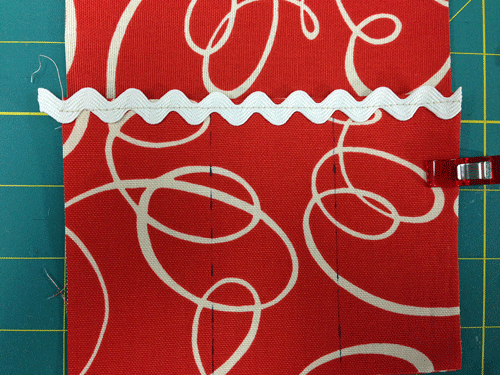
Here they are marked with the Frixxon pen
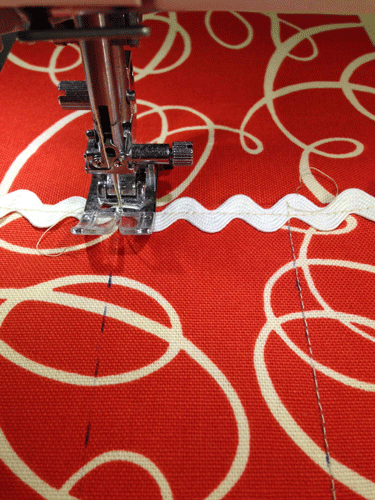
Here are the utensil pockets being stitched. Once they are stitched, be sure to iron well to remove the markings.
Now find the other half of the pocket and layer it right sides together with the base and pocket that you just stitched
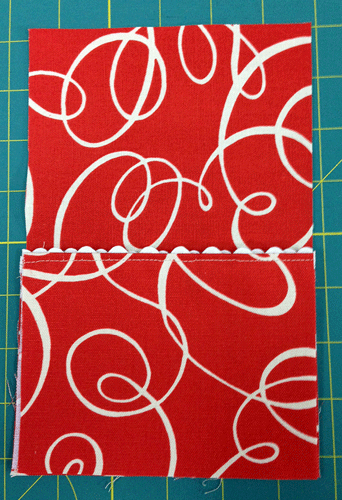
We are making that sandwich……Now find the other “body” piece for this holder and layer it on right sides together.
So, when you look at your sewing table there should be a body piece and divided pocket right side up, then a pocket wrong side up and finally a second body piece wrong side up
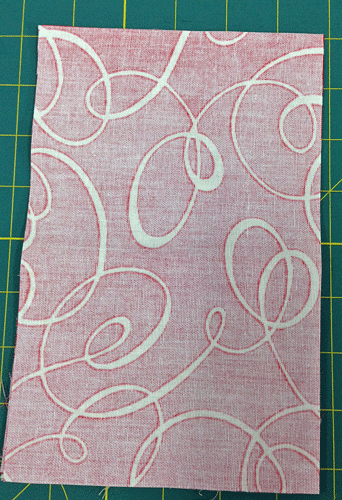
Now we are ready to stitch this dude up! Use a “fat” 1/4″ to stitch all the way around, leaving a 3″ opening at the top to turn.
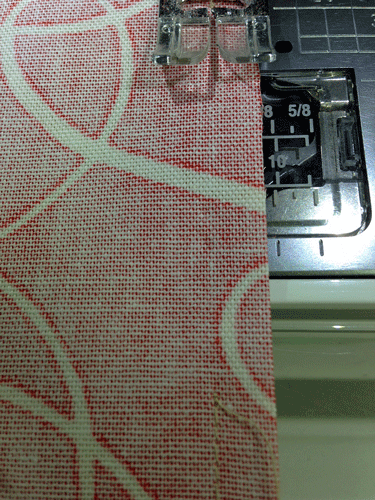
Be sure you backstitch on either side of this opening to reduce any stress on the material when you turn the holder right side out.
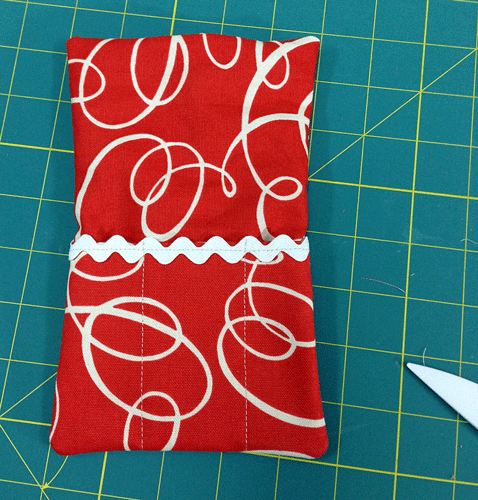
Press, clip the corners and turn as before. Using a chopstick or other tool, push out the corners as crisply as you can and press again. You should have a pocket on one side with dividers and a single pocket on the reverse side. Even the edges where the opening is at the top and press.
Stitch along the top edge to close the opening
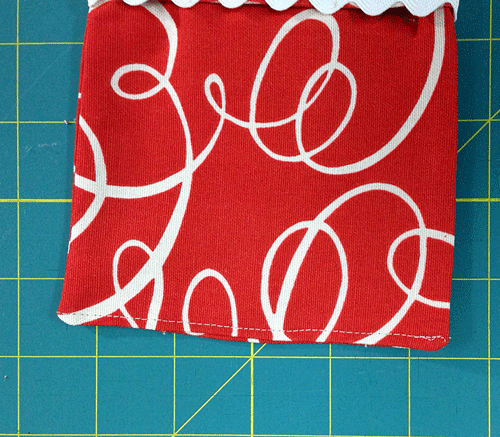
Since this finishes fairly small, I opted not to topstitch all the way around so as not to lose any room for knives, forks and spoons.
And you are done! Yes, really…..that was uber easy. Because this takes less fabric, splurge a little on what you use to make these. You really can justify bringing home that 20 dollar a yard beauty when the net cost is less than 5.00 per unit. I mean, that does kinda beat that 92.00 set of two, doesn’t it?
Here is a 30 second napkin tutorial
I cut 8 pieces 10 x 10″ square. With right sides together, sew a 1/4″ seam all the way around. leaving a 3-4″ opening to turn. Clip corners, turn and press. Align opening edges and press.
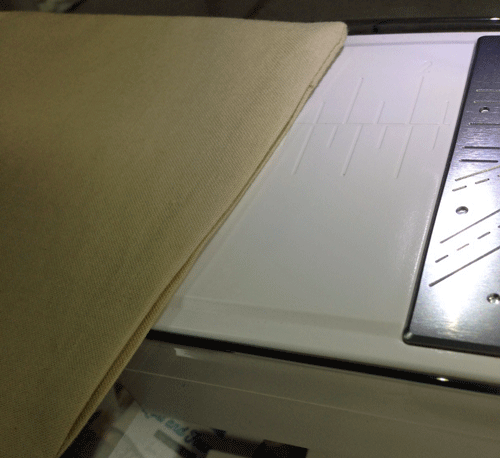
Move your needle as far to the right as you can or use an edgestitch setting. I have a 9mm machine but opted to move to 8mm
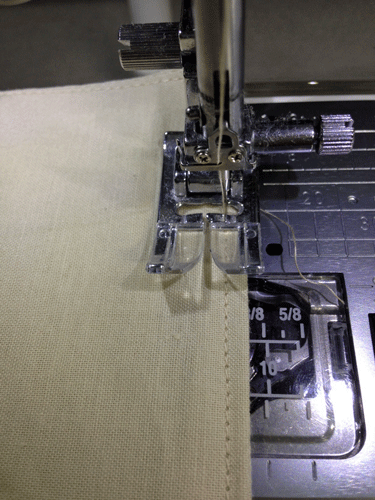
Stitch entire perimeter and you have napkins!
Insert your knife, fork and spoon into the front side of your holder and your lovely new napkin into the reverse side.
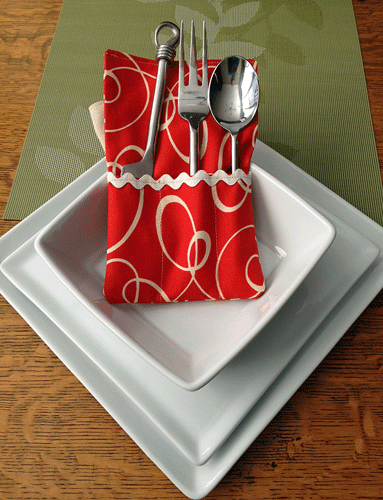
Yep, that makes for one nicely dressed table
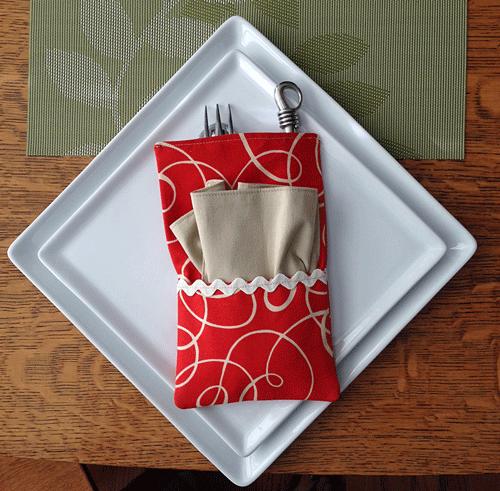
Dinner is Served!
Pingback: Show and Tell | B's Treehouse
LOVE THIS!
The word quips are so funny…..you rocked this big time.
Now if the grasshopper will follow suit when the Junebug is out of it’s cage….I’ll be whipping some of these out!
Thanks for the tuts!
This has to be the best comment EVER! Thanks Ronnie!