A few weeks ago the mister asked me how many quilts I had made so far. I don’t know the answer to that. I just didn’t keep track of everything that I made and it was a bit humorous listening to the two of us trying to remember all of the projects of the previous 24 months. They have been many and varied and (mostly) fun. But it would be nice to look back on how my skills have progressed and what kinds of things I won’t be tackling again! To that end, I decided to make a sewing journal.

I decided to use a 1″ recycled binder that I had on hand and originally I was going to cover this in paper. At the last moment I opted for a quilted cover and I am happy I did. Since I had no pattern, I did kinda wing this one, so if you decided to make a journal for yourself please use this as a guide.
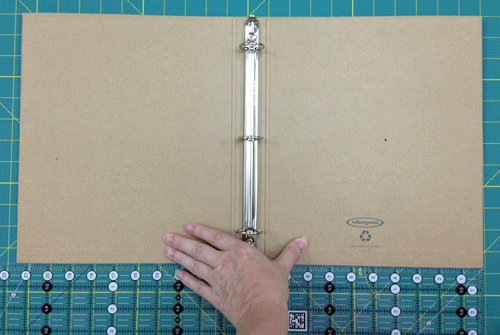
First I laid my binder open on the table and did a bit of “rough” measuring. You will need to make adjustments for your own journal as needed but here is what I did. The binder flat and fully opened was 21.5″ wide. I added 3″ to each end to make a pocket + 1″ for the spine + 1/2″ to allow for the thickness of the batting = 28 1/2″ wide. For the height the beginning measurement was 11.5″ + 1″ total for top and bottom + 1/2″ to allow for the batting = 13″ high. This should be close to your final measurements. Rough cut your piece of batting at least one inch larger on each side to allow for errors and to trim up the edges. I topped my batting off with a piece of muslin so that I would have a blank canvas, but your background fabric could be your focal point.
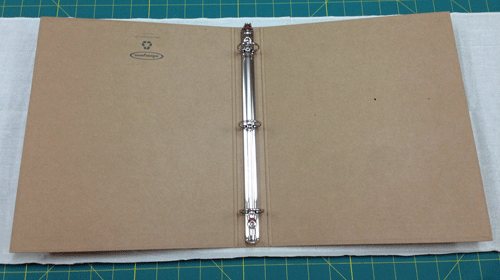
Once I had my batting and muslin rough cut, I then turned to my scrap basket.
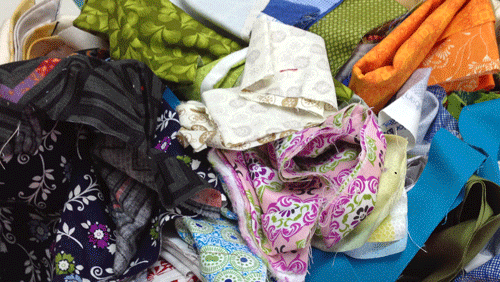
I pulled out some fabrics that I loved (and wasn’t afraid to cut) and began cutting random squares with my rotary cutter. No ruler, no lines, no particular size. I wanted this to be totally scrappy and happy and fun!
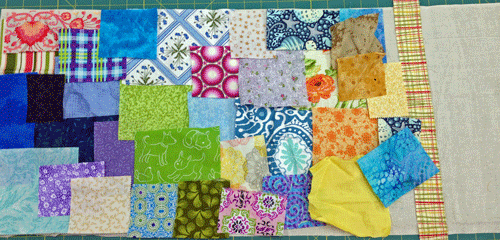
Next I took those squares and arranged them on the batting/muslin sandwich. I kept moving things around until I was pleased with the fabrics and their placement.
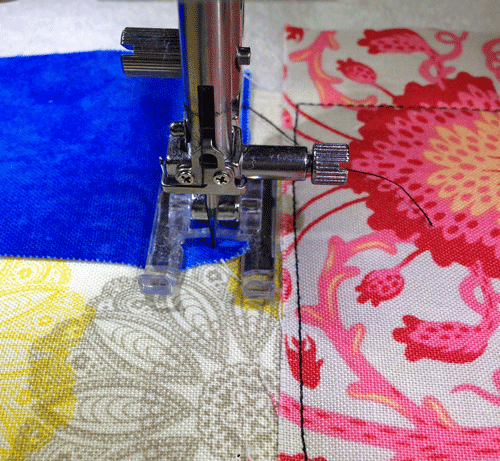
Because it is unexpected, I added a pop of color by sewing with black thread. Neatness didn’t count and ultimately becomes an integral part of the design.
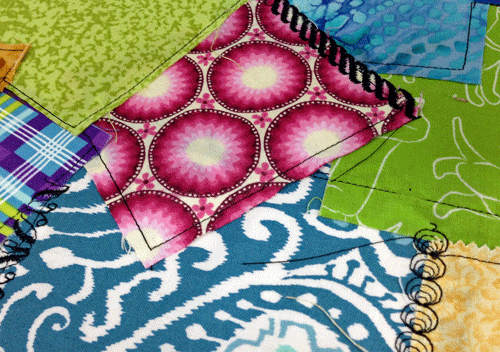
I also thought it was the perfect time to crack out some of those rarely used specialty stitches. Now how fun is that? (Never mind those stray threads, this was a work in progress!)
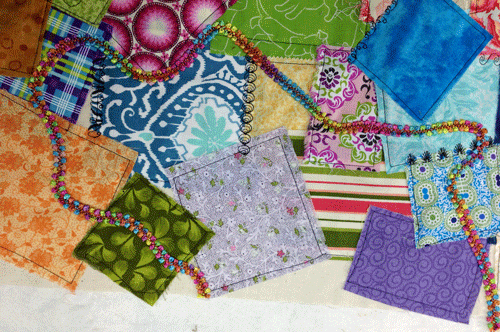
For a pop of color I couched on a length of rainbow ribbon. You can see the muslin peeking through in places but this is for fun, remember? Once I stitched on my first square, I just kept adding and stitching in a serendipitous way and not in search of perfection. Let the fabric tell you where it needs to go.
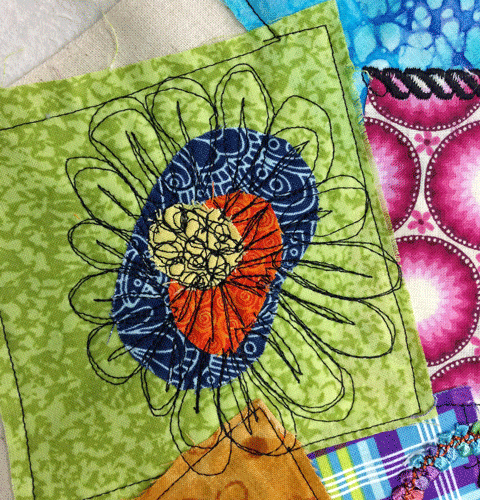
Next to the crazy sewing party was this nutty looking free-motion flower. Three contrasting fabrics cut free hand and then topped with layers of black thread on a green background. Talk about blooming where you are planted….
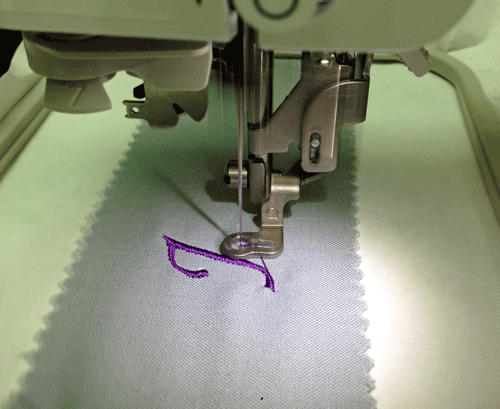
I dusted off my little Brother embroidery machine (swoon!) and using a scrap jelly roll strip, I embroidered JOURNAL in purple. Well, the machine embroidered it….But I helped!

I also added a large piece of hand dyed and stamped fabric that would become the front cover. I layered the embroidered jelly roll strip on top of that and added some lavender velvet ric-rac to the top right of the cover. All of that topped off with a twist or two of free motion sewing and I am ready to square this baby up.
With your cover wrong side up, place your binder or notebook on top. “Dry fit” the cover to the binder to see how the cover is oriented and if you want to reposition or add additional items. Next, using your binder or notebook as a guide, mark a line on the back of the batting along the entire top and the bottom.
Here is one of those do as I say and not as I do (or as the photo shows) moments. I measured to make my cover flush with the edges of my binder. Great but once I folded it over and made the pocket it was a super, duper, pooper tight fit. Avoid disappointment! Add about 1/8-1/4″ to those measurements to make your life a smidge easier.
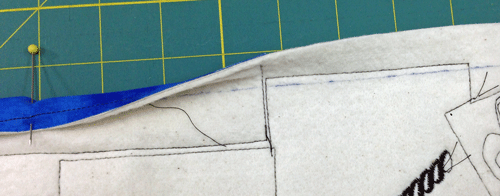
Once you make your mark, this is your fold line. Roll the edge over all along the bottom and top and then stitch down the entire length.
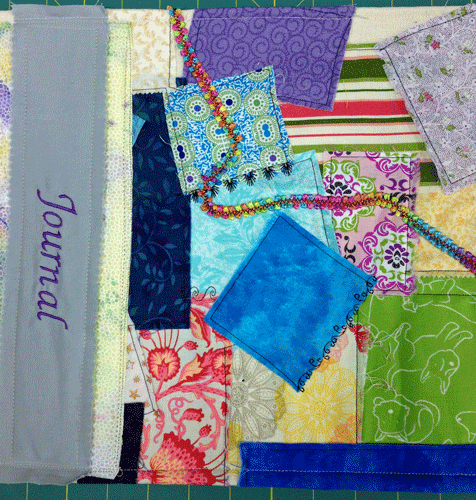
Here is the bottom and top all hemmed. Before you proceed, “dry fit” your cover to your binder again. Make sure that you have things oriented correctly and that the cover isn’t hemmed way too big or too small. Bring the ends into the book to simulate the pockets that the covers will fit into. If something is too long or short, make those adjustments now. Finally, hem both edges with a 1/4″ seam.
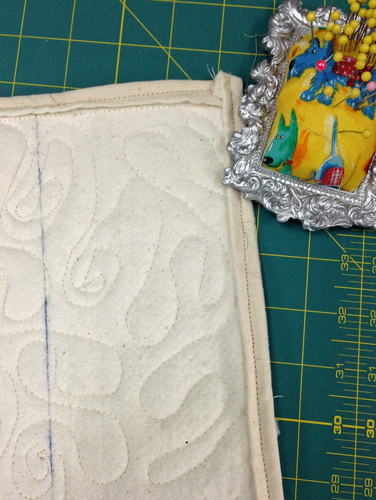
Once the cover is hemmed all the way around, we need to create the pockets for the covers. Using the binder as my guide, I marked the edge of the covers on the batting with a Frixxon pen. That blue line is my fold line. I sewed along the top and bottom edge of the cover to create a pocket. Do not sew the long edge shut.
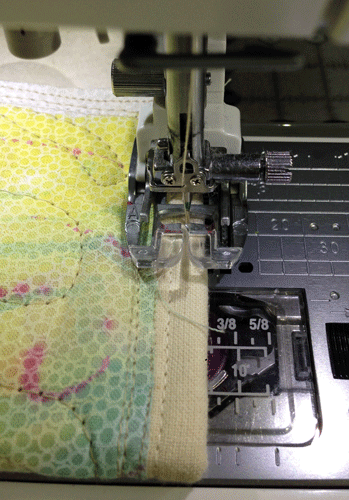
You will need to bust out that walking foot for this last bit. There are a multitude of fabric thicknesses in those corners and you don’t want to be stymied by a stuck needle.
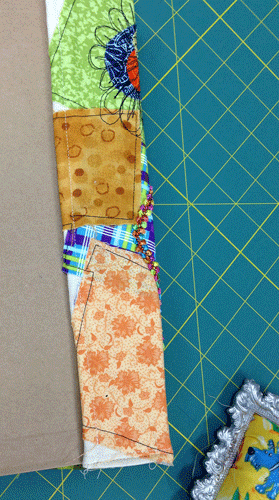
I created my back flap pocket first. I checked for size (it was TIGHT) and then placement of the entire cover. I double checked the marking for my front cover fold line and made sure that once the pocket was sewn, the notebook could open and close with no issue. Again, using your walking foot, stitch the pocket along the top and bottom edge only. Now for a bit of manhandling~
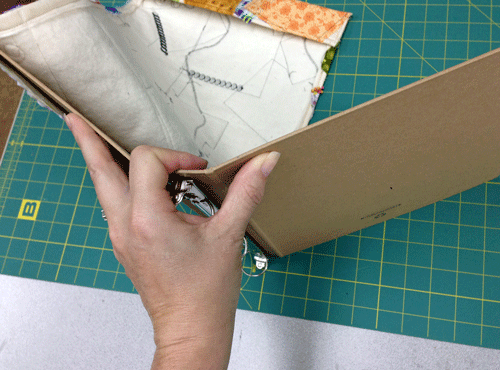
Put one pocket onto the binder cover and fold the binder backwards onto itself. Like a butterfly.
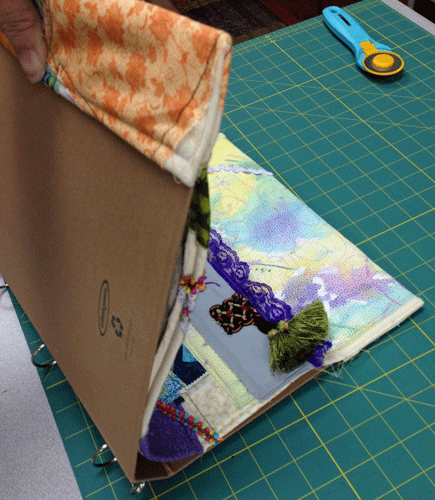
Keep folding open as far as you can and slip the pocket onto the opposite cover. Close the binder and admire your beautimous work.
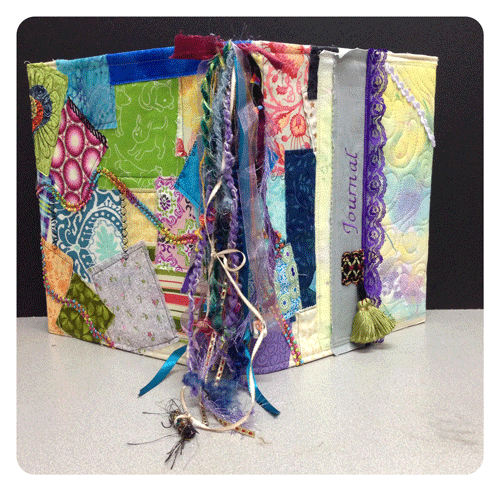
Yeah! Like that!
As you can see, I couldn’t quit embellishing and I added some purple lace, a few tassels and fiber trims on the binding. I incorporated some fabric beads that a dear friend gave me and I have been waiting for just the right thing to use them on. This was it.
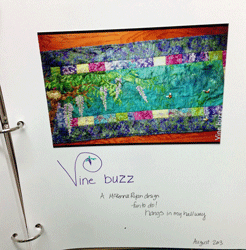
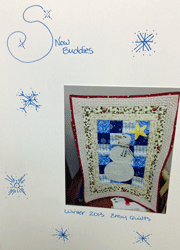
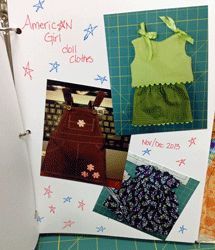
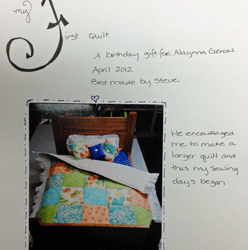
But wait….I still had to fill this thing with projects. Here are just a few:
