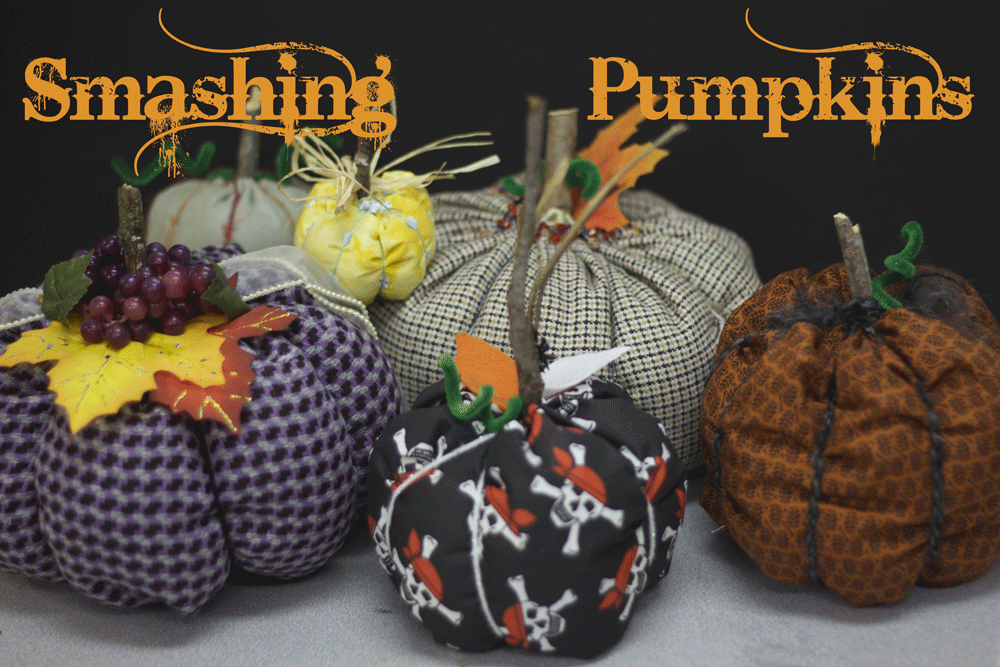
Let’s make something super cute, super easy and perfect for the impending fall weather (one can hope, right?)
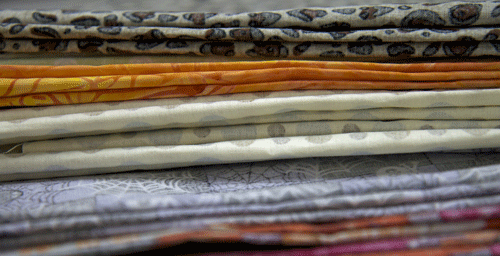
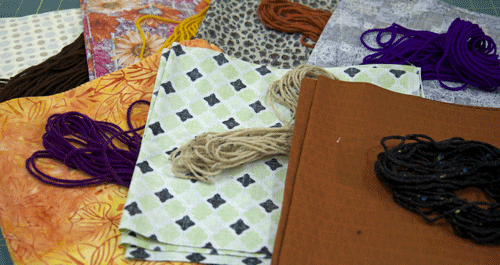
To start, I picked out some cute but varied cuts of fabric. The great thing about this project is that it is an excellent way to use up some of your scraps and still allow your creative side to run free. Finishing up a table full of these dudes takes no time at all.
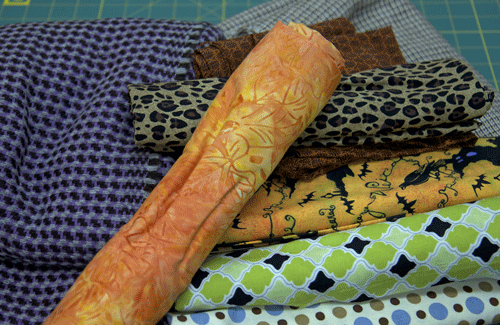
Nearly any type of fabric that has draping quality to it will work….you just don’t want something too stiff like leather. My favorite ones were made out of of wool and I can imagine that a velvet pumpkin would be delightful!
I recently taught this fun project to a great group of ladies and so I will show you how I made these en masse. The important thing to keep in mind here is the “formula” for the fabric cuts. For a rounder pumpkin, make the length of your fabric TWICE the height, i.e. 10″ H x 20″ L. If you want a squatter pumpkin then make the length of your fabric 2 1/2 times the height, i.e. 10″ high x 25″ L.
For my pumpkins I cut my height about 10″ and length about 22″ (I folded the fabric in half width-wise, getting two pumpkins from each cut since I was making multiples)
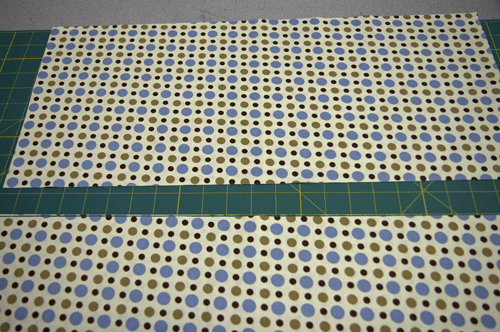
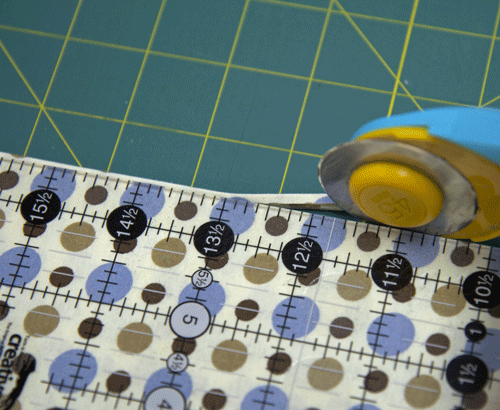
10″ inch high cut—Note that the fabric is folded in half, so I am cutting through two layers at a time
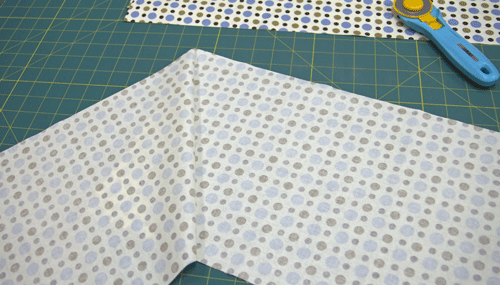
Then with my ruler and rotary cutter, I remove the folded edge so that I now have two pieces with which to make a pumpkin
With right sides together along the SHORT edge, I chain stitched my pumpkin bodies together with a 1/4″ seam allowance
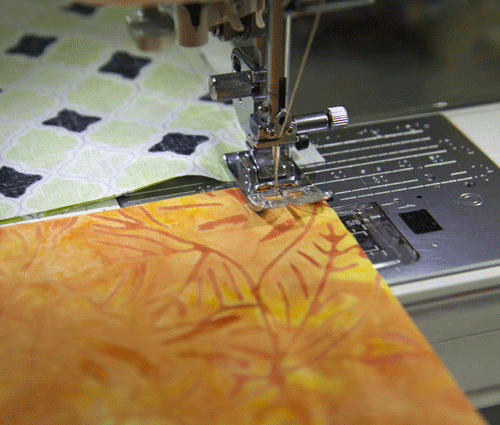
I did quite a few!
Next I cut an 8 foot length of yarn for each pumpkin. Here is where you can begin to be creative….choose jute, fancy cord, embellished ribbon or whatever you prefer to create the “ribs” of your pumpkin.
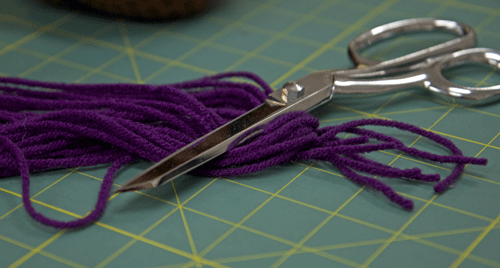
I tried to match the yarns to the fabrics and yet create a contrast
My photos show me stitching with embroidery thread so that you can see what I have done. I suggest that you use regular sewing thread and your preferred hand stitching needle. If you are like me and hand stitching is nearly a fate worse than death, pick whatever needle and thread suit you and I promise you will be fine. If I can do it, so can you.
Start with your fabric right sides together…..in other words, inside out.
Make a knot in your thread and begin by using a running stitch along one open edge. Sew about 1/2 to 3/4″ down from the top and move your needle from the inside to the outside making each stitch about the length of the needle. You simply want to gather the fabric to close the end. Neatness really doesn’t count and tiny stitches are just more work for you.
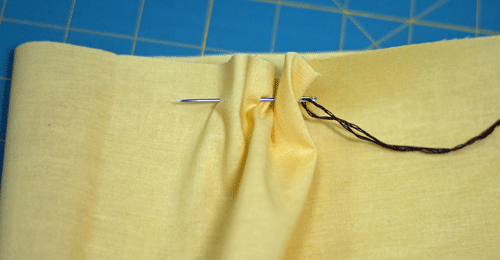
Once you have gathered all of the fabric, be sure to make one stitch past your beginning knot. This helps secure your stitches. Don’t pull too hard!
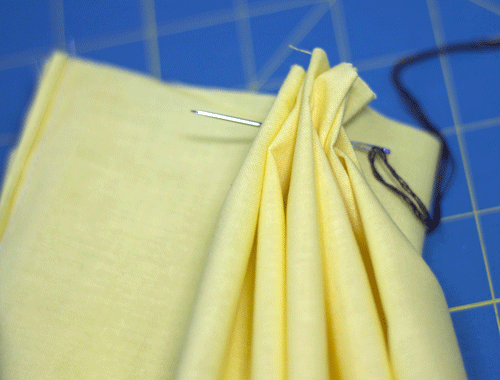
Make that extra stitch!
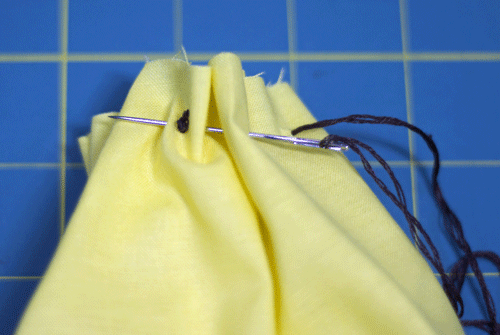
Now make one stitch from right to left (across the width of the end)
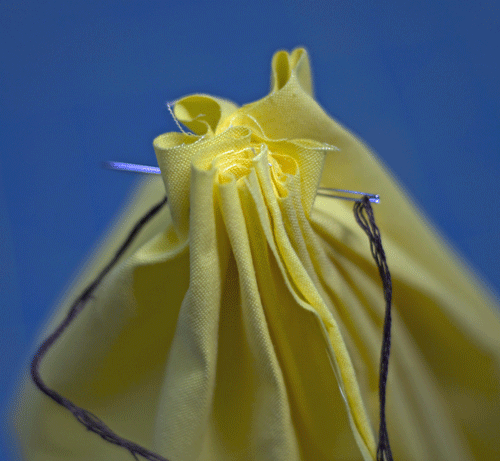
Now wrap your thread around the perimeter twice
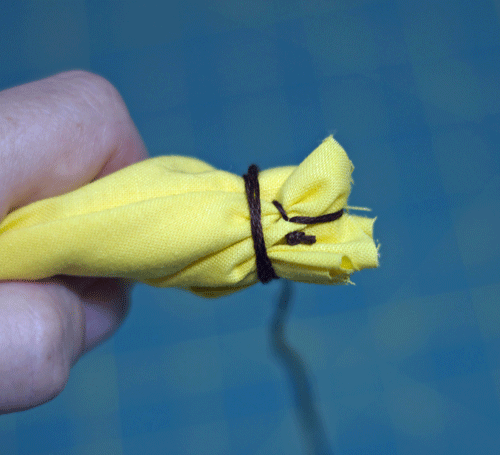
Take the tip of the needle and insert it into the fabric folds just below the wrapped threads and have it exit just above.
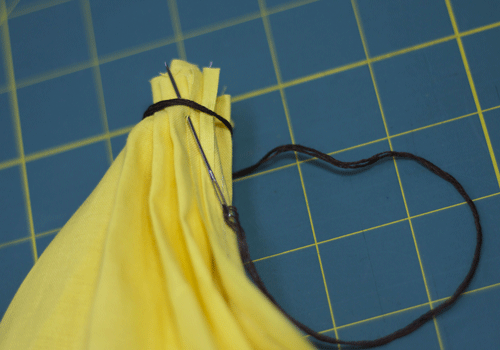
Make a knot and clip your threads. I know this might seem like overkill but you don’t want the bottom of your pumpkin to push out when you stuff it. Don’t ask me how I know this…..
Your tip should look similar to this:
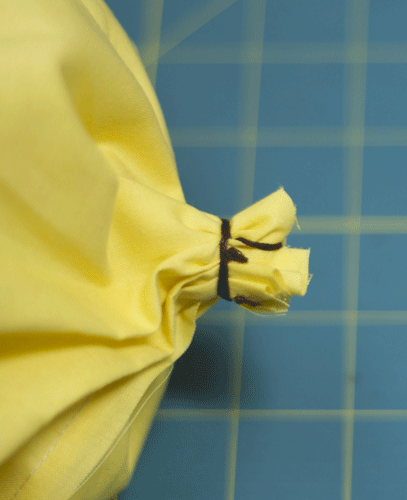
Holding the tip with one end, gently turn the body of the pumpkin right side out. All of those ugly stitches are now the bottom of the gourd and safely hidden away.
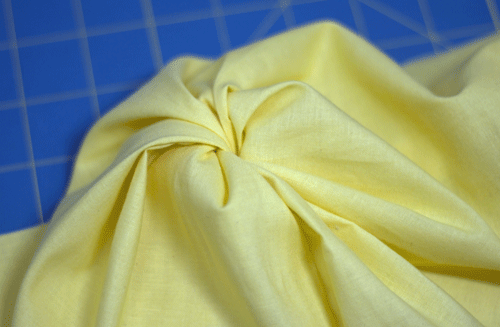
Using about two handfuls of polyfil, stuff your pumpkin body. The key here is do not OVERSTUFF. More is not better.
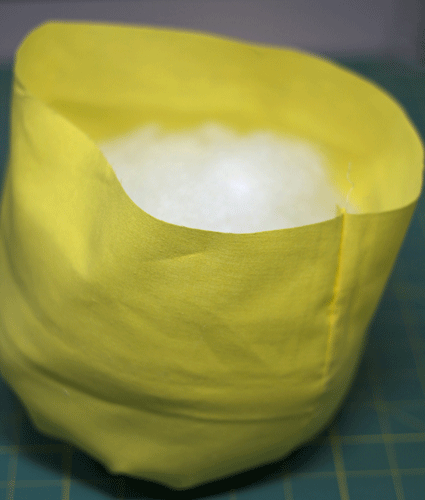
Thread your needle again and sew a running stitch along the top just as we did on the bottom.
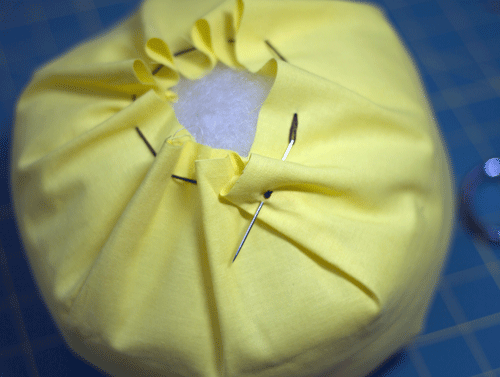
This time, don’t pull the fabric all the way closed. We need that opening for the stem. If you can comfortably insert your pinky finger, you should have enough room.
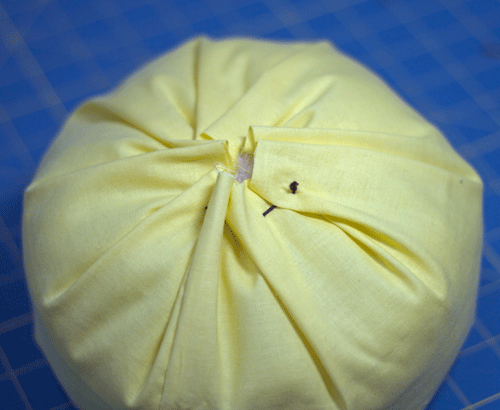
Now locate your yarn or ribbon, it is time to make the ribs.
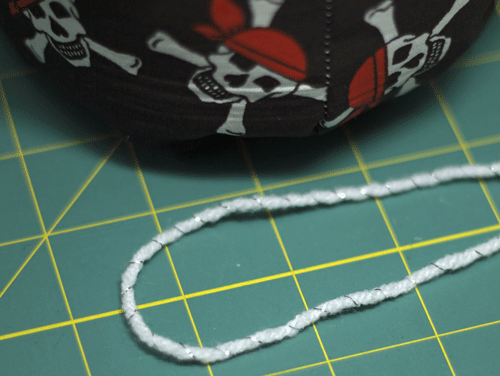
Center it over the TOP of the pumpkin
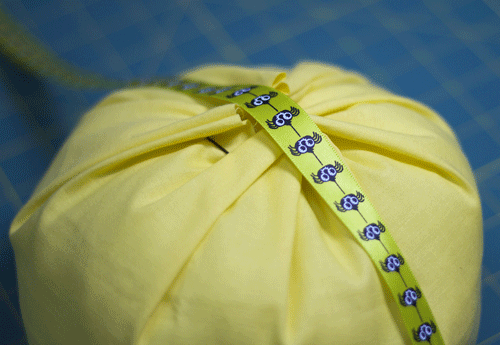
Wrap it around to the bottom, cross the yarn, turn the pumpkin 90 degrees and wrap back to the top
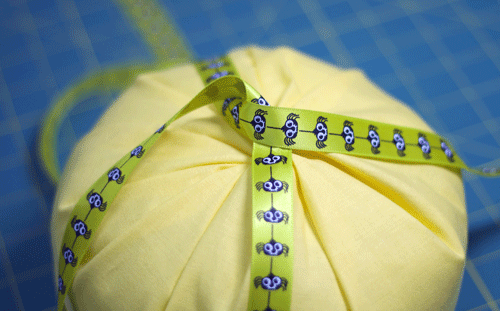
Pull gently to tighten. Do this a total of 4 times (making 8 ribs), ending with a knot at the top.
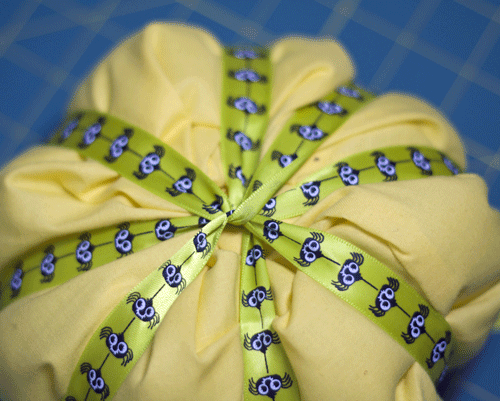
Position your yarn or ribbon so that your segments look symmetrical.
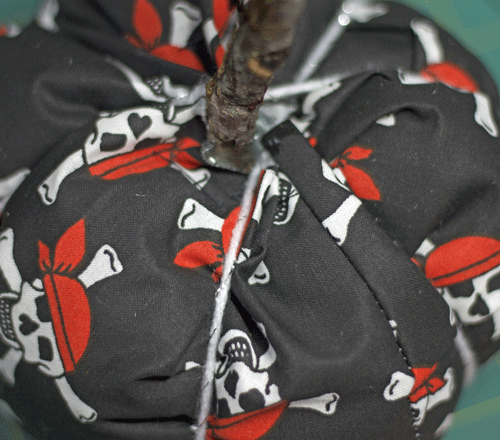
While I don’t have photos to show this option, you can use any material you deem suitable for a stem. I used twigs that my trees so kindly donated. You can also use a strip of felt measuring 2 1/2″ tall by about 8 1/2″ wide, glued and rolled up and then inserted into the opening.
Glue your stem around the perimeter and allow to dry.
I added die cut felt leaves on some of my pumpkins, others have silk maple leaves. The choice is yours.
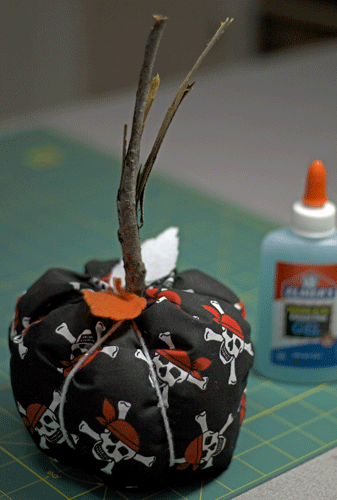
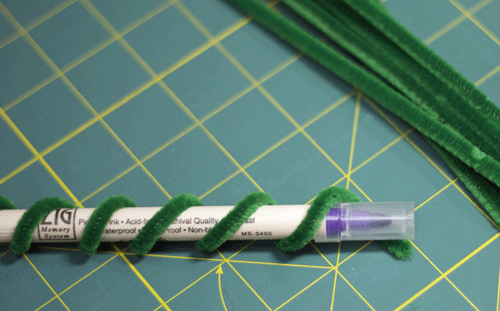
Additionally, I used green chenille to create twists to look like runners. Wrap your pipe cleaner around the barrel of a writing instrument and cut to the desired length. Insert into the opening in the top and glue in place.
I added beads, grapes and raffia to my pumpkins to make each one an individual. Your fabric choices will guide you on your final decoration.
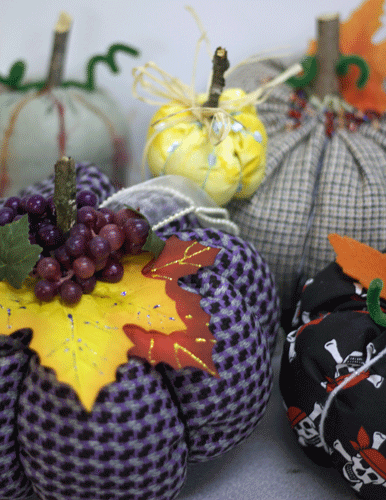
How cute would these be for fall, Halloween and then again on your Thanksgiving table?
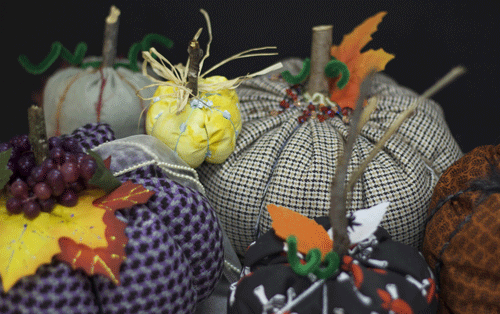
Fun, quick and clever! These would make excellent fall gifts and the options to finish them are only limited by your creativity. Have fun and make a whole patch of pumpkins.